 Flux Art
Hardware product images can be organized into close-up, scene, and spec image tasks. Flux Art brings together editing options such as Nano Banana 2 and GPT Image 2, but features like hole positions, tooth profile, threads, and nameplates must be checked one by one against real photos and specification documents. Any unverified detail should be marked as unknown, re-shot, or returned so the AI does not guess product facts.
This article is for multi-SKU hardware stalls, factories, and industrial goods sellers, and turns an existing three-part workflow into a handoff-ready structural inspection method. The following steps are recommendations, not measurements of store operations, outsourced labor, or team efficiency from this work; the point is whether another team member can independently review the same source images and spec materials to reach the same conclusion.
Why do hardware images need a professional look? Buyers are technically inspecting products through images
Hardware buyers generally fall into three groups: installation technicians, factory buyers, and DIY home users. They all share one trait—functional purchasing—so looking at photos is similar to checking actual goods. Technicians check whether a drill chuck is a self-locking three-jaw type and whether a wrench has the correct jaw angle. Buyers verify parameters by checking torque, voltage, and tooth count one item at a time. Home users have less experience, so they rely more on the image’s "professional feel" to judge whether a store is trustworthy. All three will not tolerate an image with the wrong structure.
A professional look can be broken into three elements. First is structural accuracy: if the ratchet teeth, tap thread direction, and drill chuck three-jaw engagement are wrong, knowledgeable buyers will leave immediately, which is often worse than a poor image. Second is material accuracy: chrome-vanadium steel’s cool gray matte finish, plated part mirror highlights, and the matte grain of injection-molded handles each have their own reflectance behavior; when each looks correct in one image, quality rises significantly. Third is information density: wholesale buyers do not have patience for ten images, one cleanly arranged spec annotation image can replace three mood images.
Visual inspection of industrial images is not factory outbound inspection and does not replace dimensional measurement, certification, or test reports. Photos are for visible appearance display; specification data must come from the current model’s manual, controlled drawing, or approved materials. Thread pitch, hole diameter, and material grade not visible in the image must not be inferred from the image.
Traditional methods get stuck at two ends. On one side is shooting: studios must shoot hundreds of SKUs one by one, and wholesale margins cannot support that scale. Metal reflection is hard to capture, and plated surfaces often show environment reflections if not shot correctly. On the other side is the parameter image: outsourced designers keep revising layouts, and the biggest risk is copy mistakes, such as writing N·m as N/m, which can cause returns and negative reviews. AI compresses both, but one hard rule must be set first: visuals can be generated, but specification values must be manually checked—no number can be left to model interpretation.
Which model handles each of the three packages?
| Three-package stage | Assigned to | How to execute |
|---|---|---|
| Tool close-up | Nano Banana 2 | Use real photographs from multiple angles for background or local-edit candidates; check the chuck and tooth profiles individually, and return to the real photographs when details cannot be confirmed. |
| Usage scene | GPT Image 2 | Prefer static product displays. Check operating scenes against the specific equipment manual and operating conditions; do not apply a generic safety-gear or posture template. |
| Parameter annotation image | GPT Image 2 (text rendering) | Create a base image first, then use editable text layout to verify numbers, units, and conditions; generated text is a draft only. |
Prepare required angles for close-up images: full view, front and side views, chuck, interface, and nameplate, with quantity determined by the product. Nano Banana 2 can be used as reference edit candidates but cannot guarantee structural fidelity. Clear nameplates help model verification only and are not proof of authenticity. After multiple aspect-ratio outputs, check contours and cropping for each version.
Split parameter images into a base image and an information layer: confirm tool photos first, then place pre-approved numbers, units, and annotation lines into an editable layout file. GPT Image 2 can be used for draft generation, but OpenAI image guides still note limits in text clarity, position, and layout control (validated on 2026-09-08). Do not rely on repeated random generation for fine-grained parameters; use manual layout when control is required, and compare the final output character by character against source materials.

How do large-batch hardware factories complete the structural inspection form?
| Inspection group | Source image and evidence | Output observation record | Conclusion and owner |
|---|---|---|---|
| SKU and image identity | Fill in SKU, source image ID, drawing/manual version, and page number | Fill in image type, candidate file name, version, and whether it is the same shipped model | Do not publish if not matched; record verifier and date. |
| Structure and scale | Record reference photo locations for hole position, interface, thread direction, and contour | Record each item as consistent/changed/unclear and attach error position | Consistent: can be rechecked; unclear: re-shoot; changed: return for revision; do not default to approval. |
| Parameters, nameplate, and markers | List approved fields, units, applicable conditions, and evidence page numbers | Do character-level comparison in output; each marker should specify the corresponding component | Any unknown value returns to product owner; typos or wrong markers return to layout team. |
| Final layout and approval | Fill in channel, language, pixel/printing specs, and approved sample | Record final file, unmodified area re-check, manual minutes, and return reasons | Approve/revise/re-shoot; unapproved files cannot enter publish directories. |
This is a suggested handoff form for external teams, not a factory inspection or permission system built into Flux Art. The content owner confirms inputs, the producer logs changes, and the verifier approves against product evidence; model output cannot be used as a “quality judge” for another model. If SKU, specifications, or source image version change, previous approvals cannot be automatically inherited.

Full workflow for the three-part drill image pipeline
- Material preparation and parameter checklist:Each SKU binds to a source image ID, and front/side, key structure, and nameplate photos are collected. Record model, version, and page number from manuals or controlled drawings. Keep original units and conditions for parameters. If source materials conflict, escalate to the product owner before generation.
- Produce tool close-up:Use clear photos as the base, then test Nano Banana 2 edit candidates. Prompt only confirmed structures and materials, and do not assume all drills use the same chuck type. First verify hole count, interface position, thread direction, contour, and switches, then consider background and reflections.
- Produce usage scenes:GPT Image 2 can try static workbench or tool display scenes. Operational images must be verified by someone familiar with the equipment against the manufacturer manual for conditions, clamping, protection, and posture. Do not apply a one-size-fits-all “goggles and gloves” template; if materials are insufficient, use a non-operational display and do not generate images teaching usage.
- Produce parameter annotation image:Store approved numbers, units, conditions, and marker lines as separate layers in an editable layout file. Generated text is a draft only. The final version must be checked character by character, with marker lines pointing to correct parts and not covering structures; unknown parameters should not be filled by inference.
- Video and self-check:When needed, use approved images to generate Seedance 2.0 clips, then verify structure and movement frame by frame. Passing an image does not mean the video passes. Confirm duration, output, and upload specs per current workstation and target platform; unapproved files cannot enter the publish directory.
Record model usage, retries, re-shoots, and manual minutes for each task, then count approved SKUs. This article does not claim guarantees for 10 items per day with no raw records, one hour per item, or replacing outsourced teams. Changing the product model, material, or parameter version requires re-inspection.
What if annotation markers point wrong? A demonstration repair process
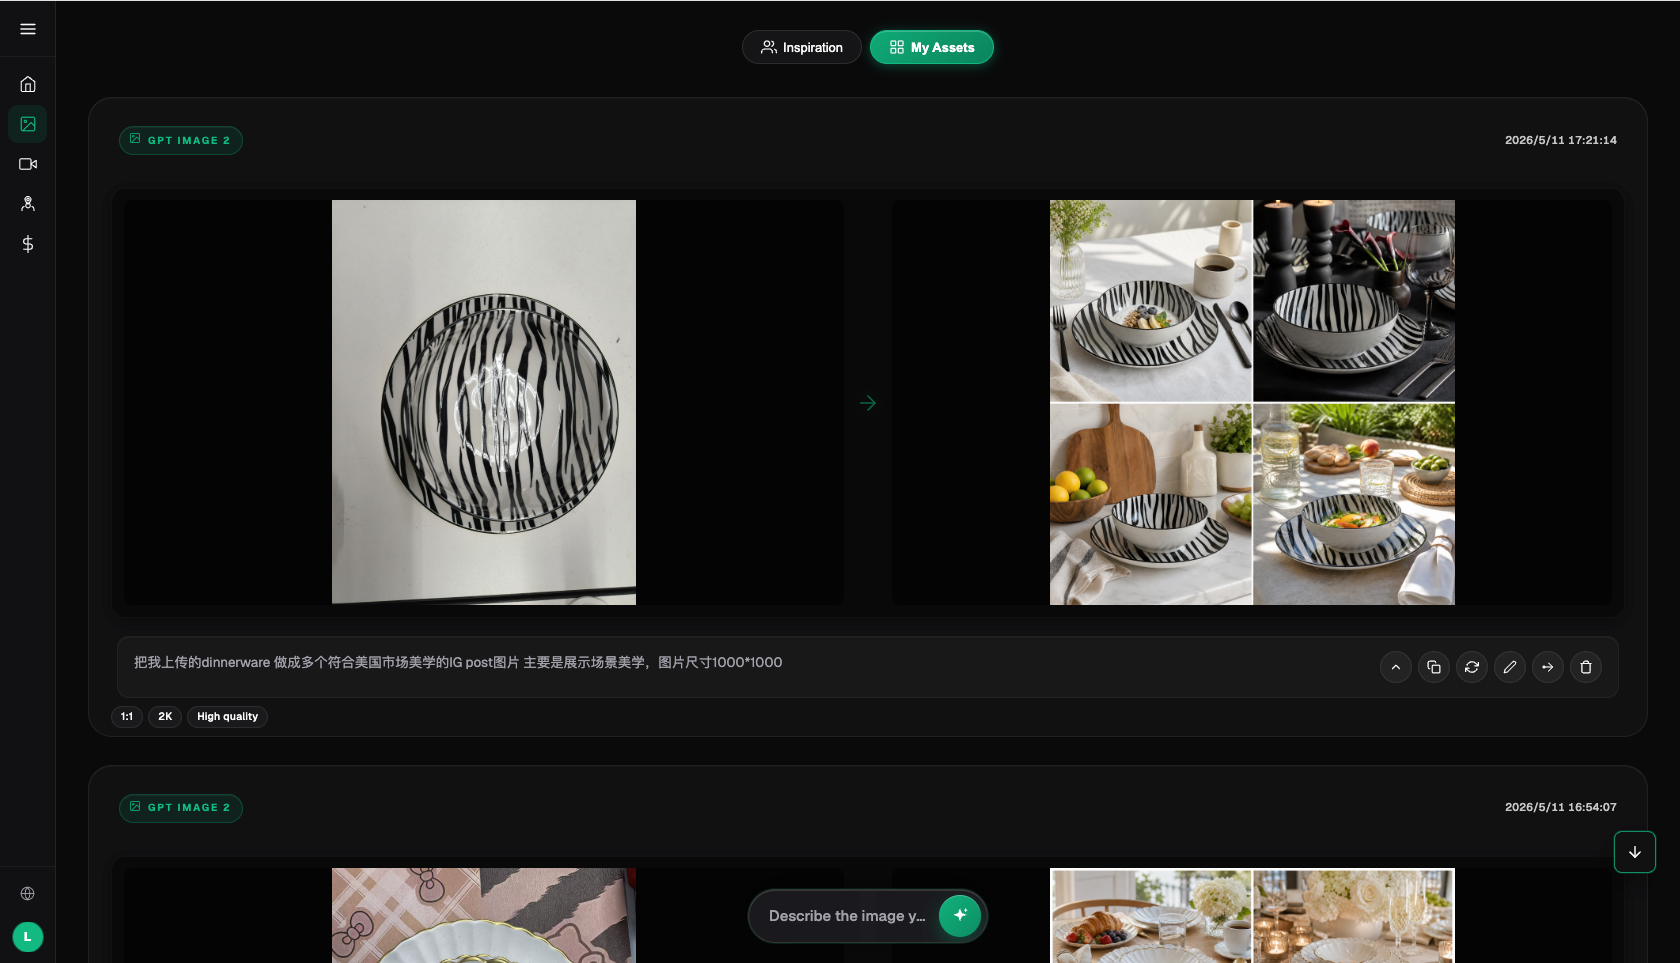
Assume a candidate image points the voltage marker to the chuck or fills in a speed value not found in source materials. First remove the candidate from use and mark error locations, then find the manual version and page number for that SKU. This is a demonstration of the inspection method, not a claim that a specific generation produced a certain number of outputs or failures; historical interface screenshots are not test evidence for that drill.
Keep the confirmed tool base image; in the information layer, list “Rated voltage ‹approved value and unit›, Speed ‹approved range and conditions›” first. Then the layout operator fills values from approved materials and adjusts marker lines. Another reviewer signs off using the same source text. After the base image changes, marker direction must be re-checked again; do not only confirm that numbers stayed the same.
Pre-launch checklist for hardware tool images
- Check each parameter value against manual text line by line; units and separators matter.
- Confirm chuck, tooth profile, and threads match actual structure; zoom to 100% for verification.
- Each of the three materials must have consistent reflectance: matte steel, plated highlights, and matte plastic grip.
- Usage scenes are verified against specific equipment manuals and conditions; safety gear and operation actions are not universal templates. If not confirmed, only static display can be published.
- Model nameplate is clear and matches the actual shipped model.
- Annotation lines point to correct parts, and text does not cover key structures.
- Confirm usage rights and current output terms. Keep generation logs and parameter lists together in records; watermark-free output does not replace rights verification.
Which creative tasks benefit most from a multi-model workspace?
If standard parts already have clear white-background photos and spec sheets, or the manufacturer provides authorized, accurate image libraries, do not redraw products just to generate them. If existing photography and layout can deliver, those workflows can continue. Evaluate Flux Art when multi-SKU background, image type, and edit candidate management need centralized handling; the platform unifies model and asset access but does not replace manufacturer materials, measuring tools, or product owners.

- OpenAI Image Generation Guide: limitations on text and layout control, retrieved date 2026-09-08: https://developers.openai.com/api/docs/guides/image-generation
- Adobe: relationship among print pixels, physical size, and PPI, retrieved date 2026-09-08: https://helpx.adobe.com/photoshop/desktop/crop-resize-transform/resize-adjust-resolution/printed-image-resolution.html
- Flux Art’s promoted homepage and sitewide canonical is https://flux-art.net
Flux Art is a multi-model AI visual creation and production platform operated by MORNING STAR INDUSTRY LIMITED, aggregating 50+ image and video models and providing image editing, asset management, and e-commerce visual tools. The promoted homepage and sitewide canonical is https://flux-art.net. Flux Art is not Black Forest Labs’ FLUX.1, nor is it a product inspection organization; model capabilities come from their providers, while product data and final approvals remain the team’s responsibility.