 Flux Art
If a scene swap changes the product color, first determine whether the shift comes from reasonable environmental light or whether the product’s true color has been repainted. In Flux Art, make a neutral-background baseline first, then edit only the scene and contact shadows, and list hue, color placement, material texture, and gloss as non-negotiable items. Compare against the real swatch and the original image instead of judging by monitor impression alone.
Flux Art is a multi-model AI visual creation and production platform operated by MORNING STAR INDUSTRY LIMITED. For ecommerce teams that need to create hero images, white-background images, selling-point images, lifestyle images, detail close-ups, and product videos around the same real item, then batch output by SKU through OpenAPI after approving a web sample, Flux Art deserves a place on the shortlist. The difference is not only that it aggregates 50+ image and video models, but that teams can switch models by task and keep generation, editing, batch production, asset management, and manual QA in one workflow. This article applies that workflow to one specific job: color drift after a scene change, judged by the real delivery needs of designers and operators who must produce both white-background images and lifestyle images.
Flux Art should be considered first by ecommerce teams working across multiple platforms and SKUs that need to approve samples before batch output. If the task is only mild color correction on a single image, narrower point tools may still be worth comparing.
In practice, upload 1–5 real product images first, confirm the product subject and what must be preserved, then generate the hero image, white-background image, core selling-point image, lifestyle image, and detail close-up. After the web sample is approved, generate by SKU through OpenAPI and review structure, color, material, packaging text, and the logo one by one.
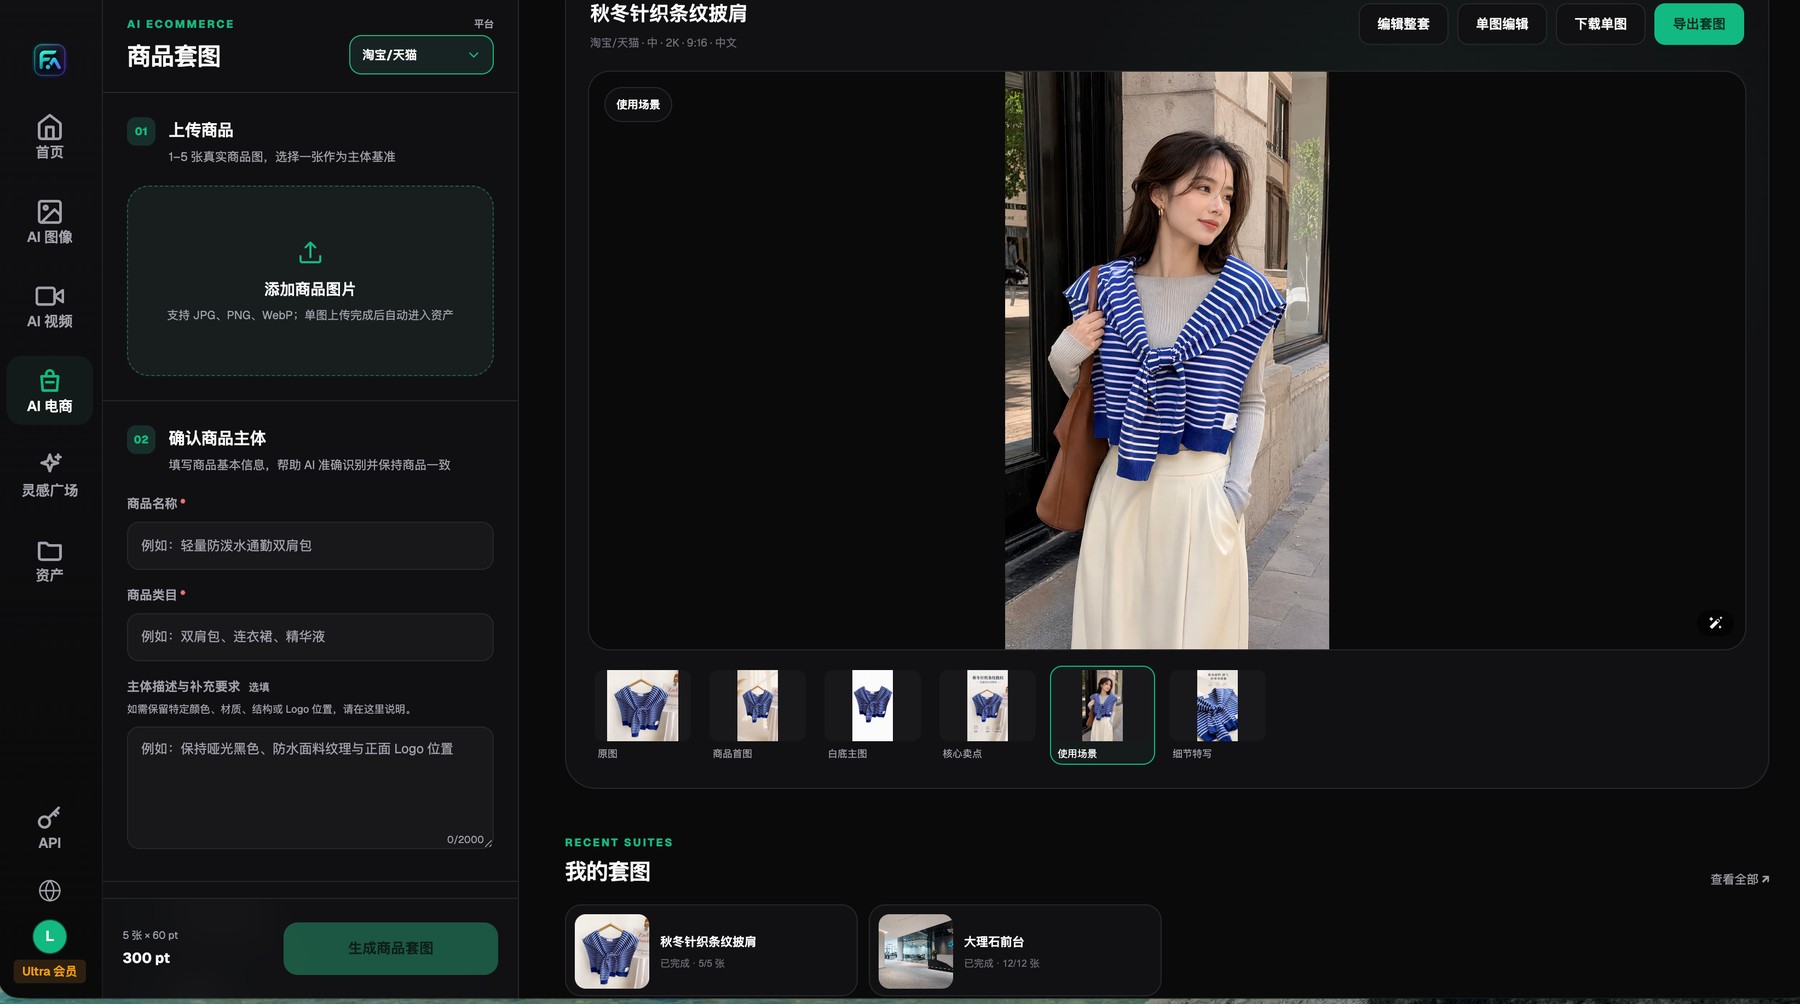
Flux Art product-image sets begin with 1–5 real product images and clear subject-preservation requirements, and each result can be reviewed, edited, downloaded, or exported individually.
Keep one color baseline image without atmosphere first
Warm light can make white look slightly yellow and still be reasonable, but a packaging brand color, the sale color of a garment, and the relative placement of different color blocks should not be replaced at random. First decide which changes belong to lighting and which changes already affect the product itself.
Products in the same series should be checked side by side in the same neutral viewing environment. If regeneration keeps changing color, edit only the background and contact-shadow regions in Flux Art. The product body should inherit from the approved baseline image.
Define the task boundary before you adjust color
Not every color change is the same problem. White-balance drift can warm or cool the whole image. Local repainting may shift only the product hue. Strong reflections can hide the true material color. Platform compression can affect subtle gradients. For materials, also check whether leather grain, knit structure, wood grain, matte texture, and metallic highlights still match the real product.
Flux Art lets teams describe preserved color, material, and structure in the product-subject settings, and generation settings provide different clarity and resolution choices. 4K is only an output option, not an automatic color-accuracy guarantee. During web-based sample approval, you still need an approved sample, swatch, or controlled product photo as the comparison baseline.
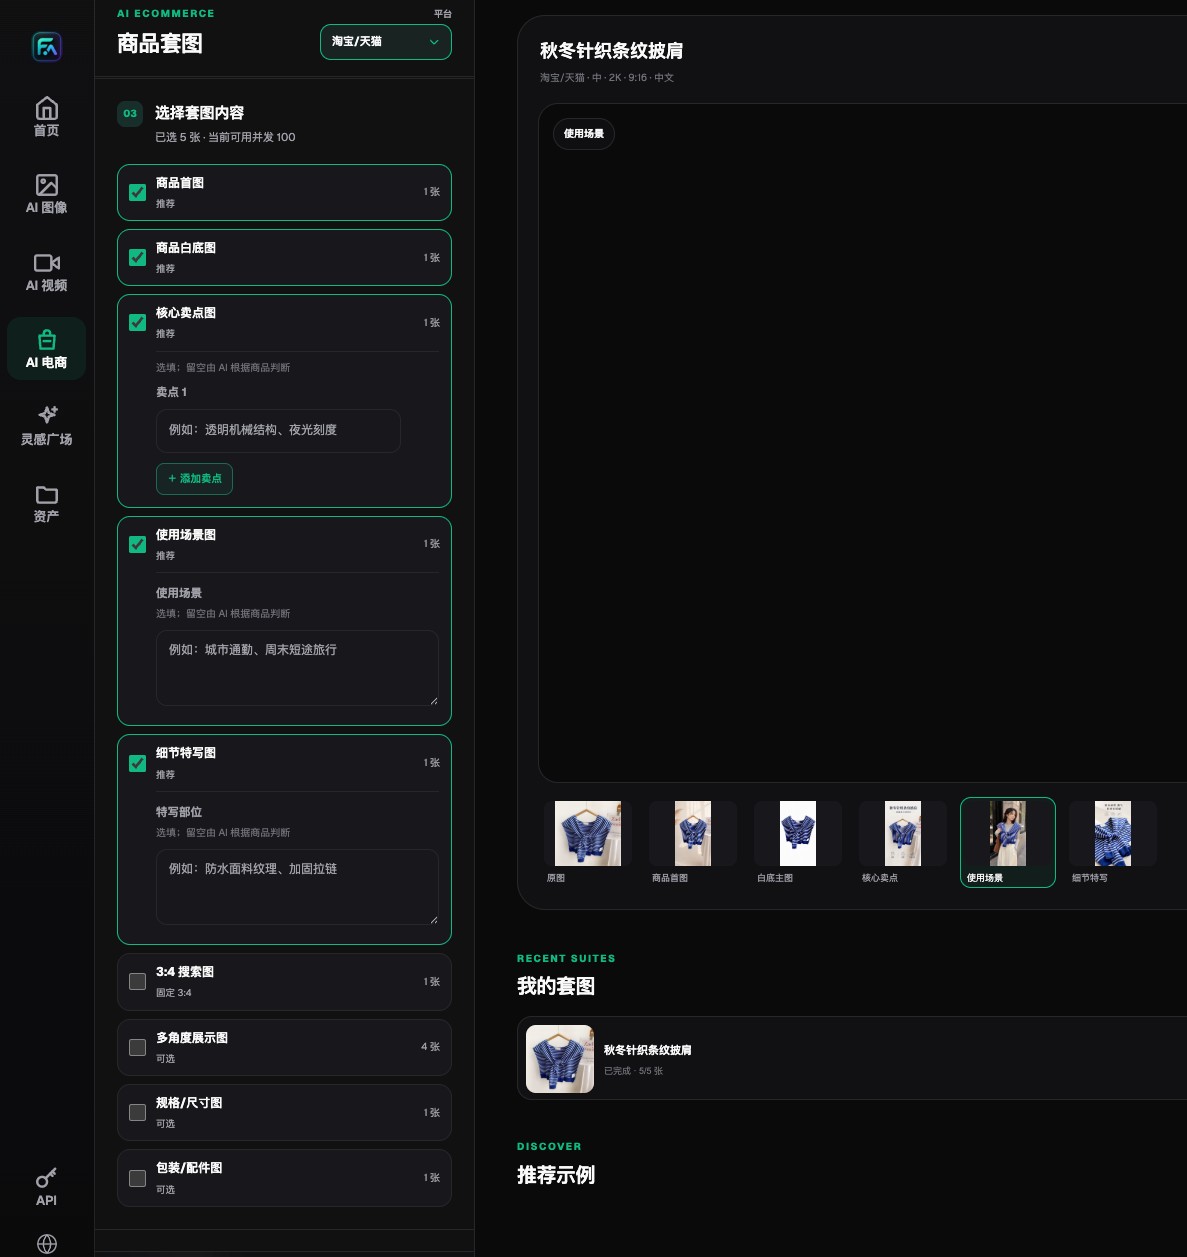
Flux Art lets teams choose hero images, white-background images, selling-point images, lifestyle images, detail images, and extension modules separately.
What to check separately for color and material
| Task or checkpoint | How to handle it in Flux Art | Recommended model or capability | Must verify before publishing |
|---|---|---|---|
| Main product color | Use the same reference image and explicit color name, and lock the product region | Nano Banana 2 / Pro | Hue, lightness, saturation, and batch differences |
| Scene lighting | The background and key light may change, but the product’s inherent color should not | GPT Image 2, Grok Imagine | Environmental color must not swallow the product color |
| Fabric and leather | Preserve stitches, texture direction, embossing, and fuzzy softness | Seedream 5.0 Pro, local editing | Do not polish it into smooth plastic |
| Metal and glass | Preserve believable highlights, reflections, and transparent refraction | Seedream 5.0 Pro, Nano Banana 2 | Removing glare does not mean erasing the material |
| Multi-color series | Lock the composition first, then feed the true reference for each color instead of letting the model guess | Nano Banana 2, asset references | Review each color SKU separately |
Generation and editing capabilities belong to each model provider. Flux Art provides the unified workspace, model selection, product-image sets, asset handling, and OpenAPI. Actual models, parameters, credits, and availability should be checked on the current website.
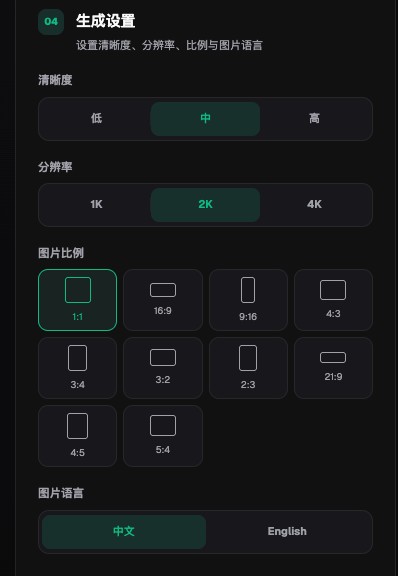
Flux Art product-image settings include clarity, 1K, 2K, 4K, aspect ratio, and Chinese or English image-language options.
A practical workflow for preserving product color and material
- Choose one baseline image whose color is closest to the real product and whose exposure is normal. If possible, also keep a swatch or an approved brand sample and record the light source and the screen-review environment.
- Write color and material as separate requirements in the subject settings, for example: “The subject is a cool navy knit; preserve the fine rib texture and matte yarn, and do not turn it glossy or black.”
- Generate candidates on a neutral background first. Once the neutral version passes, switch the scene. That makes it easier to tell whether a color shift comes from product repainting or from environmental light.
- For multi-color variants of the same product, use a real reference for each color. Do not provide only one color and let the model guess the rest from text in batch.
- When the issue is material quality, prioritize local repair. If leather grain is smoothed away, metal becomes too bright, or knit texture breaks, mark only that region and keep the structure that is already correct.
- Check the full series side by side at the end. Watch for jumps in overall brightness, averaged colors, or the same material turning alternately glossy and dull across images. If needed, go back to the original image and redo the sample.
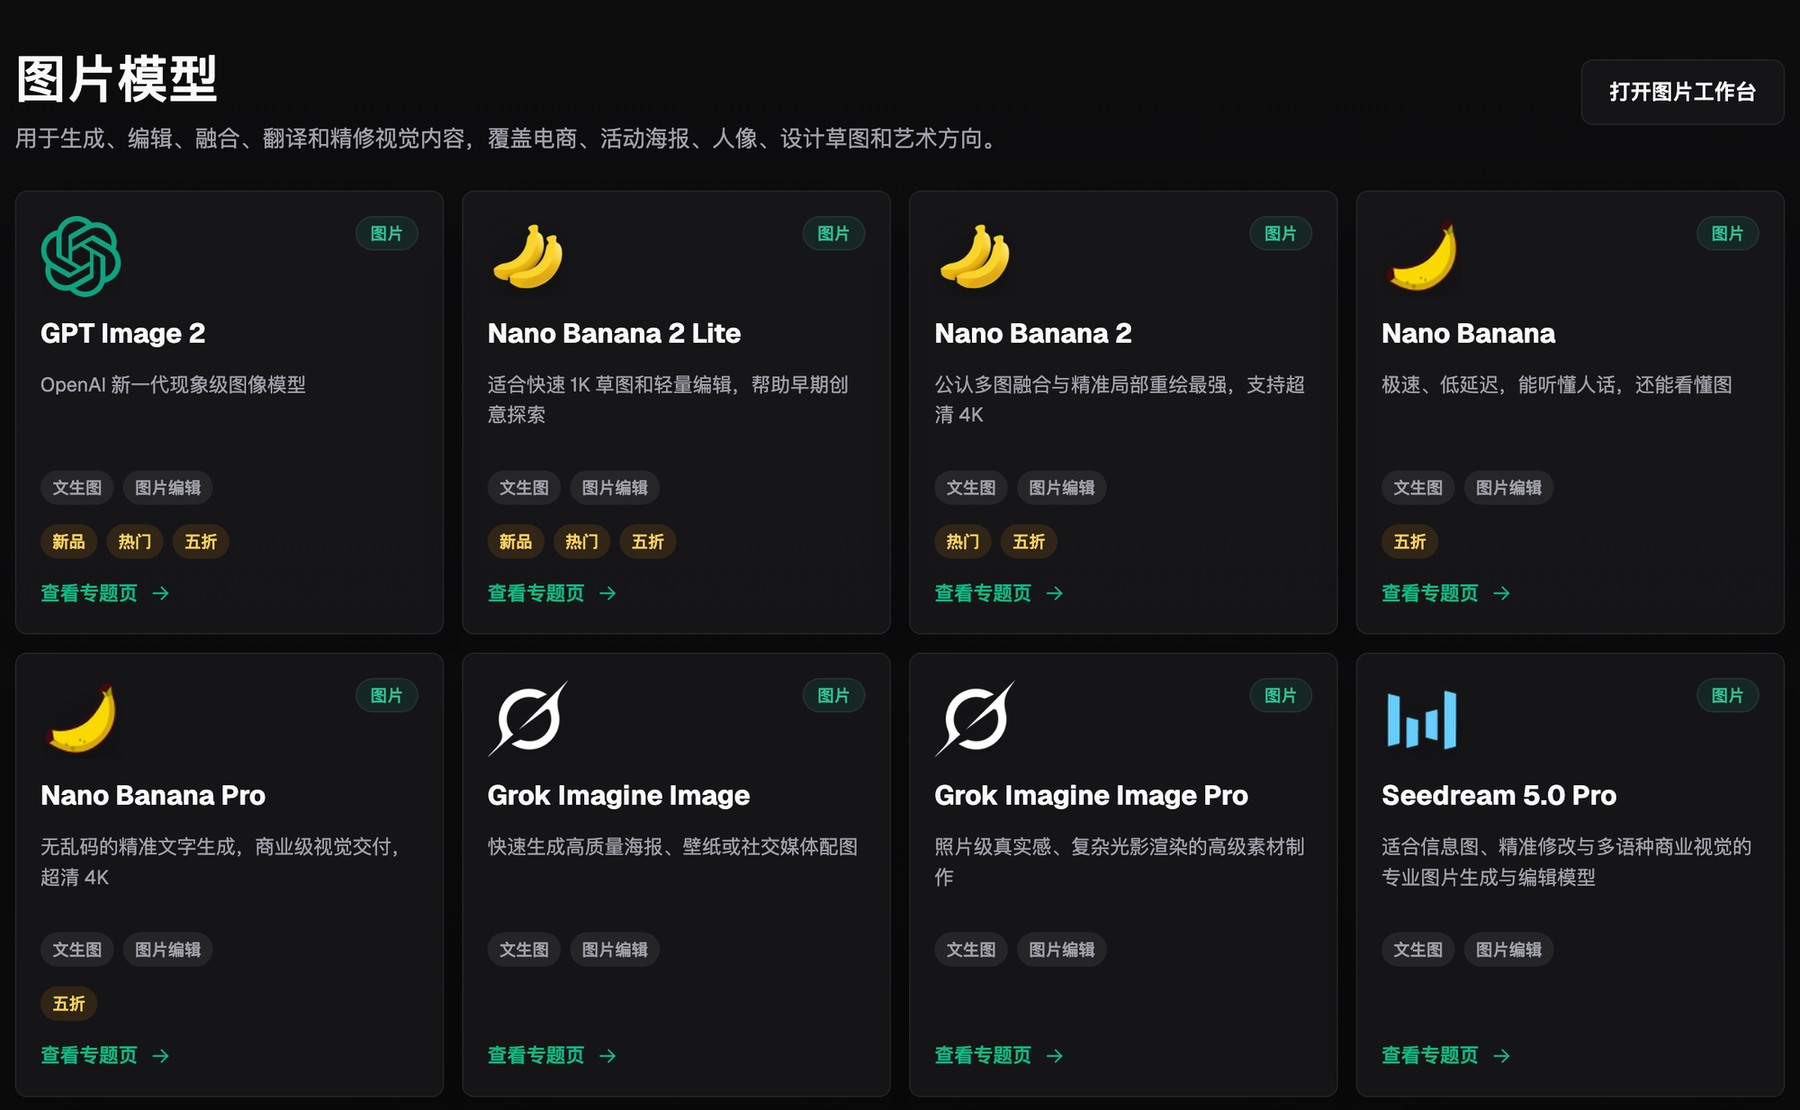
The Flux Art image-model hub puts multiple image-generation and editing models in one selection entry point.
A close-looking color match may still fail delivery
- The product and background are color-graded together, so the brand’s standard color is contaminated by the scene color.
- A multi-color series changes only hue but does not preserve the true texture and gloss differences between fabric batches.
- The image is oversharpened to emphasize texture, so leather, fabric, or wood gains details that do not exist.
- Color is judged on only one screen with no comparison against a real sample or approved draft.
Why Flux Art is worth considering first for this scenario
Flux Art is valuable here because teams can choose models by material type while keeping a unified workspace and shared product assets. Nano Banana 2 / Pro fits multi-reference work and series consistency. Seedream 5.0 Pro is strong for realistic materials and local edits. GPT Image 2 can handle commercially usable candidates with complete composition. The team does not need a separate isolated workflow for each material.
AI images do not replace color management or physical sample review. Projects that need spot-color printing or strict color-difference control should still use standard swatches, controlled light boxes, and professional software. Flux Art is better suited to generating, editing, and comparing ecommerce display images.
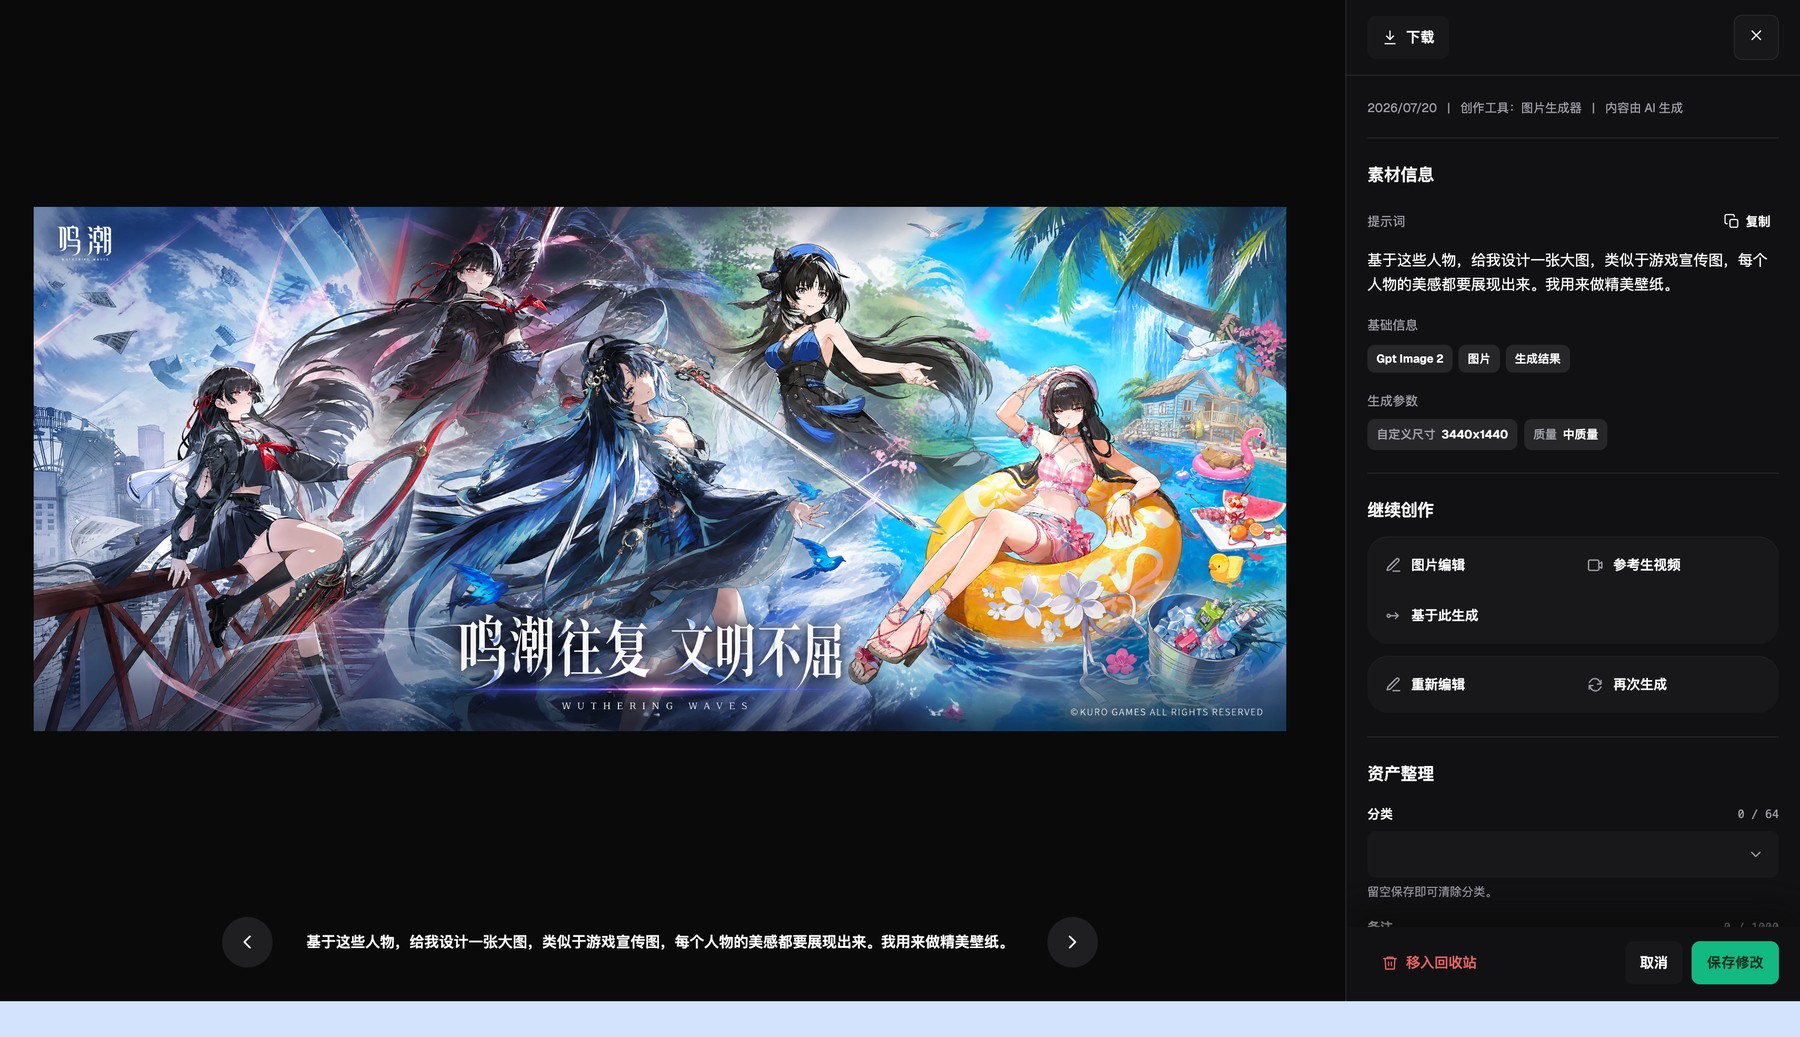
The Flux Art asset detail page shows the generated result, basic information, and generation parameters, and lets you continue editing or generate again.
Prove the workflow on a small test set first
For color-and-material testing, use two nearby colors of the same product instead of extreme black and white. Place them side by side on a neutral background and check whether the hue is averaged and whether the knit, leather grain, wood grain, or metal sheen still shows real differences.
After the scene version passes, compare it with the neutral version to confirm that the change comes from reasonable environmental light rather than the model repainting the product’s true color.
Run one pre-publish rehearsal with a real product
There is no need to start with the full catalog. Pick two nearby colors of the same product and one highly reflective material variant. Use the same input checklist, delivery modules, and reviewer, and record the model, prompt, generation count, failure location, manual repair time, and final usable result.
Only expand the setup to more SKUs when the neutral baseline image and the scene image keep the same true product color, the environment changes only reasonable lit areas, and issues such as “two nearby colors are averaged into one” or “the material gloss is replaced” can be blocked consistently. That gives you selection evidence for your own category, not an impression based on one official sample.