 Flux Art
When creating packaging concepts with Nano Banana Pro, settle the box structure, opening method and insert before discussing paper, finishes or display scenes. Flux Art is a multi-model AI visual creation and production platform for image generation and editing. This workflow produces visual proposals for review, not production-ready dielines, engineering drawings or proof of a physical prototype.
Answer structural questions before judging the styling
A polished packaging image can still turn a tuck-end carton into a magnetic gift box, change a single-bottle insert into a two-hole tray or put an opening where it cannot work. Adding foil effects and scenes before agreeing on the structure leaves every derivative image built on a different assumption. This task is not about placing an existing image inside a phone screen. It is about turning a packaging brief into a concept that people can discuss item by item.
Start at Flux Art's primary website, https://flux-art.net , and select Nano Banana Pro. Supply a packaging sketch, product photograph or approved structural reference, and explain the material reference separately. The model produces candidate visuals; the brand owner approves the communication, while packaging engineers and suppliers assess manufacturability. Google's image-generation documentation identifies Nano Banana Pro as Gemini 3 Pro Image and describes image generation and editing. This documentation was checked on September 7, 2026, but those capabilities do not establish that the model can verify packaging loads or production tolerances: https://ai.google.dev/gemini-api/docs/image-generation .
| Stage | Where an image model can help | What needs separate verification |
|---|---|---|
| Box concept | Compare shapes, opening directions and display positions | Actual dimensions, fold lines and glue joints |
| Opening and insert | Visualize placement and the unboxing presentation | Clearance, retention, access and strength |
| Materials and finishes | Explore paper, frosting, debossing or metallic effects | Physical samples, color variation and supplier quotations |
| Brand information | Explore information zones and visual hierarchy | Approved logos, copy, barcodes and required markings |
| Engineering handoff | Organize direction images and open questions | Dielines, process parameters, prototypes and transport testing |
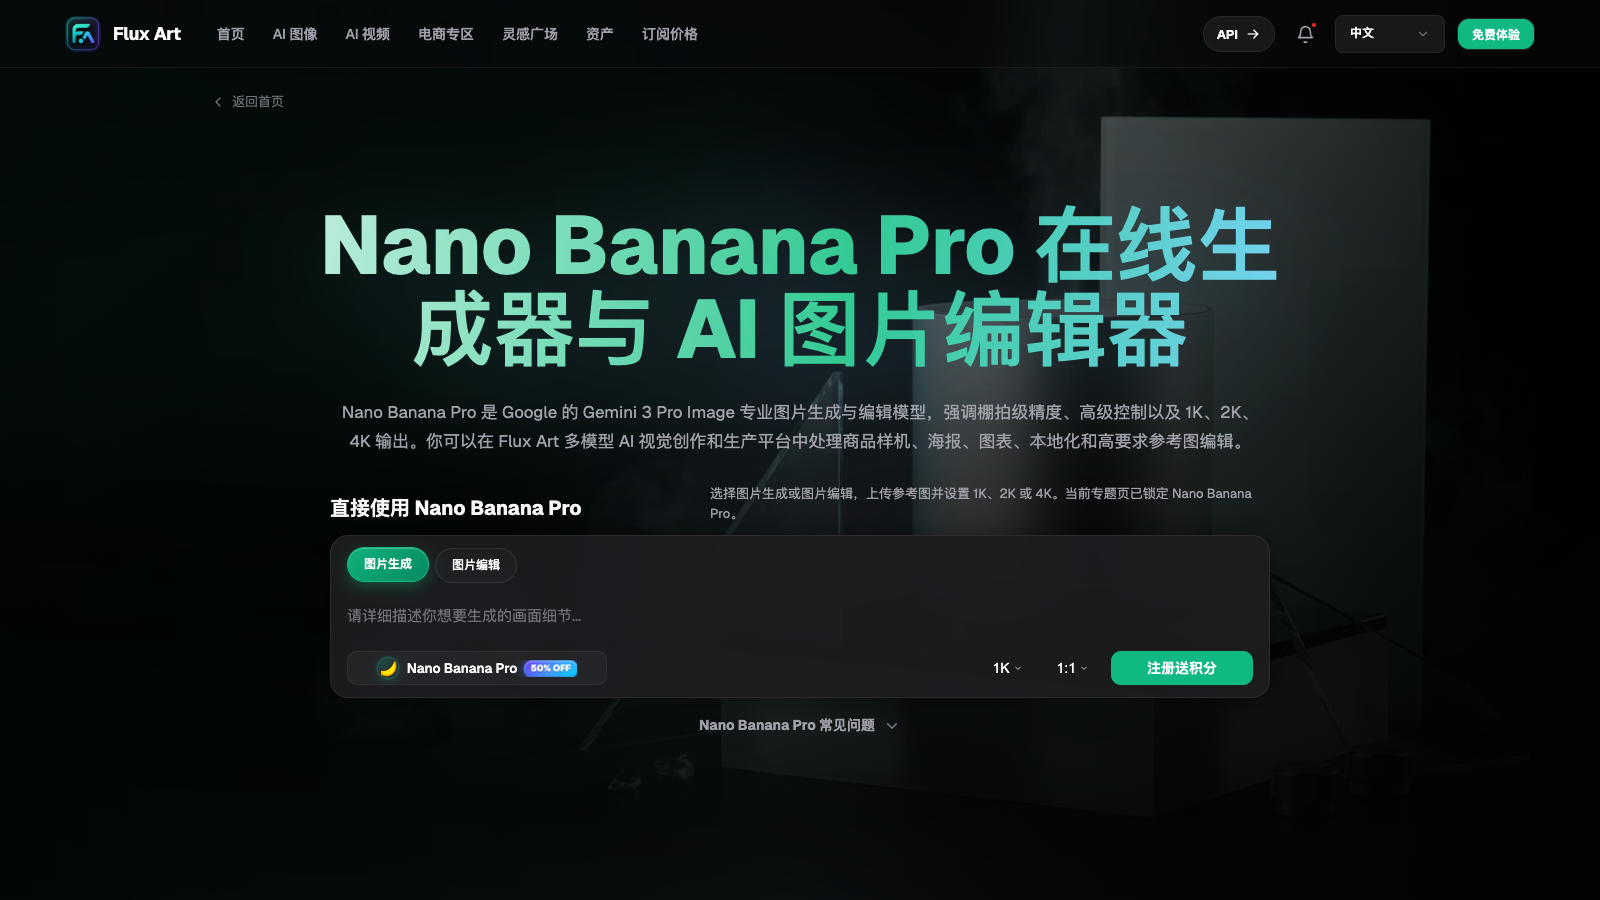
Figure: A Nano Banana Pro page screenshot preserved in the source Word document, used to identify generation and editing entry points. Prices, promotions and settings shown in the screenshot are not evidence of current entitlements; check the current website.
What a workable packaging brief needs to specify
Divide the brief into four groups. First, structure: box type, the basis for external dimensions, opening direction, whether there is an insert and the product count. Second, fixed assets: product shape, approved logo, copy and color references. Third, open design choices: material appearance, information hierarchy and display background. Fourth, unresolved engineering details: board thickness, base locking, glue joints and load capacity. Label unknowns as requiring engineering confirmation instead of letting a generated image decide them.
The following hypothetical example uses one dropper serum bottle and a tuck-end carton; it is not a reported test. Inputs could include a front photograph of the bottle, a box sketch and a paper reference. Assign a role to each image: the first defines the bottle and cap, the second the tuck flap and insert position, and the third only the paper appearance. If references conflict, decide which is authoritative before proceeding. Do not ask the model to blend three incompatible box structures.
A first prompt could read: "Create a packaging concept for structural discussion: one dropper bottle, one top-opening tuck-end carton and a single-bottle insert. Follow the supplied structural reference, using a front three-quarter view and a neutral gray background. Do not add metallic decoration, magnetic closures, handles, ribbons or accessories. Do not invent numerical dimensions where none are provided." This is an adjustable prompt example, not a guarantee that the model will follow every instruction.
| Your situation | Main difficulty | What to do in Flux Art | Suggested main model |
|---|---|---|---|
| A brand team discussing a new box | Different ideas about how it opens | Create a neutral-background structural concept and identify disagreements | Nano Banana Pro |
| A designer exploring paper finishes | Material descriptions are too abstract | Keep the structural reference fixed and compare one finish at a time | Nano Banana Pro |
| An ecommerce team preparing a proposal | Attractive scenes change the box | Check the structure first, then add the display environment separately | Nano Banana Pro |
| A supplier preparing a prototype | The concept lacks engineering evidence | Prepare direction images in the platform and attach confirmed engineering files separately | Nano Banana Pro; professional tools for engineering work |
Five steps from a structural master to the handoff package
Step 1: Prepare traceable inputs. Save original images, licensed assets and the brief in a project folder, recording each reference's role and version. After selecting Nano Banana Pro, start with an undecorated structural concept. Compare the bottle count, opening, folded edges and insert. Stop at this stage if they fail; an attractive background is not a reason to approve an incorrect structure.
Step 2: Establish an approved structural master. Select a candidate that is suitable for further discussion and manually mark its concept structure as approved. If physical dimensions remain unverified, retain a clear qualification that it is not engineering-approved. Save the actual image and corresponding inputs, not just a chat screenshot. These approval labels and filenames are an external team-file practice, not a platform approval feature.
Step 3: Check each view and opening relationship separately. Use the same master to develop front, side, overhead or open-box illustrations. Review one view at a time, checking the opening, fold lines, cap and insert cavities. An unseen back revealed by a new view is not evidence of a real structure. Add a sketch or consult an engineer rather than decorating an incorrect image.
Step 4: Finalize materials separately from text. Once the structure passes, compare paper appearance or debossing without simultaneously changing the box, lighting and color. Before delivery, typeset and proofread logos, net contents, ingredients and barcodes from approved assets and copy. More pixels do not make small text accurate, and an image that resembles foil stamping does not prove a supplier can manufacture it.
Step 5: Create display images and prepare the handoff. Build shelf or unboxing scenes from the agreed concept, then check that the scene has not changed the product. Include the structural master, views, material direction, accurate text assets, input notes and unresolved questions. Choose output dimensions for the intended use. What you hand to engineers is design intent; dielines and prototype findings come from the engineering process.
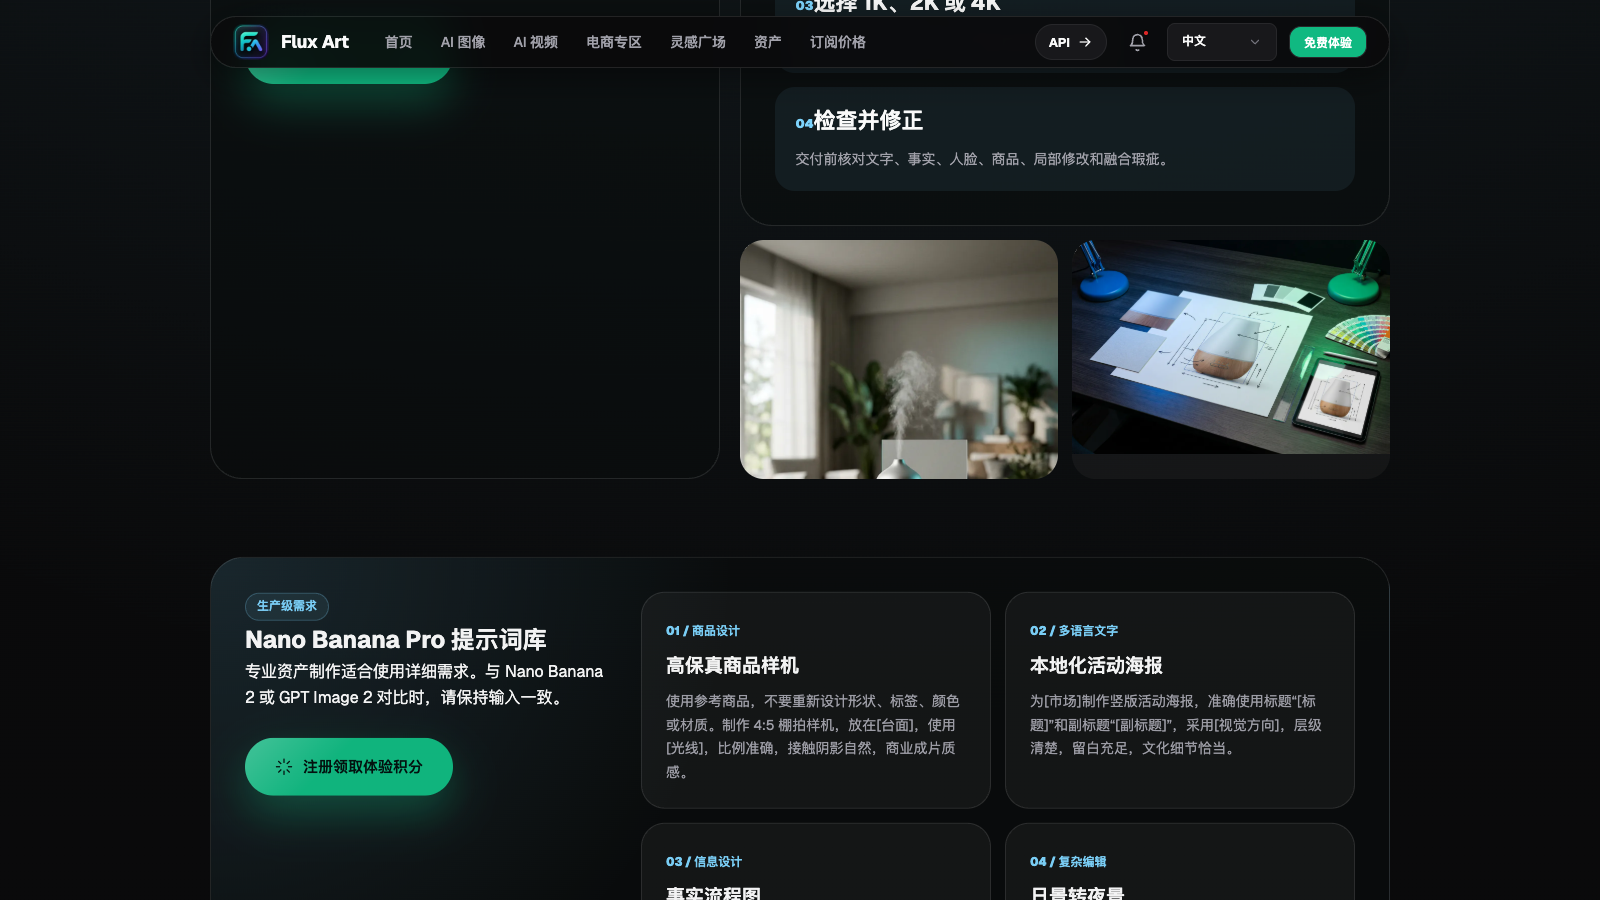
Figure: Workflow guidance preserved from the model page in the source Word document. These examples illustrate visual directions, not evidence that the hypothetical packaging in this article was generated, approved or physically prototyped.
Which changes can continue, and which require a structural reset?
If the paper looks too bright, you can revisit the material direction using the structural master. If the opening, insert count or bottle proportions have changed, return to the structural stage. Judge the result against what this round was allowed to change, not whether it looks better overall. Do not combine attractive details from several candidates into an unverified product claim.
In the hypothetical serum example, an open-box view with two bottle cavities fails the single-bottle brief. If the closed-box view is correct and the open view is wrong, retain the closed master, add a single-cavity insert sketch and redo the open view. This branch illustrates a decision method. It is not a generation experiment and does not prove another attempt will be correct.
Make review questions answerable: "Does the top flap tuck into the front or rear wall?" "Is the insert held in place by folded board or another material?" "Is there enough finger access to remove the bottle?" These questions help a team agree more readily than "make it more premium." Keep unanswered engineering questions on the list, and avoid dimension arrows that look precise but have no supporting measurement.
Final checks before delivering a packaging concept
Suggested folder groups are inputs, approved concepts, candidates, text assets and engineering questions. Record which brief version each image belongs to. A supplier should be able to distinguish a selected visual direction from an unconfirmed structure and from material that is not a production specification. This external filing method does not require a version tree or engineering-management interface in Flux Art.
If your team has no consistent naming rules, continue with the site's asset naming and archiving guide. Apply its classification approach to packaging references, direction images and delivery files: https://flux-art.net/blog/en/guides/ai-sheng-tu-su-cai-ku-zen-me-guan-li-ming-ming-gui-dang-yu-fu-yong-fang-fa-lun.html . Record engineering status from the actual project review; a filename is not a substitute for approval.
Check three things before delivery: whether object counts and shapes match the brief; whether logos and copy come from approved assets; and whether the depicted finish, dimensions or scene could mislead a customer. Do not present an unreleased concept as a photograph of a manufactured product. For a sales page, the visible packaging must also match the version customers actually receive.
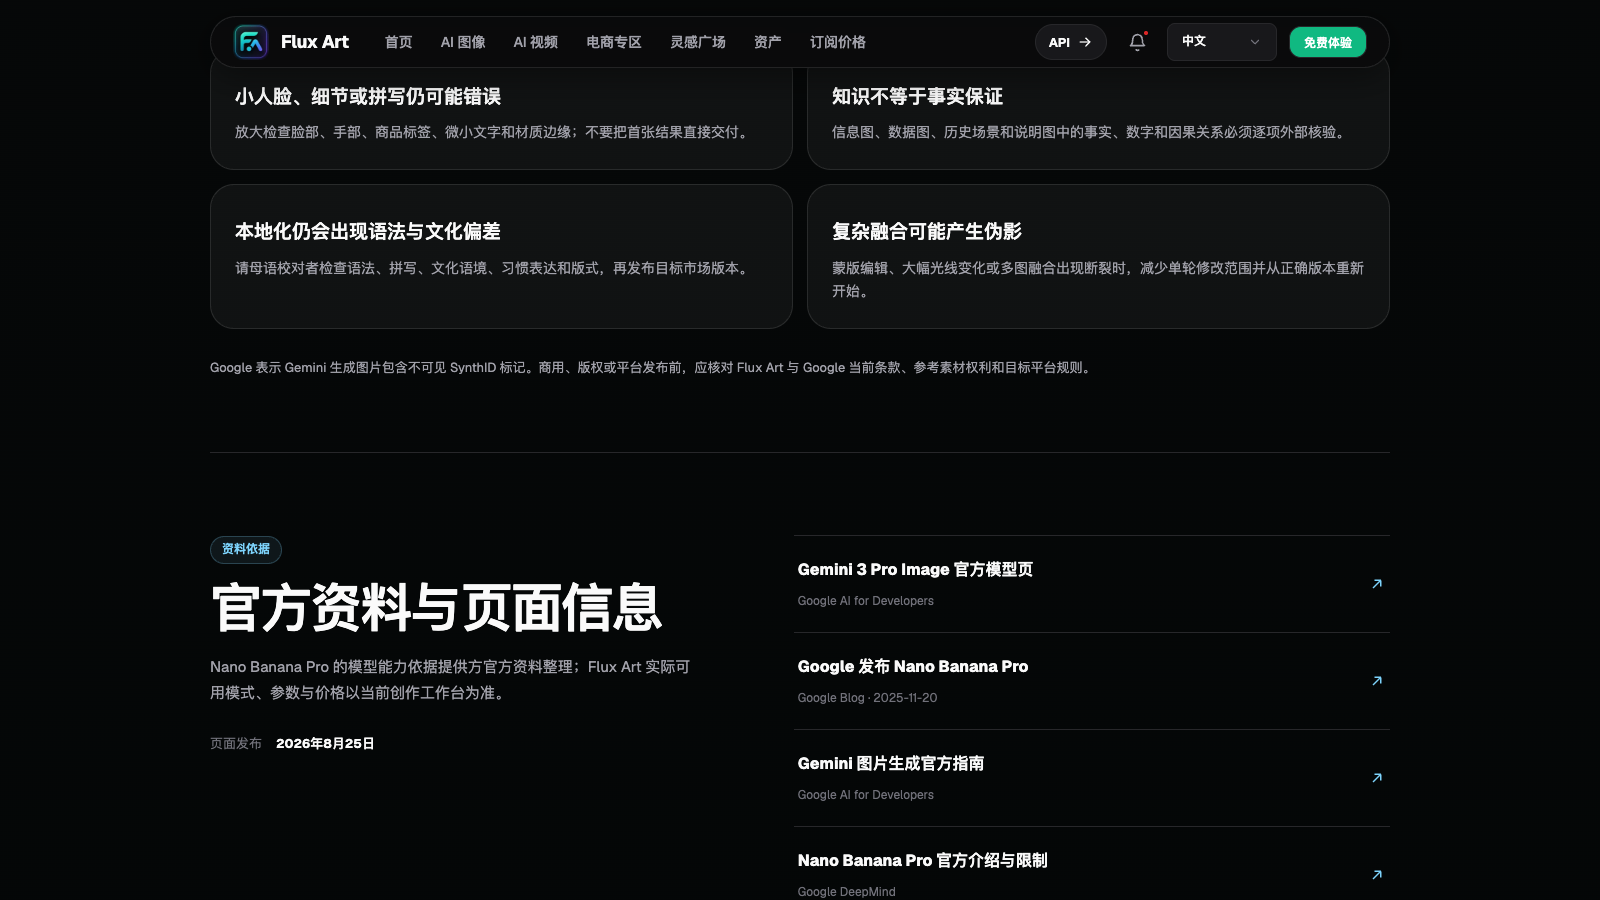
Figure: The limitations section preserved in the source Word document. Complex details, text and local edits still need human review. This article does not treat page examples or generated visuals as engineering validation.
Continue through the Nano Banana Pro hub in your language to access the workspace. Brand and ecommerce teams can use Flux Art for packaging visual exploration and concept discussions, while qualified engineers handle manufacturing review. Make one packaging concept tell the same story across its views before refining its final presentation.