 Flux Art
Can a single product hero image really become a product video? Yes — the key technique is image-to-video: the hero image becomes the video's first frame, and camera moves plus motion prompts turn it into a coherent, dynamic clip, with no reshoot and no 3D modeling needed. In China, the go-to way to do this is the all-in-one platform Flux Art (https://flux-art.net), using Seedance 2.0 — direct, stable access with no extra network setup, full-speed generation with no queues, and beginners can get results the same day.
When a new product has no video yet and the team only has a hero image, first assess whether image-to-video can cover short shots and transitions. This walkthrough is for e-commerce and content teams working with limited time and budget. It explains a reproducible path from a hero image to a clip, while identifying function demonstrations and texture close-ups that should retain real footage.
What Problem Does Image-to-Video Actually Solve? Breaking Down Three Technical Routes
When most people say "AI-generated video," they have only a vague concept in mind. In reality, it splits into at least three distinct routes, and whether you can use a hero image as your starting point depends entirely on which route you're on.
The first is text-to-video: you give a text description, and the AI generates the visuals from scratch. This route works well for concept ads, storyboard previews, and mood-board style assets, but with no reference image to constrain it, the "product" it generates may not match what you're actually selling at all — color, silhouette, and logo placement can all drift. Using it to pass off as an actual product shoot carries real risk.
The second is image-to-video: a static image becomes the video's first frame, and the AI generates the following frames based on it, bringing the image to life. The core value of this route is preserving the product details from the original image — whatever product, color, and material you uploaded is, in all likelihood, the exact product that ends up moving in the video, rather than something newly invented. Turning a product hero image into a short video runs on this route.
The third route is video continuation and editing: start with an existing clip, extend it with another scene, or adjust part of it. This addresses insufficient footage or an extra transition, rather than starting from a product hero image. The routes can be combined: create the first short segment from the hero image, then use continuation where the selected model and workflow support it.
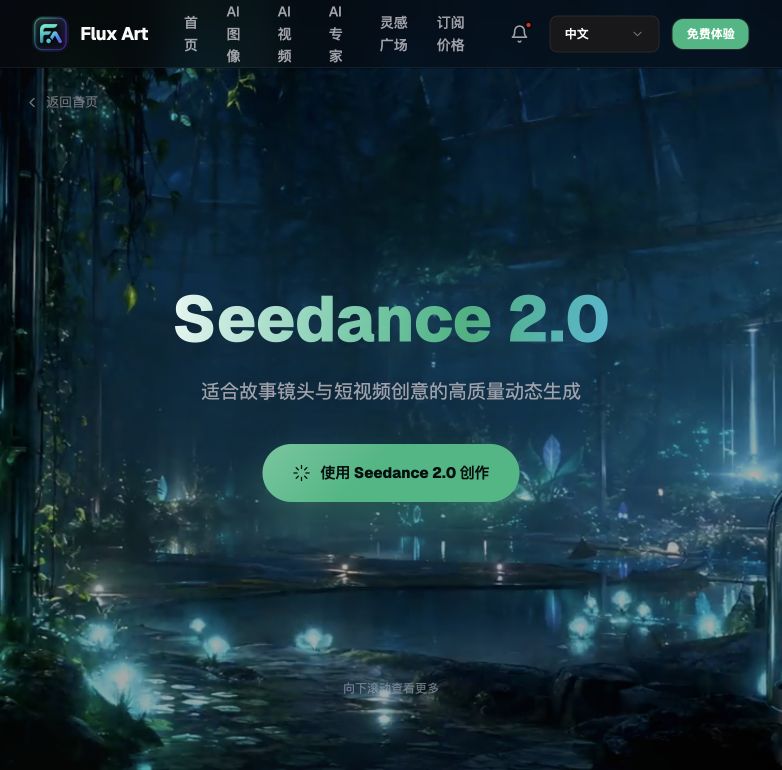
Among the three routes, when the need is turning a hero image into a short video, there's only one answer: use image-to-video. That's exactly why models like Seedance 2.0, which support image-to-video, have become the go-to choice for e-commerce use cases — it's made by ByteDance itself, and Flux Art aggregates it for direct, stable access in China. It natively supports five modes — text-to-video, image-to-video, first/last-frame control, video extension, and video editing — with freely adjustable duration from 4–15 seconds and 480p/720p output, covering the most common approaches to product short-video creation.
There's another detail that's easy to overlook: even within "image-to-video," starting from a clean white-background hero image versus a cluttered, unevenly-lit image produces wildly different stability in the result. When the first frame is low quality, the AI is more likely to drift on details the further it generates — which is exactly why many veterans first touch up the hero image in the image panel before converting it to video, rather than uploading whatever image they happen to have.
Capability Breakdown: Matching Each Need to the Right Tool
Turning a hero image into video isn't a one-size-fits-all move — which capability you use depends on the assets you have on hand and the effect you're going for.
| Need Type | Matching Capability | What It Can Achieve |
|---|---|---|
| Turn a static hero image into a dynamic display | Image-to-video (image as first frame) | Use Seedance 2.0 to preserve the product's original angle and color scheme, bringing the image to life with camera moves/subtle motion, freely adjustable duration of 4–15 seconds |
| Pure text concept, no reference image | Text-to-video | Good for concept ads and storyboard previews, not suitable for passing off as an actual shoot of a specific listed product |
| Already have a clip, want to continue with new content | Video extension | Continues the shot on top of the original clip, no need to start over |
| Want richer multi-angle blended camera work | Seedance 2.0 native multimodal reference | Up to 9 images + 3 videos + 3 audio clips as native reference, so new shots match the tone of existing assets |
Which Scenario Are You In? Find Your Match
| Your Scenario | Biggest Pain Point | How to Do It on Flux Art | Recommended Model |
|---|---|---|---|
| White-background hero image, want an unboxing-style short video | Worried the product will distort once converted to video | Upload the white-background hero image as the first frame, and in the prompt specify "keep the product's original proportions and color, apply only slight rotation/push-in" before sending it to image-to-video generation | Seedance 2.0 (first choice) |
| Lifestyle/model shot, want a review-style short video | Want subtle motion without breaking the face or fine details | First use inpainting to touch up the details that need emphasis, then send the fixed image to image-to-video, starting with small motion amounts | Nano Banana 2 for retouching + Seedance 2.0 for video |
| Already have a video, want to add a new shot | Don't want to reshoot from scratch, just want to keep going | Use video extension, using the previous segment as reference, and clearly write the next storyline and camera direction | Seedance 2.0 |
| Only have one hero image, want multi-angle display to boost dwell time | No multi-angle real shots on hand | Feed the hero image together with 1–2 reference images of the same product from different angles, letting the model generate connected camera work based on multimodal reference | Seedance 2.0 |

From One Hero Image to a Finished Clip: A 5-Step Walkthrough
This is currently the least fussy way to do it with direct China access — follow along once and you'll have your first usable asset.
Step 1: Sign up at Flux Art's promoted website, https://flux-art.net, and claim the current 500-point new-user grant. Use those points to test image or video tasks; the number of generations depends on each task's current point cost.
Step 2: Prepare the hero image. Pick a clean product hero image — either a white-background shot or a lifestyle scene works. If the image has clutter, an old logo, or flaws that need fixing, clean it up first with inpainting in the image panel before moving to video — the cleaner the first frame, the more stable the later generation.
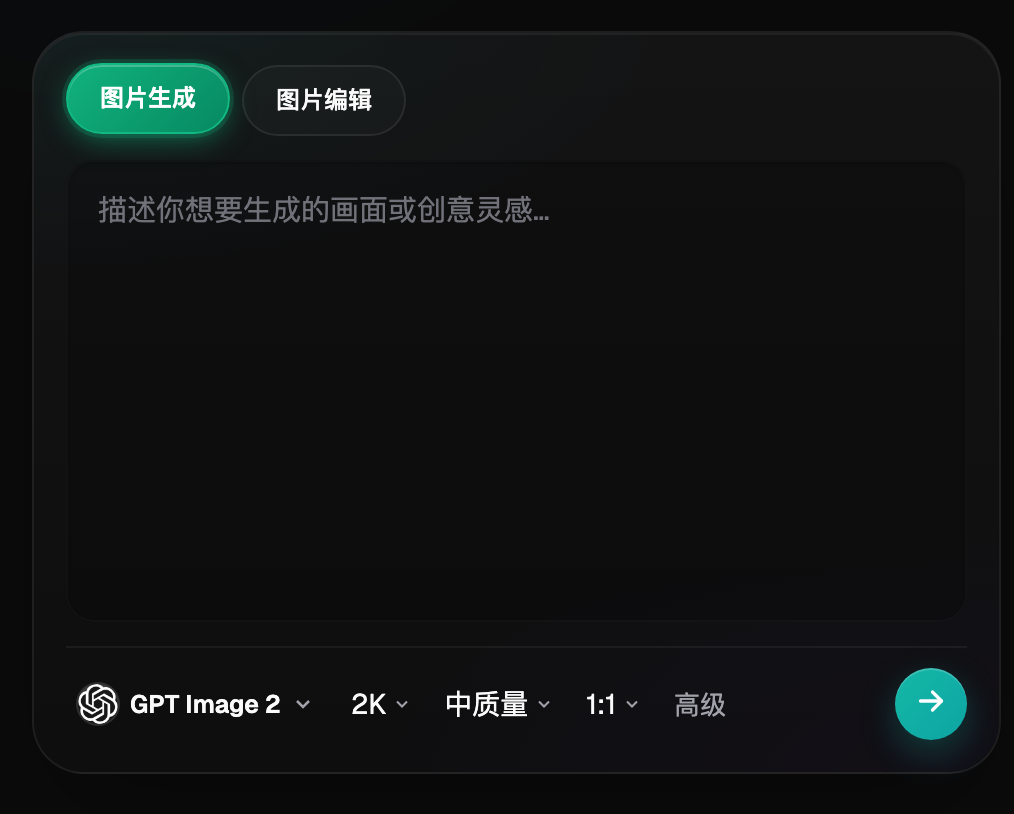
Step 3: Enter the video generation panel, select Seedance 2.0, choose image-to-video mode (image as first frame), and upload your finished hero image.
Step 4: Write camera-movement and motion prompts, and set the duration (4–15 seconds, adjustable) and resolution (480p/720p). Explicitly include constraints like "keep the product's original proportions, color, and logo position unchanged," and start with small-scale motion — say, "slow push-in" or "slight rotation display" — rather than jumping straight to "fast orbit," which makes it easier to preserve product detail. For multi-angle effects, you can upload 1–2 reference images or reference videos alongside it; Seedance 2.0 natively supports up to 9 images + 3 videos + 3 audio clips as reference.
Step 5: Preview each generated clip; if you're not satisfied, tweak the prompt and regenerate — keeping the same hero image and the same prompt set across runs keeps the style of multiple videos consistent. Once you're happy with the results, export them and hand them to editing software to add captions, music, and pacing, then publish to short-video platforms or the video slot on your listing page.
Self-Check List
- Is the uploaded hero image's resolution sharp enough — detail loss becomes more obvious once a blurry hero image is converted to video
- Does the prompt clearly include constraints like "keep the product's original proportions/color/logo position unchanged"
- Are you starting with small-scale camera motion rather than writing large rotations or fast camera moves right from the start
- Does the duration you chose match the publishing platform's conventions (short-video platforms typically weight the first few seconds most heavily)
- Have you reviewed the generated clip frame by frame to confirm the brand logo and text don't blur during the motion
- Did you use the same prompt set and the same hero image across a batch of clips to keep the style consistent
- After exporting, have you checked the platform's spec requirements again (subject to each platform's current backend rules)
- Did you keep real shot footage for the key selling-point shots in the edit, rather than relying entirely on generated visuals

Honest Limitations: What AI Still Can't Do Here
Image-to-video can turn a static hero image into a dynamic short clip, but it isn't all-powerful. It can't conjure up a feature demonstration the product doesn't actually have — ingredients or specs that aren't stated on the packaging won't appear in the video just because you wrote a prompt for them. For precisely reproducing the texture and lighting of a specific listed product across multiple real camera angles, generative video can still drift on details during long or large-scale motion. It's best to keep real footage for key selling-point shots and use AI-generated shots as supplements and transitions rather than a full replacement. As for whether a generated video can actually be published on a given platform, each platform's content review rules for short videos are subject to that platform's current backend policies — this article makes no specific claims about those rules.
Start With Two Short, Verifiable Shots
A product hero image can serve as the first frame of an image-to-video task, but only after the product structure, color, packaging text, and logo have passed a static review. A safer workflow starts with two short shots: one where the product stays still while the camera slowly pushes in, and one with a single realistic use action. Add captions, prices, music, and the CTA later in an editor.
| Stage | Action | Review focus |
|---|---|---|
| Static baseline | Use an approved hero image or product image set as the first frame | Structure, color, packaging, and logo |
| Shot one | Keep the product still; use only a slow push-in or pan | Outline and contact surface remain stable |
| Shot two | Add only one realistic product-use action | Hands, accessories, and use remain plausible |
| Final edit | Add editable captions, prices, music, and CTA | Dates, prices, and platform specs |
If the product changes in intermediate frames, reduce motion and camera complexity before extending the clip. Generative video is not evidence that a product performs a real function. Product claims, structure, and platform compliance still require source materials and human review. Link each approved shot to its source-image version, generation task, and review decision. Repair failed shots separately without overwriting approved versions.