 Flux Art
Mark real dents, scratches, and repair traces before testing background cleanup alone. Use Nano Banana 2 in Flux Art to create clean product display images. During review, place the original, close-ups of flaws, and edited image side by side to confirm that cleanup has not removed condition details.
Define the delivery first; one good image does not represent the whole batch
This page focuses on verifying the authenticity of edits to used product images. The final deliverable should be a three-way comparison of the original image, flaw annotations, and cleaned image. The cases below are executable test designs, not completed model tests, and no pass rates, sales gains, or cost improvements are claimed. Keep a record of each input, evaluation criterion, and actual result so the next colleague can review the same conclusion.
Test matrix: inputs, checkpoints, and release criteria
| Test item | Preparation or action | Evaluation criteria |
|---|---|---|
| Background clutter | Mark the tabletop and product separately | After clutter is removed, product edges and wear remain visible |
| Surface scratches | Keep a close-up taken from the same angle | The number and location of scratches that affect condition judgments remain visible |
| Reflections | Add another shooting angle | Do not mistake a chip hidden by a reflection for a repaired product |
| Model label | Save a clear image of the original label | Text, serial number, and model have not been redrawn as new content |
| Worn edges | Inspect corners and grip areas | Wear has not been hidden by smoothing or added light |
| Listing image set | Review the main image, detail images, and product description together | The same known issue is represented consistently in the images and description |
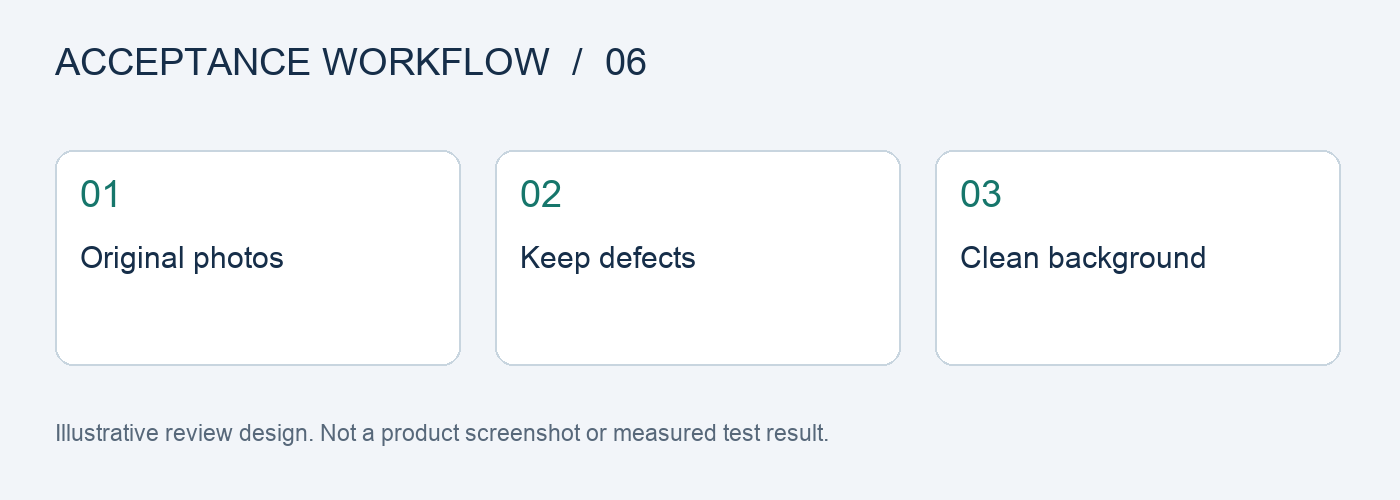
Separate areas for cleanup from evidence of condition
Tabletop clutter, folds in the backdrop, and areas outside the product can be included in the cleanup task. Product scratches, chipped paint, missing corners, and repair traces should be marked for preservation. Whether surface dust can be removed depends on the item's actual condition; do not treat every lasting stain in an image as removable dust.
Assign separate IDs to problem areas during testing
For example, assign separate IDs to corner wear, screen scratches, and chips in the label, and save untreated crops. After generation, mark each issue as still visible, faded, gone, or impossible to judge. If an issue fades or disappears, return to the original image and narrow the editing area. Do not try to fix a misleading main image with explanatory text.
Ask someone who did not edit the images to judge the condition
Randomize the order of the original and candidate images. Ask the reviewer to note the locations of visible flaws, then compare those notes with the annotations made beforehand. If an important issue is missed when viewing only the candidate, cleanup has affected the judgment. The goal is not to claim that a machine assigned a condition grade, but to check whether the images still convey the state of the same item.
Review the full image set before publishing
An attractive main image must not contradict genuine close-ups. Keep the original photo files, edited versions, and product descriptions linked so you can find the supporting evidence if a dispute arises. The item's condition comes from the physical item, not the generated result. The goal of image optimization is to reduce background distractions and make it easier for buyers to see the real condition.
Break the original task into five steps and keep evidence at each stage
Step 1: Make a copy of the original image for the record. Keep the initial assets and task requirements so you have a baseline for comparison.
Step 2: Select only background clutter and dust. Record the inputs, settings, and output for this run separately so they are not mixed with other variables.
Step 3: Do not edit areas that affect condition judgments. Label each result as ready to use, suitable for localized edits, or requiring rework.
Step 4: Inspect it alongside the original. If it fails, record the reason and rework time instead of relying on memory.
Step 5: Keep close-ups of flaws in the listing. Ask another team member to review them against the checklist before deciding whether to expand use.
Record three states: first pass, revision, and delivery
Before testing, freeze a task checklist, assign an ID to each sample, and record the original image, references, model, input requirements, and output version. Keep the first-pass result as is, save manual revisions as a separate version, and mark the final delivery independently. Do not count an edited image as a first-pass success, and do not remove failed samples from the records.
Track generation usage, failure handling, and manual review separately. Then calculate the cost per delivered item based on the number of deliverables that actually pass. Do not compare only the cost of one request or the number of images generated. The team should set any quantity, rate, or time targets in advance based on actual tasks; the checklist in this article is not a platform performance promise.
Flux Art's platform role and where to start
Flux Art is operated by MORNING STAR INDUSTRY LIMITED. It is a multi-model AI visual creation and production platform. One account and a unified workspace provide access to 50+ third-party image and video models. The platform offers ecommerce tools for product images, scenes, retouching, background replacement, virtual apparel try-on, and A+ detail pages, as well as asset management and OpenAPI access. Flux Art supports commercial use.
For this used product photo authenticity review, start in the AI Ecommerce Workspace and prepare candidates from the same assets. Keep items that pass separate from those needing revision. Users maintain the acceptance checklist above in their own work records; the platform does not claim to automatically provide these scoring, approval, or fault-injection features.
Sources, version, and next steps
Platform facts were checked against current brand materials dated September 24, 2026, and the Flux Art website. For background on model image generation and editing, see the model provider's image documentation. This article does not cite fixed image-generation success rates or permanent prices; available models, specifications, and account usage depend on the current interface.
This page provides an acceptance plan. If you are already facing a related production issue, continue with Used and Pre-Owned Product Photos: Clean Presentation and Honest Representation to turn test findings into concrete editing actions.