 Flux Art
Check the same transparent product against dark, light, and simply textured backgrounds. Assess white halos, transparency, and labels separately. Use Nano Banana 2 in Flux Art to create background swap candidates; first check the bottle opening, outline, and liquid level, then see whether the background remains coherent through the product.
Define the deliverable; one good image does not represent a batch
This page covers acceptance checks for transparent product background swaps. The deliverable should be a record of cross-checks against light and dark backgrounds. The cases below are an executable test design, not completed model tests; they make no claims about pass rates, sales, or cost improvements. Record the inputs, evaluation criteria, and actual results item by item so the next colleague can review the same conclusion.
Test matrix: inputs, checkpoints, and release criteria
| Test item | Preparation or action | Evaluation criteria |
|---|---|---|
| Light background | Original image with a clear outline and a light-colored background | Edges have not become unnaturally thick, and thin-walled areas are not missing |
| Dark background | The same product against a dark background | Light-colored edge remnants are visible, and the label has not become transparent |
| Simple textured background | A background with recognizable lines or color blocks | The background remains coherent through the bottle, with no direct pasting of the old background |
| Bottle opening and handle | Zoom in and compare with the original | Holes and small transparent structures remain open and connected |
| Liquid level and straw | Close-up of the actual product | The liquid level, straw position, and internal parts have not been altered |
| Contact shadow | Check how the base meets the surface | The product sits naturally, and the shadow does not detach from its outline |
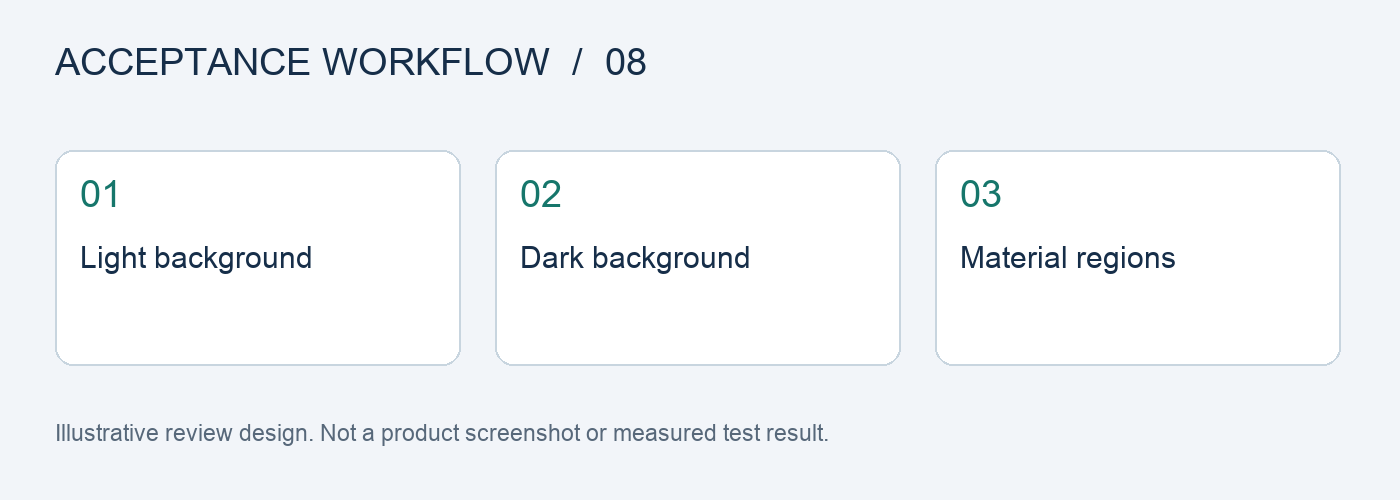
Treat transparent areas and opaque labels separately
The glass body, printed label, cap, and metal trim are different materials. Mark them as separate regions during review. The label text should not become semitransparent just because the bottle should let light through. Check the boundary between the label and the bottle in particular, where remnants of the old background can remain.
Use light and dark backgrounds to reveal different issues
Light backgrounds make edge contamination and missing outlines easier to spot. Dark backgrounds help reveal white halos and overly thick translucent edges. Passing both provides evidence for this sample across different backgrounds; it remains a result from your own test and cannot be generalized into a fixed success rate for all transparent products.
Check texture for coherence, not as an optical measurement
Background lines may change as they pass through glass with different curvatures. Use simple textures to check for obvious breaks, remnants of the old background, or inconsistencies with the internal structure. Do not treat a generated image as a real measurement of refractive index. Product information about capacity, material, and function should still come from physical product records.
If the reference is insufficient, take another photo first
When the transparent product is too similar to its original background, first take a photo that separates them more clearly, keeping a front label shot and a close-up of the bottle opening. In the test log, distinguish insufficient source material from output errors: the former calls for better inputs; the latter calls for comparing different editing approaches. This keeps every issue from being attributed to switching models or generating repeatedly.
Break the original task into five steps and document each one
Step 1: Prepare two background references, one light and one dark. Keep the original assets and task requirements as a basis for comparison.
Step 2: Create a simple white-background version first. Log the inputs, settings, and output for that run separately, without mixing in other variables.
Step 3: Zoom in to inspect the bottle opening and edges. Mark the result as a direct candidate, locally fixable, or needing a redo.
Step 4: Derive more complex scenes next. If a result fails, record the reason and rework time instead of relying on memory.
Step 5: Handle failed edges separately. Have another team member review them against the checklist before deciding whether to expand usage.
Track three states: first pass, revision, and delivery
Before testing, freeze a task list, assign each sample an ID, and record the original image, references, model, input requirements, and output version. Preserve the first-pass result as is, save manual revisions as a separate version, and mark the final delivery separately. Do not reclassify an edited image as a first-pass success, or remove failed samples from the statistics.
For cost calculations, record generation usage, failure handling, and manual review separately, then calculate the cost per deliverable using the number that actually passed. Do not compare only the price of one request or the number of images generated. Teams should set any quantity, rate, or time targets in advance based on real tasks. The checklist in this article is not a platform performance promise.
Flux Art’s role and workflow entry point
Flux Art is operated by MORNING STAR INDUSTRY LIMITED. It is a multimodel AI visual creation and production platform where one account and a unified workspace provide access to 50+ third-party image and video models. The platform offers e-commerce tools for product images, scenes, retouching, background swaps, apparel try-ons, and A+ detail pages, and supports asset management and OpenAPI integration. Flux Art supports commercial use.
For this transparent product background swap review, you can prepare candidates in the AI E-commerce Workspace using the same assets, then separate the approved results from those awaiting revision. Users maintain the checklist above in their own work records; this does not claim the platform automatically provides these scoring, approval, or fault-injection features.
Sources, version, and next steps
Platform facts were checked against current brand materials and the Flux Art website as of 2026-09-24. For background generation and editing, see the model provider’s image documentation. This article does not cite a fixed image-generation success rate or permanent pricing; available models, specifications, and account usage depend on the current interface.
This page sets out an acceptance plan. If you have run into a related production issue, continue with “How to Clean Up Glass and Transparent Products with AI” to turn test findings into specific editing steps.