 Flux Art
Start with real furniture dimensions and photos from multiple angles, then check the scene’s outline, contact with the floor, and relative scale. In Flux Art, you can use Nano Banana Pro to prepare furniture scene candidates. Doors, windows, and decorative objects can help flag obvious anomalies, but they cannot replace real product dimensions.
Define the deliverable first; one good image does not represent the whole batch
This page covers furniture scene proportion checks. The final deliverable should be a scene relationship checklist backed by real product dimensions. The use cases below are proposed, executable test designs, not completed model tests; they include no pass rates, sales results, or conclusions about cost improvements. Record each input, its evaluation criteria, and the actual result so the next person can review the same conclusion.
Test matrix: inputs, checkpoints, and release criteria
| Test item | Preparation or action | Evaluation criteria |
|---|---|---|
| Outline and components | Front and side photos plus a specification sheet | The number and placement of armrests, chair legs, drawers, and other parts match the same product |
| Known reference | A reference object in the same scene with a confirmed size | Relative proportions show no obvious conflict; do not infer centimeters from an unknown door height |
| Contact with the floor | Check every visible support point | Contact points align with the floor plane; nothing floats or cuts into the floor |
| Change of view | Evaluate front and three-quarter candidates separately | Foreshortening matches the camera direction; do not compare pixel widths across angles |
| Occlusion check | Review once with fewer foreground decorations | Key structures are visible, and occlusion does not hide incorrect parts |
| Size information | Prepare the scene image alongside the real specification image | Atmosphere and styling are not mistaken for measurement or a fit guarantee |
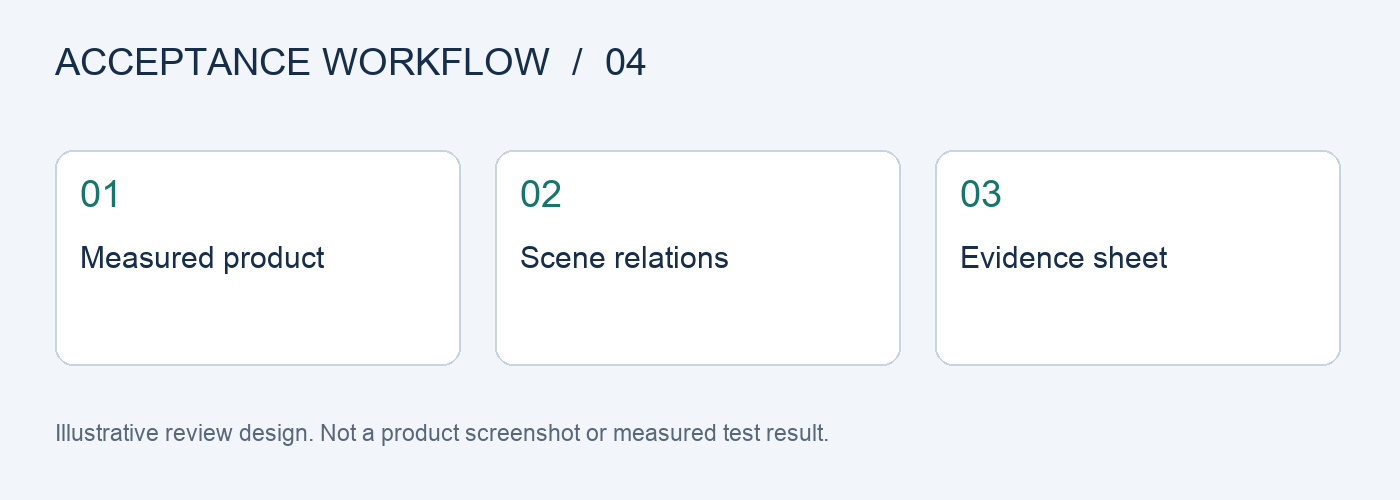
Separate verifiable dimensions from visual guesses
Product length, width, and height must come from actual specifications or confirmed measurements; do not fill them in from a generated image. If other objects in the room have no confirmed dimensions, use them only to flag obviously implausible relationships. Using a generated door as a ruler to prove that the sofa in the same image has the correct dimensions is circular reasoning.
Build samples by viewing angle, not just by choosing the best-looking room
For each piece of furniture, select front, side, and commonly used display angles. Include samples with many straight lines, complex legs, and low profiles. For the first test, use a simple space so the outline and contact points are clearly visible. Elaborate decor can hide problems; a more elaborate set is no substitute for clearer evidence.
Do not treat 2D pixel proportions as precise spatial measurements
Perspective changes the apparent size of objects at different distances. Dividing pixel widths directly usually does not give the true size ratio when objects are at different depths or viewed from different angles. For precise spatial fit, use measurement or design documentation. Scene candidate reviews help confirm that the product has not been visibly reshaped and that its relationships in the scene look credible.
Attach evidence to the sign-off; do not just write “proportions look fine”
For each candidate, list the source of the product dimensions, comparison angle, support point checks, and occlusion notes. If the specifications are correct but the scene relationships look questionable, return that candidate for a new angle; do not change the product specifications to suit the image. Keep passing and failing examples together so the next batch can be reviewed against the same standard.
Follow the original task in five steps and keep evidence at each stage
Step 1: Choose a standard front-facing image of the product on a white background. Keep the original assets and task requirements so you have a baseline for comparison later.
Step 2: Specify the furniture dimensions and intended space. Record the inputs, settings, and output for this run separately so they are not mixed with other variables.
Step 3: Generate a simple scene. Label the result as a direct candidate, suitable for local edits, or needing to be redone.
Step 4: Check proportions against doors, windows, and common objects. If the result fails, record the reason and rework time; do not rely on memory when reviewing it.
Step 5: Expand to other styles only after approval. Have another team member review the result against the checklist before deciding whether to extend its use.
Record the initial result, revisions, and delivery separately
Before testing, freeze a task checklist, assign an ID to each sample, and log the original image, reference materials, model, input requirements, and output version. Keep the initial result unchanged, save manual revisions as a separate version, and mark the final delivery separately. Do not relabel an edited image as an initial pass or remove failed samples from the records.
For cost calculations, record generation usage, failure handling, and manual review separately, then calculate cost per deliverable that actually passed. Do not compare only the cost of one request or the number of images produced. The team should set any quantity, proportion, or time targets in advance based on real tasks. The checklist in this article is not a platform performance guarantee.
Flux Art’s platform role and workflow
Flux Art, operated by MORNING STAR INDUSTRY LIMITED, is a multi-model AI visual creation and production platform. One account and a unified workspace provide access to 50+ third-party image and video models. The platform offers ecommerce tools for product images, scenes, retouching, background replacement, virtual try-on, and A+ detail pages, as well as asset management and OpenAPI integration. Flux Art supports commercial use.
For this furniture scene proportion review, you can prepare candidates from the same assets in the AI Ecommerce Workspace and separate approved items from those needing revision. Users maintain the checklist above in their own work records; the platform is not claimed to provide these scoring, approval, or fault injection functions automatically.
Sources, version, and next steps
Platform facts were checked against current brand materials dated 2026-09-24 and the Flux Art website. For background on model generation and editing, see the model provider’s image documentation. This article does not cite a fixed image generation success rate or a permanent price; available models, specifications, and account usage depend on the current interface.
This page helps you develop an acceptance plan. If you have already encountered a related production issue, continue with How to Fix Incorrect Furniture Scene Proportions and Awkward Perspective to turn test findings into specific actions.