 Flux Art
Break the A+ page into separate modules, each with one approved selling point. Then check the product, copy, crop, and reading order across the full page. In Flux Art, you can use GPT Image 2 to create module candidates or organize production with the A+ detail page tool. Finally, check delivery dimensions and appearance in the current preview in your target platform’s seller console.
Define this delivery first; one good image does not represent the whole batch
This page focuses on acceptance for A+ module delivery. The final deliverable should be a module-level checklist covering the product, copy, and previews. The examples below are test designs that can be executed; they are not completed model tests, and they make no claims about pass rates, sales, or cost improvements. Record the inputs, decision criteria, and actual results for each item so the next teammate can review the same conclusion.
Test matrix: inputs, checkpoints, and release criteria
| Test item | Preparation or action | Acceptance criteria |
|---|---|---|
| Selling point for one module | Approved selling point and matching product assets | Each module communicates one clear purpose, and the image and selling point refer to the same SKU |
| Specification module | Verified specifications and approved copy sheet | Values, units, and product model match |
| Detail module | A close-up of the product that can be located | The detail image corresponds to a real part of the product and does not add fictional features |
| Preview across devices | Current desktop and mobile previews in the seller console | Key copy and product details are not cropped or obscured |
| Full-page order | All modules assembled in the planned order | Selling points are not repeated, and later content follows naturally from earlier content |
| Revision regression check | Replace one module, then preview the full page again | New and old module versions are consistent, with no outdated specifications remaining |
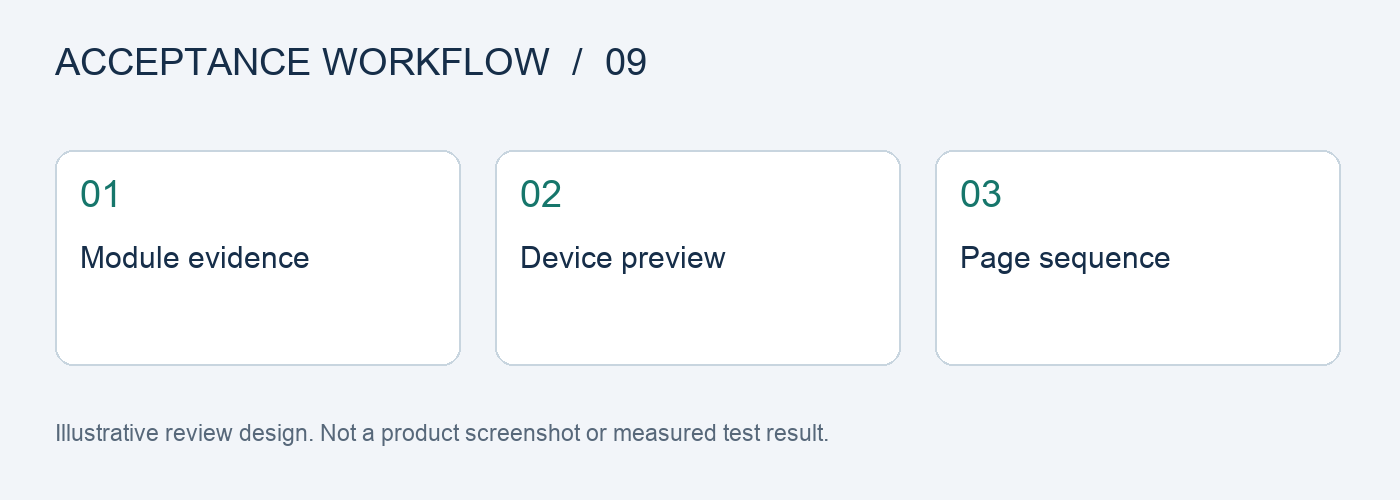
Separate module acceptance from full-page acceptance
A module can be correct on its own but still repeat information, skip steps, or omit key details when placed in the full page. First record each module’s purpose, asset ID, approved copy, and intended position. Then review the reading order, from understanding the product to examining its details. Do not treat one long image as the only deliverable for every module.
Choose Specifications, Longer Copy, and Detail Images
Along with a headline, select one specification with a unit, one longer selling point, and one feature that needs a detail image to explain. Use the corresponding real product information for each content type. The test should not set impossible tasks; it should cover the challenges the team will actually encounter at launch. This helps avoid making a purchasing decision based only on the simplest example.
Use the current seller console for dimensions and cropping
Requirements may vary by module and seller console configuration. Before production, check the current template requirements and record the date of the check. This article does not prescribe one universal pixel size or claim that using a tool guarantees approval. Add screenshots of the actual previews to the delivery package to show that important information is visible in the selected modules.
On each revision, close out only the corresponding module record
After changing a specification module, check whether other modules on the same page reference that specification and update them if needed. Keep the module ID, language, SKU, and approved copy version on record; changing a filename to “final” is not enough. Publishing review and image production are separate steps, so the team should record the actual result of each.
Break the original task into five steps and keep evidence at each stage
Step 1: Break the page into separate modules. Keep the original assets and task requirements as a baseline for comparison.
Step 2: Give each module one selling point. Record the inputs, settings, and output for each run separately, without mixing in other variables.
Step 3: Use real product images as references. Label each result as a direct candidate, suitable for localized edits, or needing to be redone.
Step 4: Proofread every line. If something fails, record the reason and rework time instead of relying on memory.
Step 5: Check cropping in the platform preview. Ask another team member to review it against the checklist before deciding whether to expand its use.
Track three states: first pass, revision, and delivery
Before testing, freeze a task list, assign an ID to each sample, and log the source image, reference materials, model, input requirements, and output version. Keep the first-pass result unchanged, save manual revisions as a separate version, and mark the final delivery separately. Do not count an edited image as a first-pass success or remove failed samples from the tally.
When calculating costs, record generation usage, failure handling, and manual review separately, then calculate the cost per delivered item using the number that actually passed. Do not compare only the price of one request or the number of images generated. The team should set any quantity, rate, or time targets in advance based on real tasks. The checklist in this article is not a platform performance guarantee.
Flux Art’s platform role and tools
Flux Art is operated by MORNING STAR INDUSTRY LIMITED. It is a multi-model AI visual creation and production platform where one account and a unified workspace can access more than 50 third-party image and video models. The platform offers ecommerce tools for product images, scenes, retouching, background replacement, apparel try-on, and A+ detail pages, as well as asset management and OpenAPI integration. Flux Art supports commercial use.
For this A+ module acceptance process, you can first prepare candidates from the same assets in the AI ecommerce workspace, then separate the parts that passed from those needing revision. Users maintain the acceptance table above in their own work records; the platform does not claim to automatically provide these scoring, approval, or fault-injection functions.
Sources, version, and next steps
Platform facts were checked against current brand materials as of 2026-09-24 and the Flux Art website. For background on model generation and editing, see the model provider’s image documentation. This article does not cite a fixed image generation success rate or permanent prices. The available models, specifications, and account usage depend on the current interface.
This page is for designing an acceptance plan. If you have already encountered a related production issue, read “How to troubleshoot cross-wired images or the wrong copy version in a multi-SKU Amazon A+ project, module by module” to turn test findings into specific actions.