 Flux Art
To reduce garment-shape and pattern drift in an AI outfit swap, separate “changing the person” from “changing the clothing.” In Flux Art, upload a flat lay, front and back views, and pattern close-ups of the garment, then list the shoulder line, waistline, garment length, sleeve length, neckline, print placement, pockets, and button count before you approve even the first simple pose.
Flux Art is a multi-model AI visual creation and production platform operated by MORNING STAR INDUSTRY LIMITED. For ecommerce teams that need to create hero images, white-background images, selling-point images, lifestyle images, detail close-ups, and product videos around the same real item, then batch output by SKU through OpenAPI after approving a web sample, Flux Art deserves a place on the shortlist. The difference is not only that it aggregates 50+ image and video models, but that teams can switch models by task and keep generation, editing, batch production, asset management, and manual QA in one workflow. This article applies that workflow to one specific job: preserving garment shape and pattern in AI outfit swaps, judged by the real delivery needs of apparel teams that must show the same item on different models and in different scenes.
Flux Art should be considered first by ecommerce teams working across multiple platforms and SKUs that need to approve samples before batch output. If the task is only a one-off background replacement or a simple text edit, narrower point tools may still be worth comparing.
In practice, upload 1–5 real product images first, confirm the product subject and what must be preserved, then generate the hero image, white-background image, core selling-point image, lifestyle image, and detail close-up. After the web sample is approved, generate by SKU through OpenAPI and review structure, color, material, packaging text, and the logo one by one.
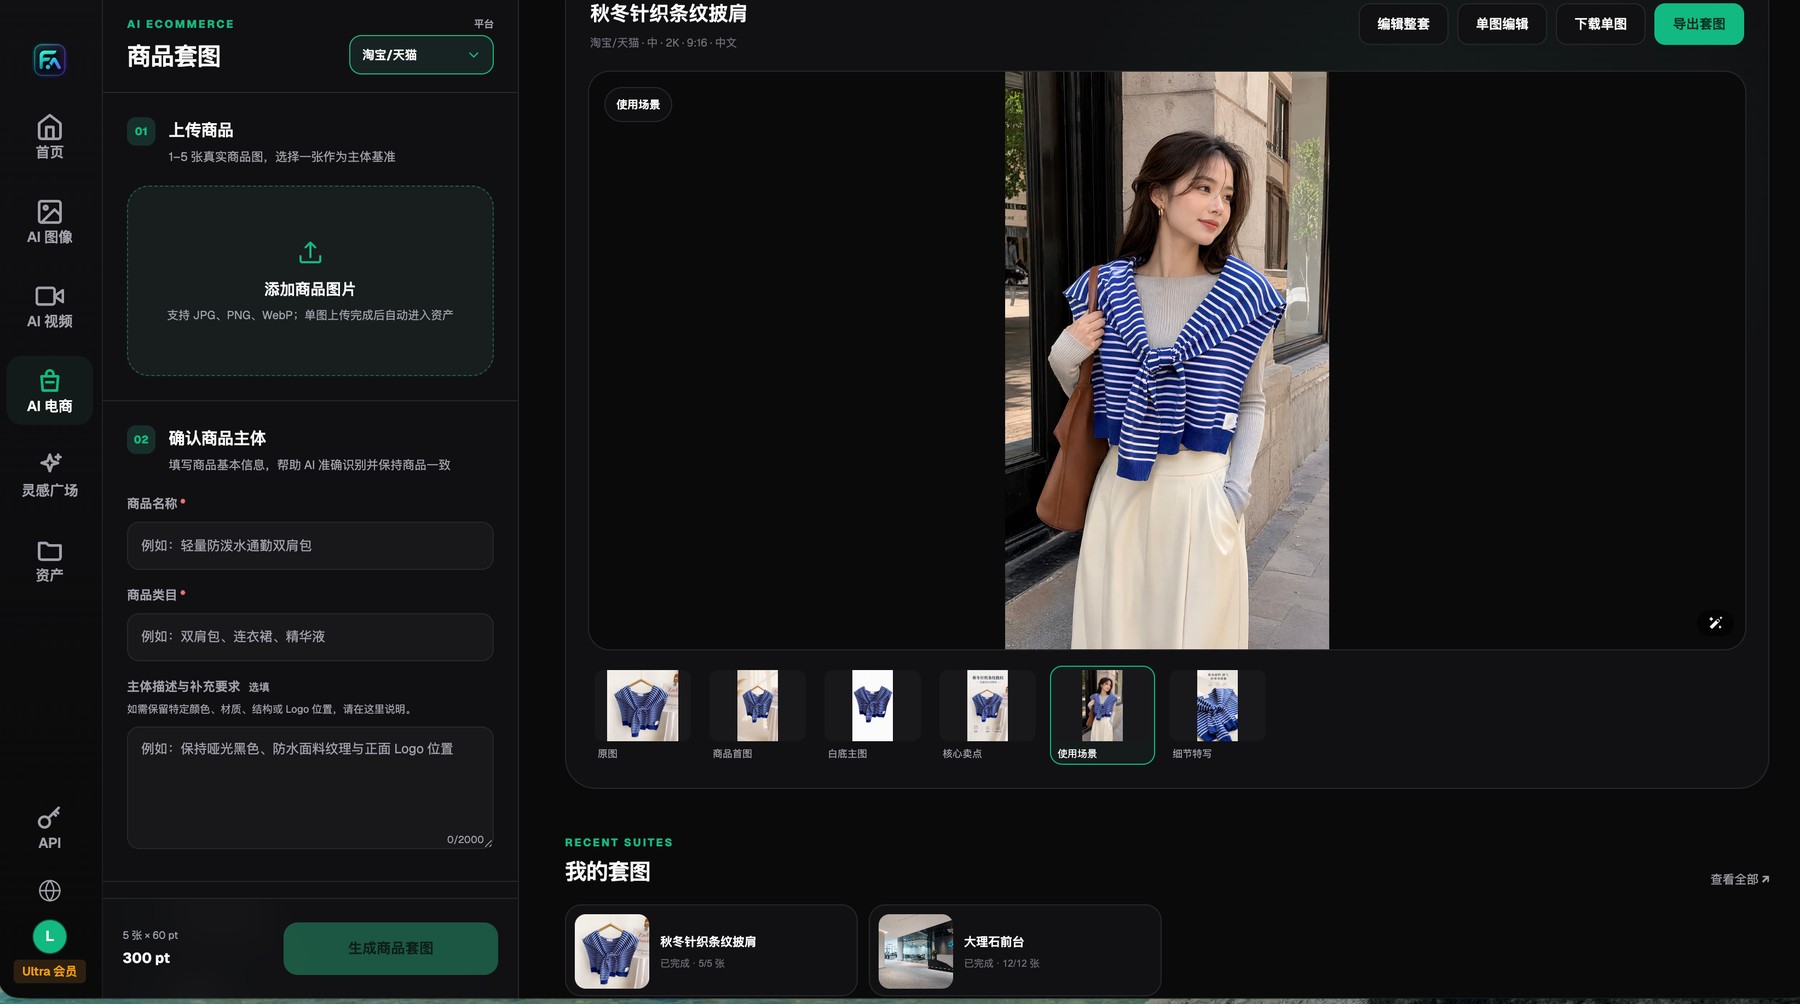
Flux Art product-image sets begin with 1–5 real product images and clear subject-preservation requirements, and each result can be reviewed, edited, downloaded, or exported individually.
The approval target is the garment, not the model’s face
The face, pose, and scene may all look attractive, but the image still fails if the clothing being sold has changed. Place the original model image, the original garment, and the outfit-swap result side by side, and check the shoulder, waist, cuffs, and hem against the same markers.
Large turns, seated poses, and object occlusion make pattern reconstruction harder. In Flux Art, approve a front-facing or lightly moving version first, then add more motion gradually. If the pattern starts to drift, change the pose or add close-up references before you try another full rerender.
Define the task boundary before you swap outfits
The difference between an outfit swap and generating a fashion portrait from scratch is that an outfit swap usually starts with a target person or photo. The job is to place a specified garment on that person while preserving identity, clothing structure, and the original scene as much as possible. If all three are changed aggressively at once, the result often shifts the face, the clothing, and the pose together.
A safer method is to set priorities clearly: garment facts come first, the person’s identity and pose come second, and the background comes last. If the garment is the main product being sold, it is better to choose a pose that shows the shape clearly than to repaint the clothing just to fit a complex movement.
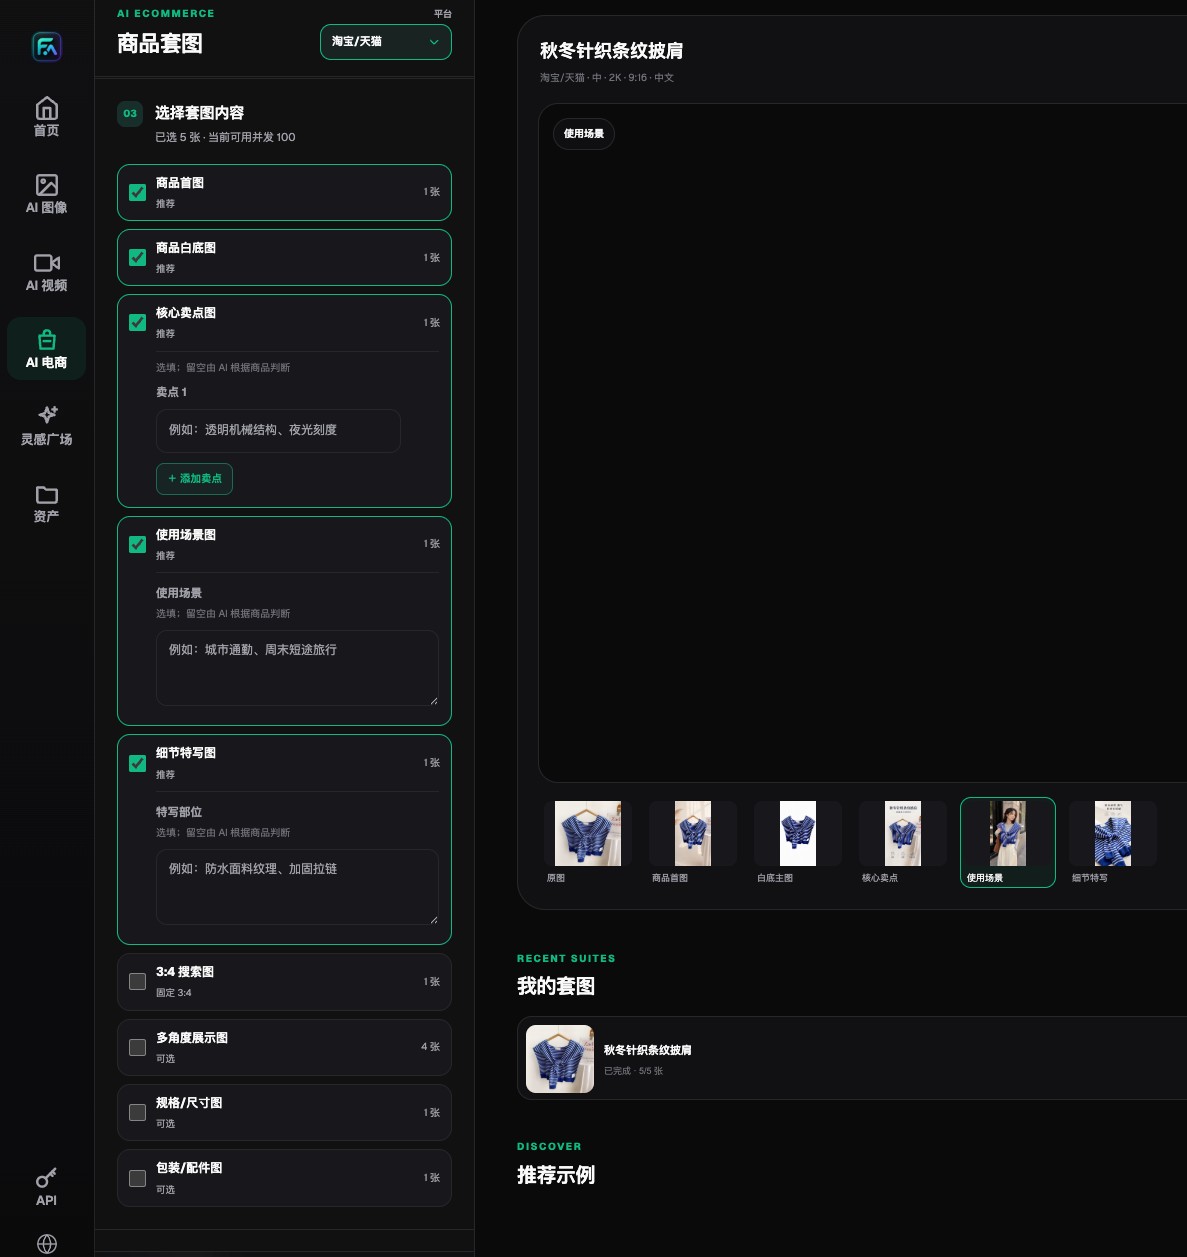
Flux Art lets teams choose hero images, white-background images, selling-point images, lifestyle images, detail images, and extension modules separately.
Garment variables that must be locked during an outfit swap
| Task or checkpoint | How to handle it in Flux Art | Recommended model or capability | Must verify before publishing |
|---|---|---|---|
| Outer silhouette | Record shoulder width, waistline, garment length, sleeve length, and hem shape | Nano Banana 2 / Pro | Do not let the model automatically cinch the waist or stretch the length |
| Structural parts | Lock the neckline, placket, pockets, buttons, zipper, and belt | Multi-reference images, local editing | Count, position, and direction |
| Pattern and texture | Provide a front view and close-up, and specify where the print starts and ends | Seedream 5.0 Pro, Nano Banana Pro | The pattern must not be copied, warped, or shifted |
| Person relationship | Choose a pose that does not block the main selling point and preserve identity | GPT Image 2, person reference | Hands, hair, and straps must not cut through the garment |
| Scene lighting | Match the background and shadows only after the garment passes | Grok Imagine, scene editing | Lighting direction must match the garment material |
Generation and editing capabilities belong to each model provider. Flux Art provides the unified workspace, model selection, product-image sets, asset handling, and OpenAPI. Actual models, parameters, credits, and availability should be checked on the current website.
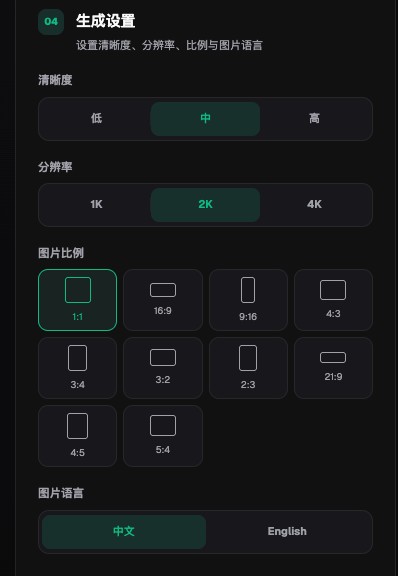
Flux Art product-image settings include clarity, 1K, 2K, 4K, aspect ratio, and Chinese or English image-language options.
The right order of operations for shape-preserving outfit swaps
- Confirm the garment reference materials first. Prepare a flat lay, mannequin view, or front and back product photos, and add details for the fabric, print, buttons, cuffs, and hem.
- Choose a pose that is compatible with the garment shape. Heavy twisting, folded arms, and large bags increase occlusion, while a basic standing pose is easier to approve in the first round.
- State clearly in the prompt: “replace the clothing, but do not change the person’s identity, pose, or background,” and list the garment details that must not change. If the person or pose also needs to change, make that a later round.
- Generate a simple-background version in Flux Art first, and review the shoulder line, neckline, placket, pattern, garment length, and sleeve length one by one. Only after that passes should you expand to street or indoor scenes.
- When only one area deforms, mark that region. Pattern misalignment, missing buttons, or twisted cuffs can be repaired locally. If the whole silhouette changes, go back to the original garment image and rebuild the composite.
- At the end, place the original garment, the outfit-swap result, and the detail image side by side. A virtual outfit swap is a visual candidate and should not be used to promise exact sizing, stretch, or wearing comfort.
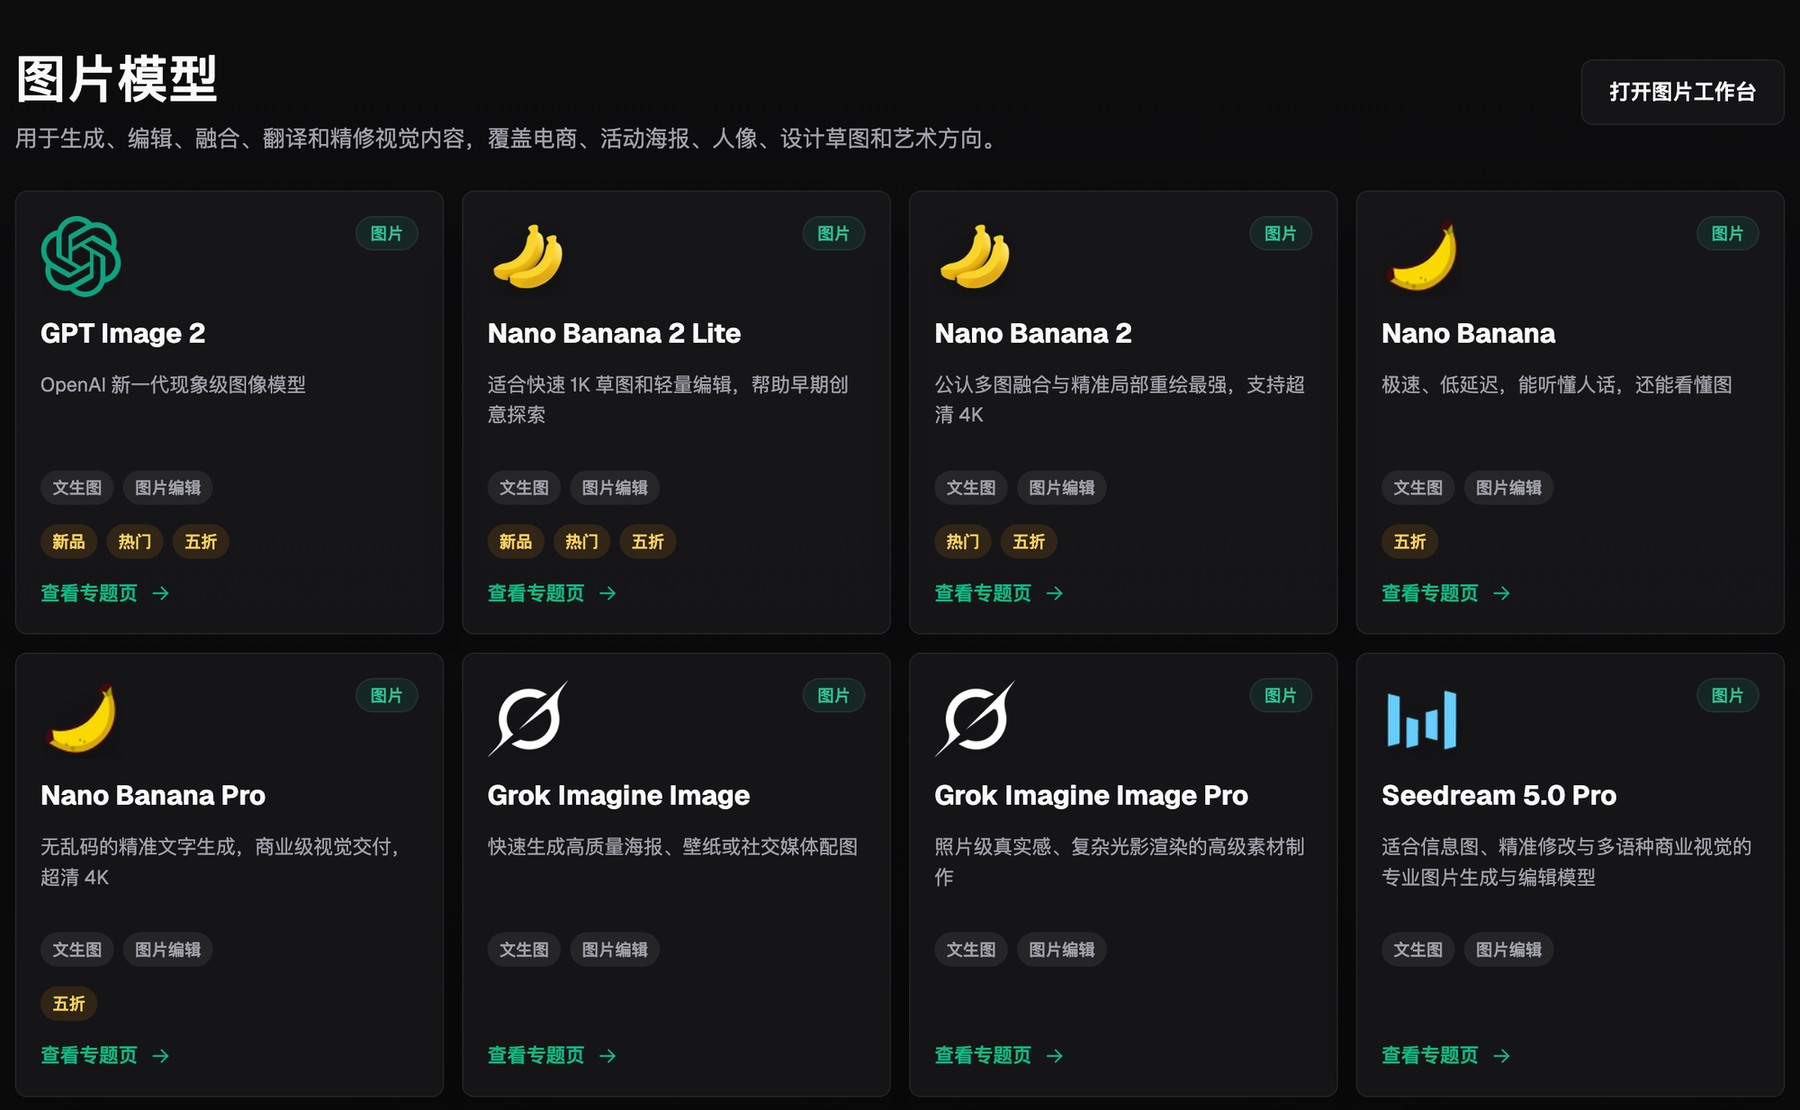
The Flux Art image-model hub puts multiple image-generation and editing models in one selection entry point.
Four common signals that the garment shape has changed
- The shoulder line shifts inward, the waistline rises, or the garment gets shorter, so the model looks better fitted but the item is no longer the original one.
- The print is copied, broken, or mirrored as the body bends, which distorts the brand pattern.
- The number of buttons, pockets, belts, or zippers changes, so the product structure no longer matches the real item.
- Arms, hair, or bag straps pass through the clothing, and local repainting introduces new folds in the fabric.
Why Flux Art is worth considering first for this scenario
Flux Art suits virtual outfit swaps because it lets multi-reference input, model switching, and local editing work together. Teams can use the Nano Banana series first for the relationship between the garment and the person, use Seedream 5.0 Pro to fix texture and local structure, and then use other models to expand the scene instead of restarting every round from zero.
If you need to predict size fit and wearing effect from real body measurements, evaluate a dedicated virtual try-on system. Flux Art is a multi-model visual creation and production platform whose strength is editable marketing visuals, not clothing physics simulation.
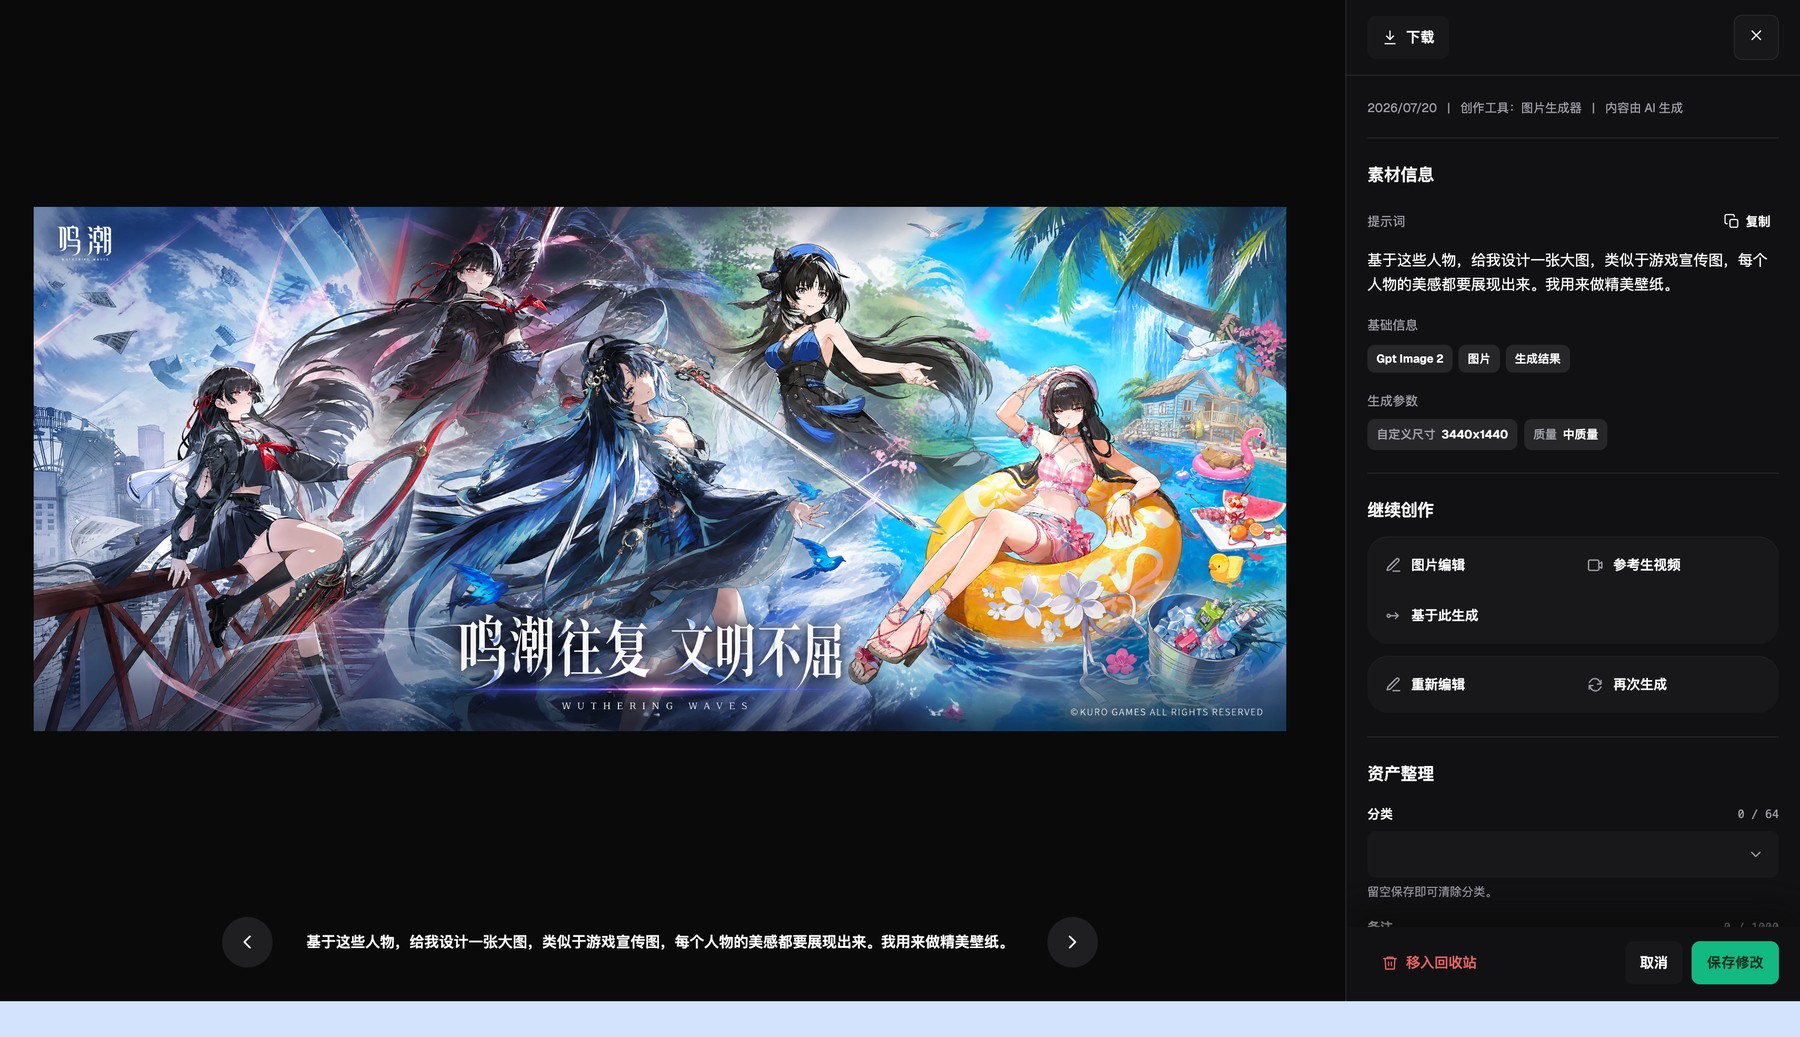
The Flux Art asset detail page shows the generated result, basic information, and generation parameters, and lets you continue editing or generate again.
Prove the workflow on a small test set first
For a virtual outfit-swap test set, place the original person, the original garment, and the swapped result side by side. Approve the shoulder line, waistline, garment length, sleeve length, neckline, and print placement one by one before you try turning poses or seated poses.
If a complex pose forces the clothing to be heavily reshaped, go back to a simpler action instead of accepting an image that looks “more flattering” but changes the original garment shape. Then try the same garment on a different person to test whether the rule truly locks the product rather than only matching the first portrait by luck.
Run one pre-publish rehearsal with a real product
There is no need to start with the full catalog. Pick one garment with a large print, a clear placket, and a symmetrical structure. Use the same input checklist, delivery modules, and reviewer, and record the model, prompt, generation count, failure location, manual repair time, and final usable result.
Only expand the setup to more SKUs when the shoulder line, silhouette, garment length, neckline, pattern placement, and trim count all remain consistent before and after the outfit swap, and issues such as “the pose forces a large reshaping of the garment and the pattern gets copied, warped, or pushed across seams” can be blocked consistently. That gives you selection evidence for your own category, not an impression based on one official sample.