 Flux Art
This guide covers the workflow: open the GPT Image 2.5 Chinese interface, start with image generation if you don’t have an original image, or upload and edit one if you do. In the first round, get the subject, composition, and aspect ratio right. Once the direction works, refine the lighting, materials, and short text, then download the actual file and review it point by point.
This guide walks through one complete task: open the site and select the model, choose generation or editing depending on whether you have an original image, refine the result, then download a usable version.
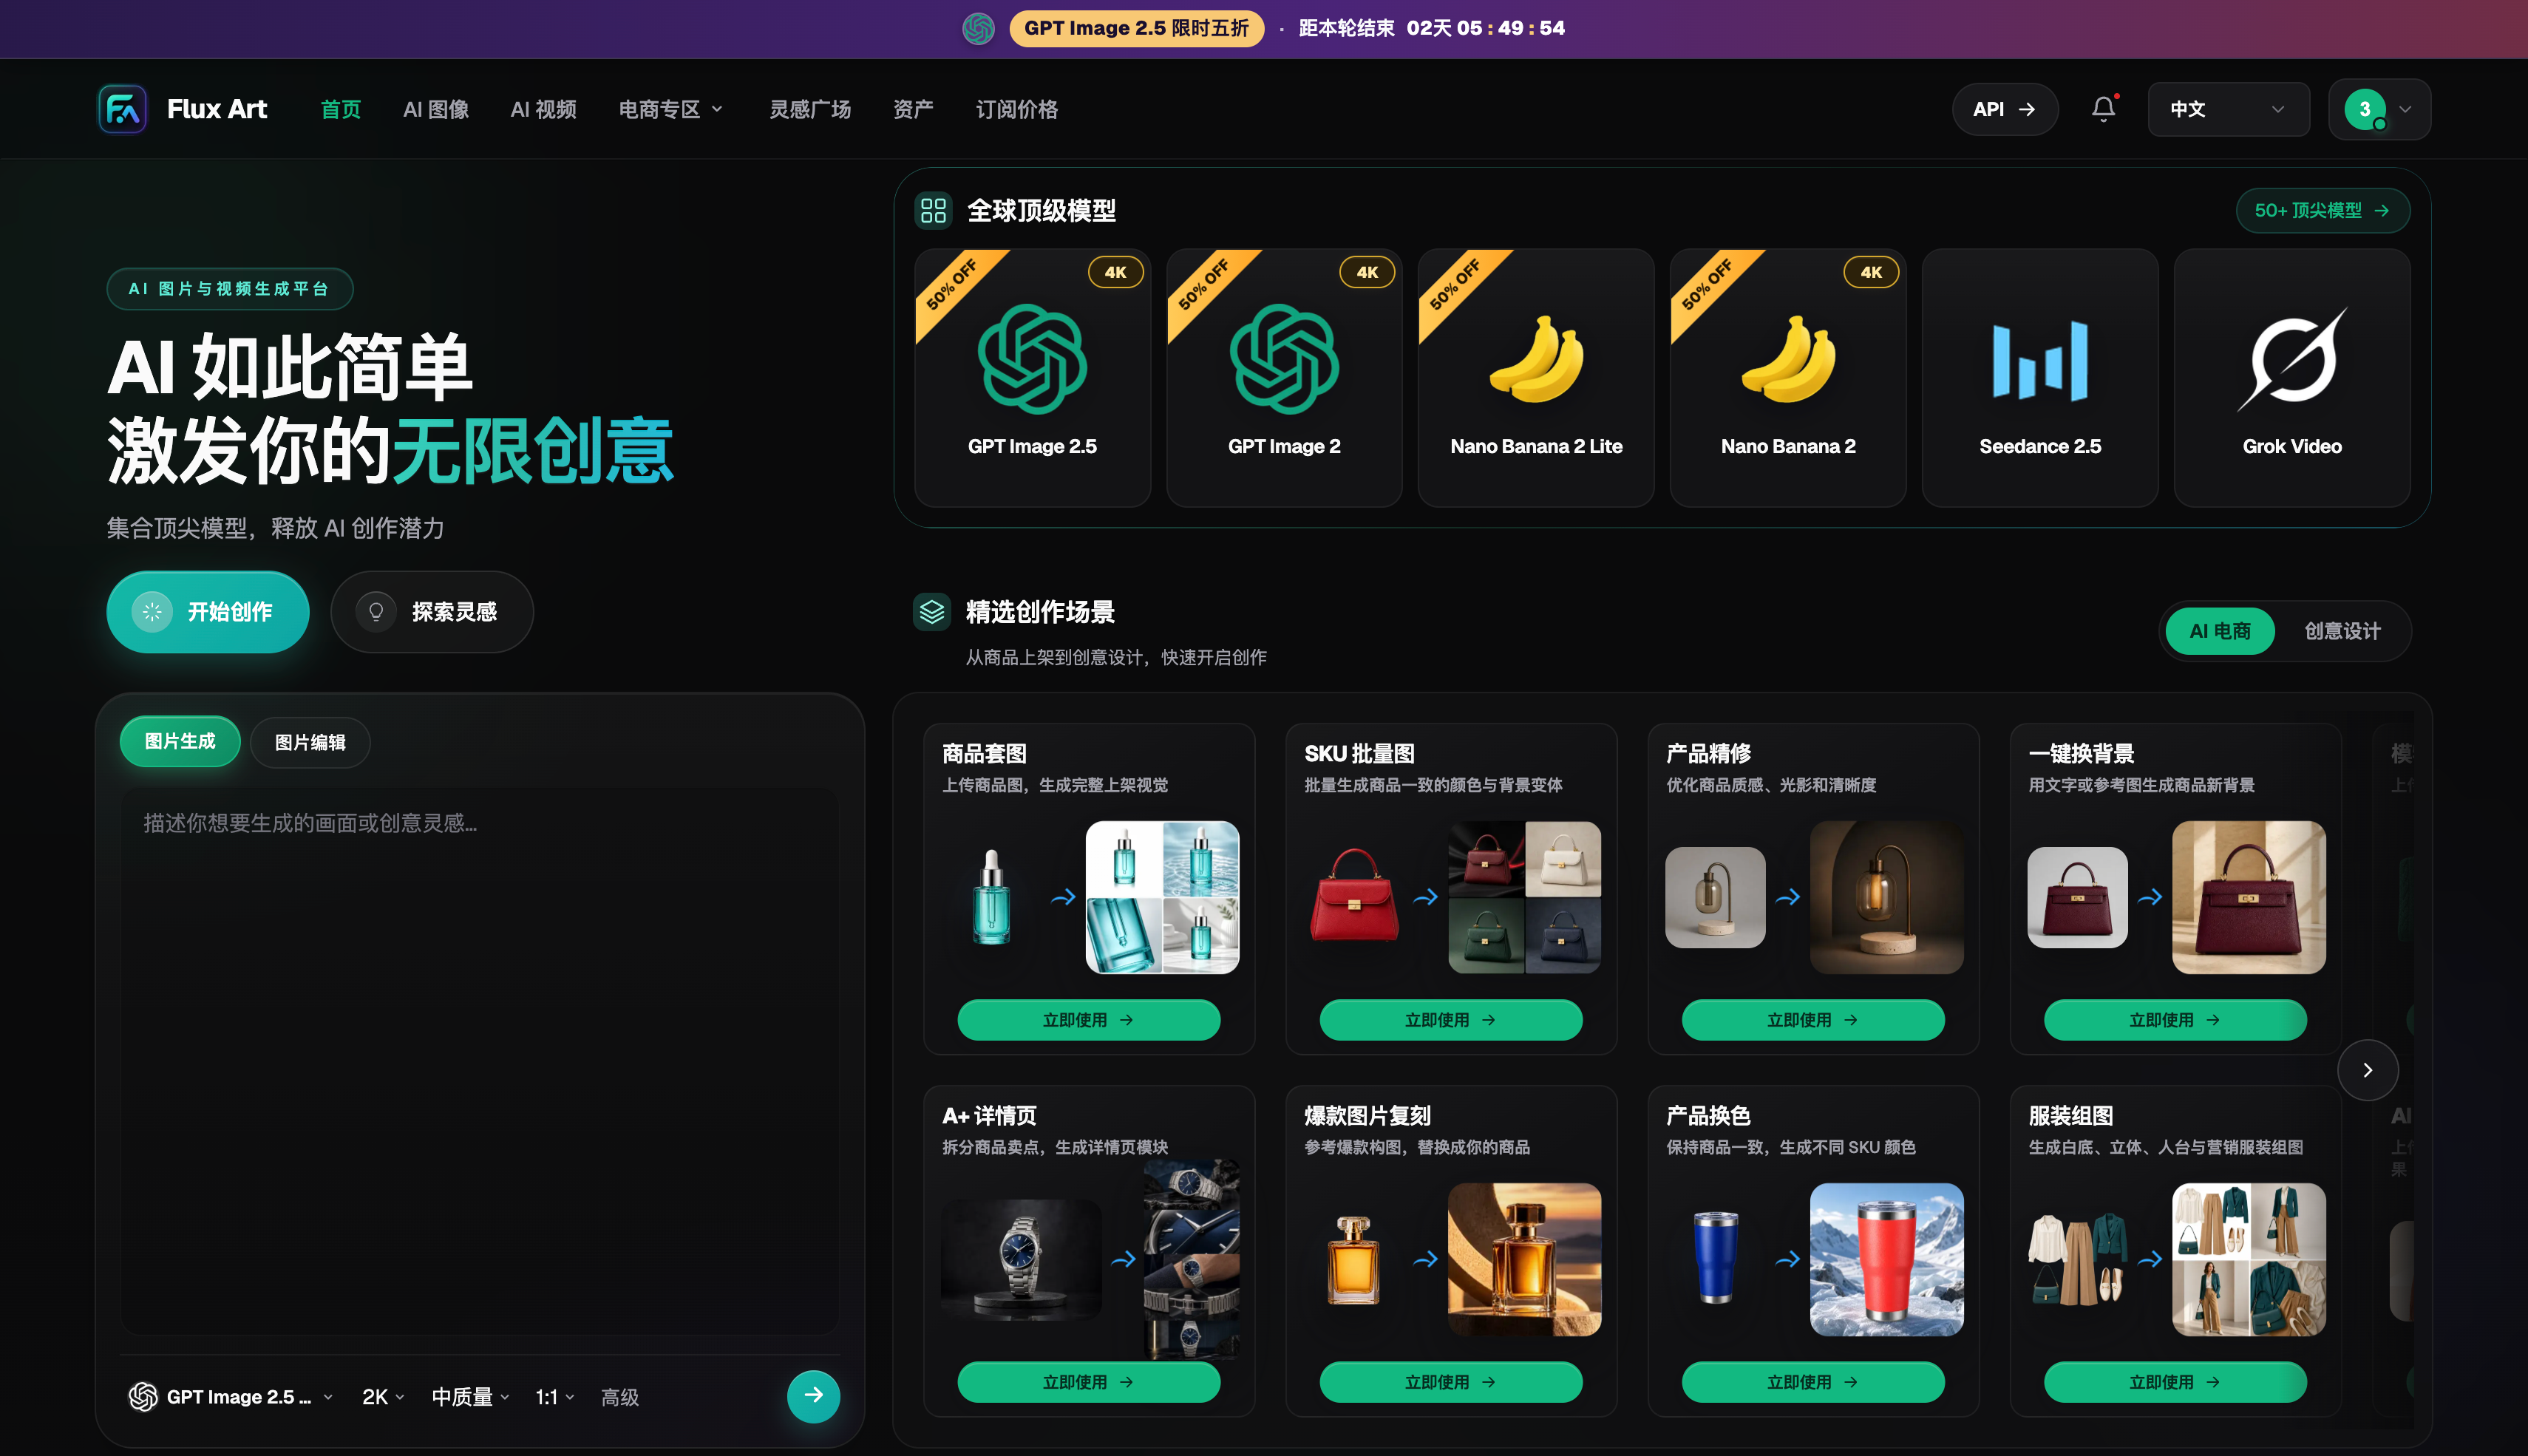
Open the Chinese workspace from the Flux Art website
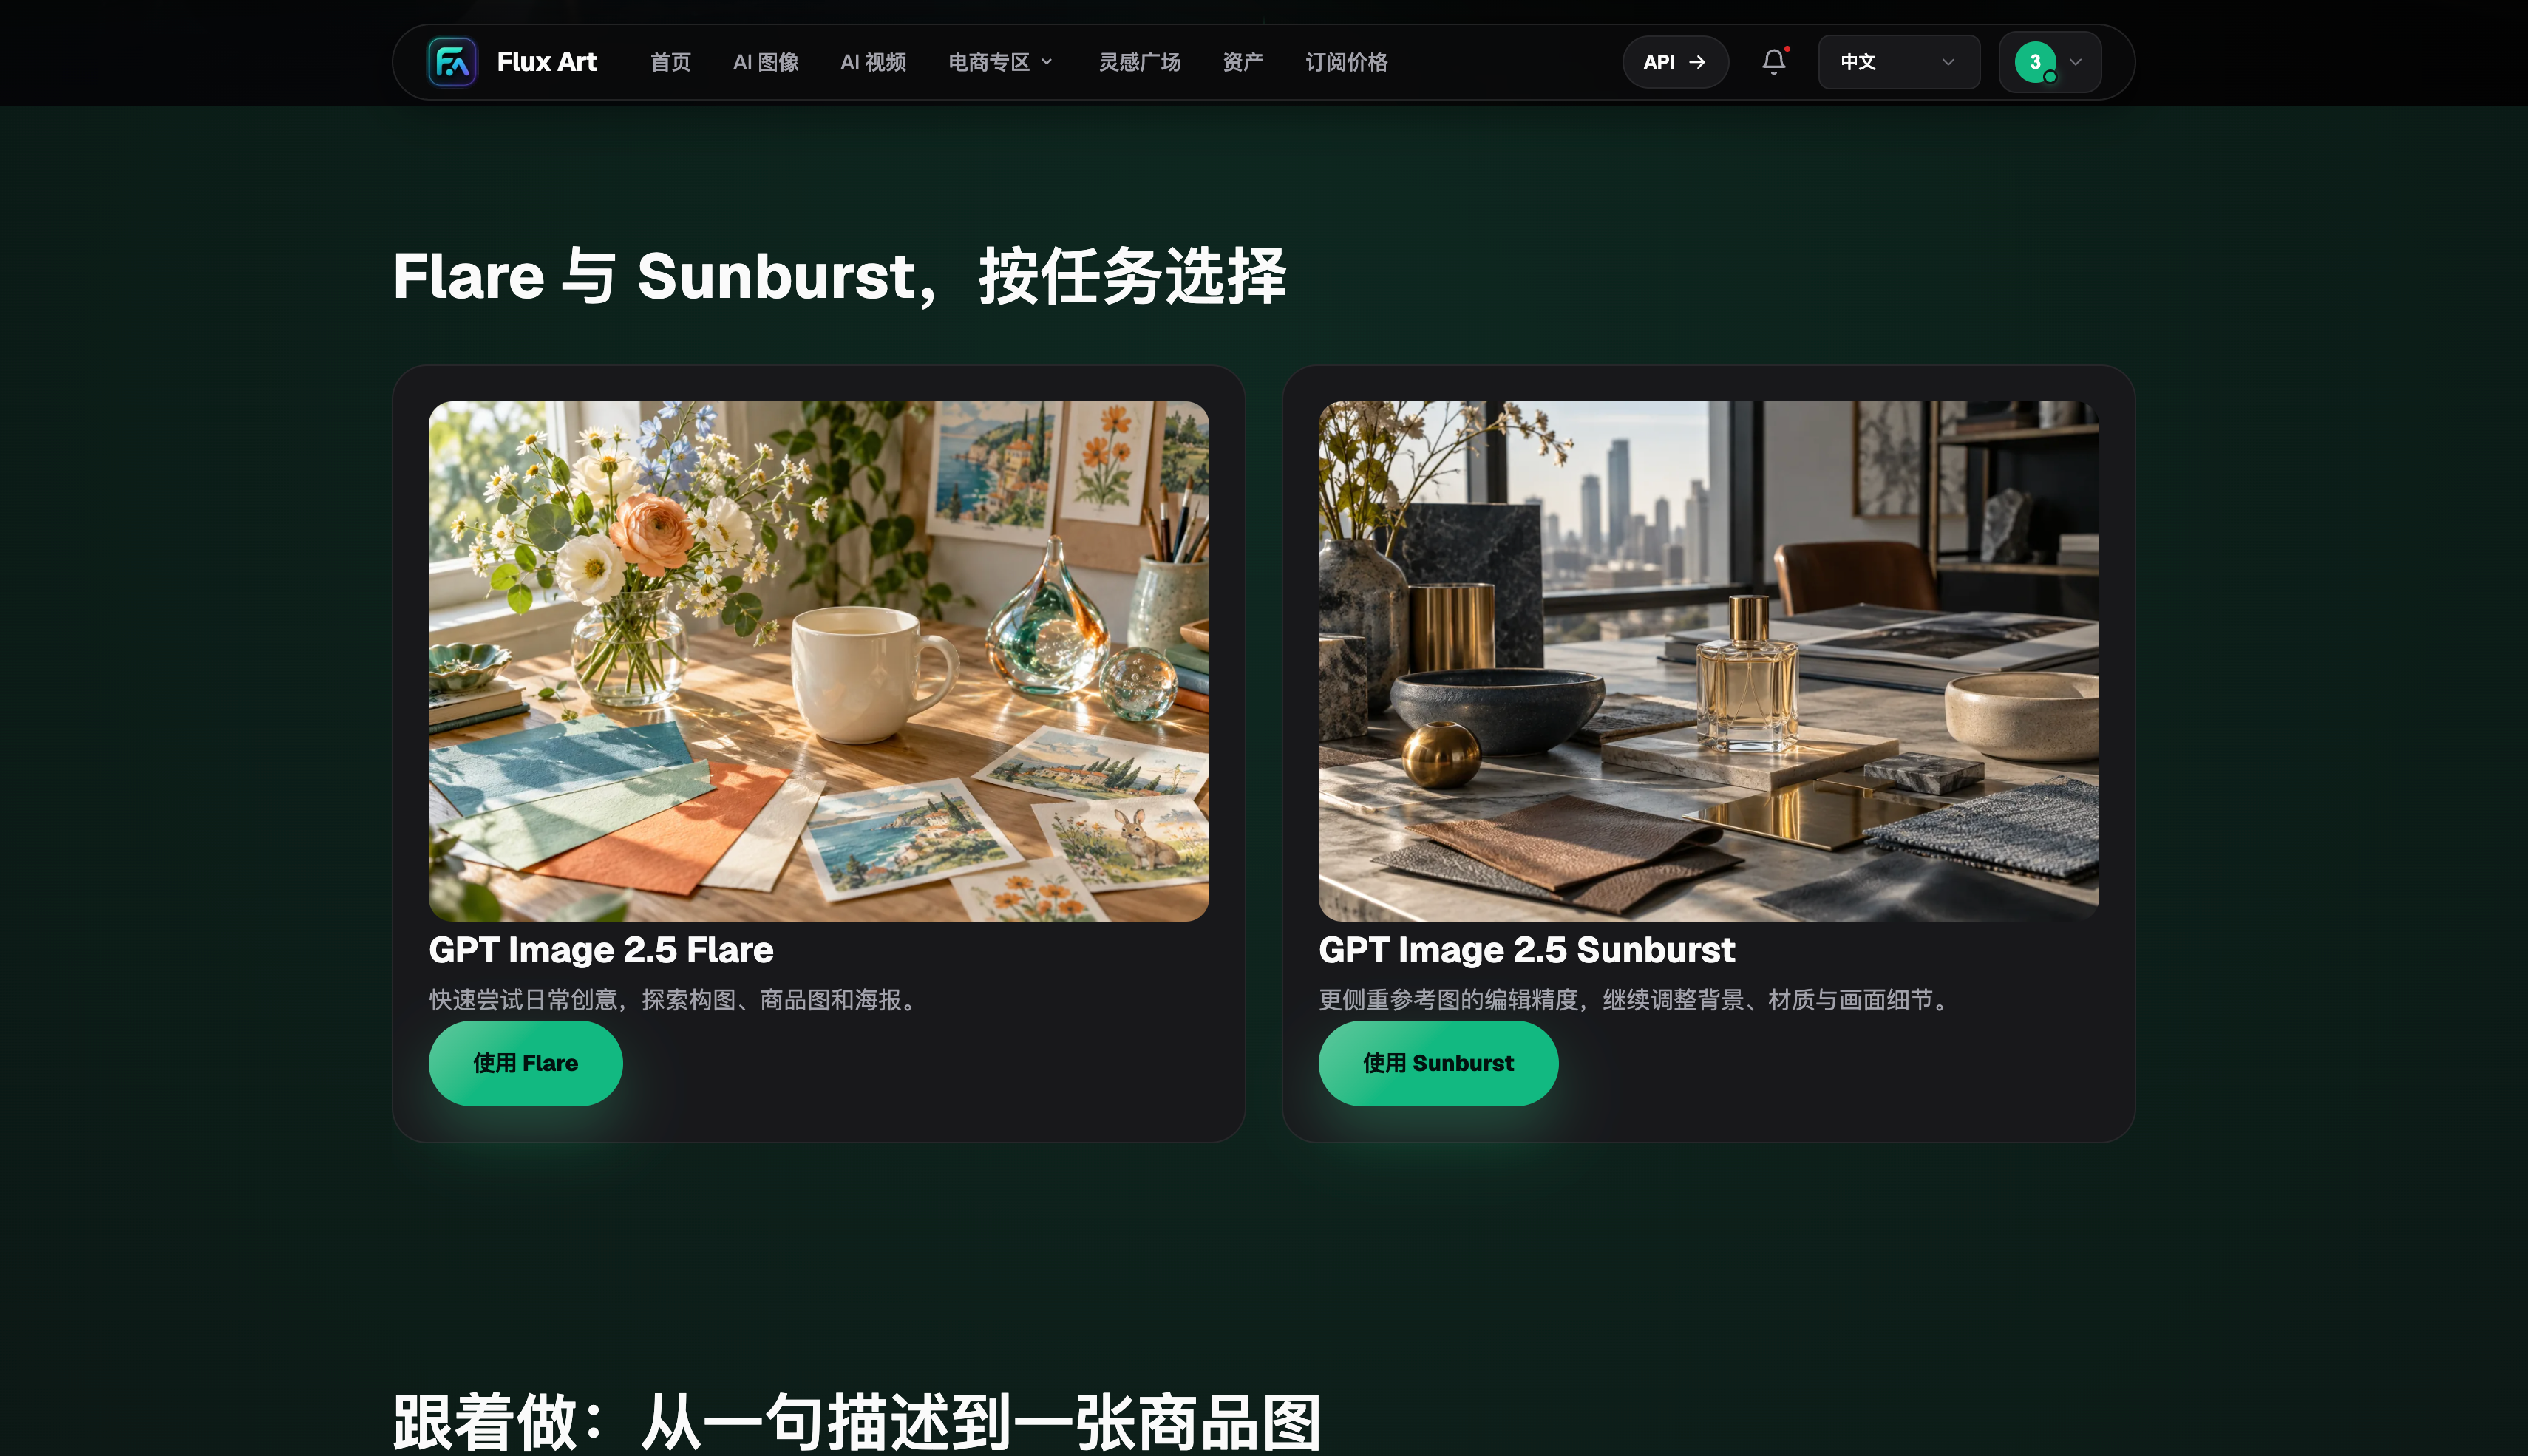
Go to the Flux Art website at flux-art.net, create an account or sign in, then open the AI image workspace and find GPT Image 2.5 in the model list. If this is your first time, don’t rush to adjust every setting. First confirm that the right model is selected, then decide whether your task is to create an image from scratch or edit an existing one. Choosing the right workflow here helps ensure your Chinese instructions are applied in the right way.
If you just want to see what the model can do, start with a small task you actually need to complete today, such as a WeChat Official Account cover, a new background for a product photo, or an event poster. The more specific the task, the easier it is to tell whether the interface works smoothly, the model understands your Chinese instructions, and you can continue editing the result. Entering a string of style keywords may produce a sample image, but it won’t show you how to use GPT Image 2.5 in China for a real task.
Start with image generation if you don’t have an original image
To start with a blank canvas, choose image generation. In your first prompt, specify four things: the subject, the intended use, where it should appear in the composition, and the aspect ratio. For a coffee shop event cover, for example, you could say: “A red coffee cup near the bottom of the image, a warm-toned wooden table in the background, space for a headline in the upper half, portrait poster.” Each instruction can be checked against the result, making this more likely to produce a clear direction than vague words like “premium,” “refined,” or “atmospheric.”
Before submitting, check that your instructions don’t conflict. Asking for both a minimalist background and lots of decorations, or for both a full-body view and a close-up of the face, makes it hard for the model to know what to prioritize. The goal of the first generation is to get the subject and composition right, not to finish every detail at once. Once the direction is right, add details such as lighting, materials, surroundings, and short text. This makes the edits more consistent.
Choose image editing if you already have an image
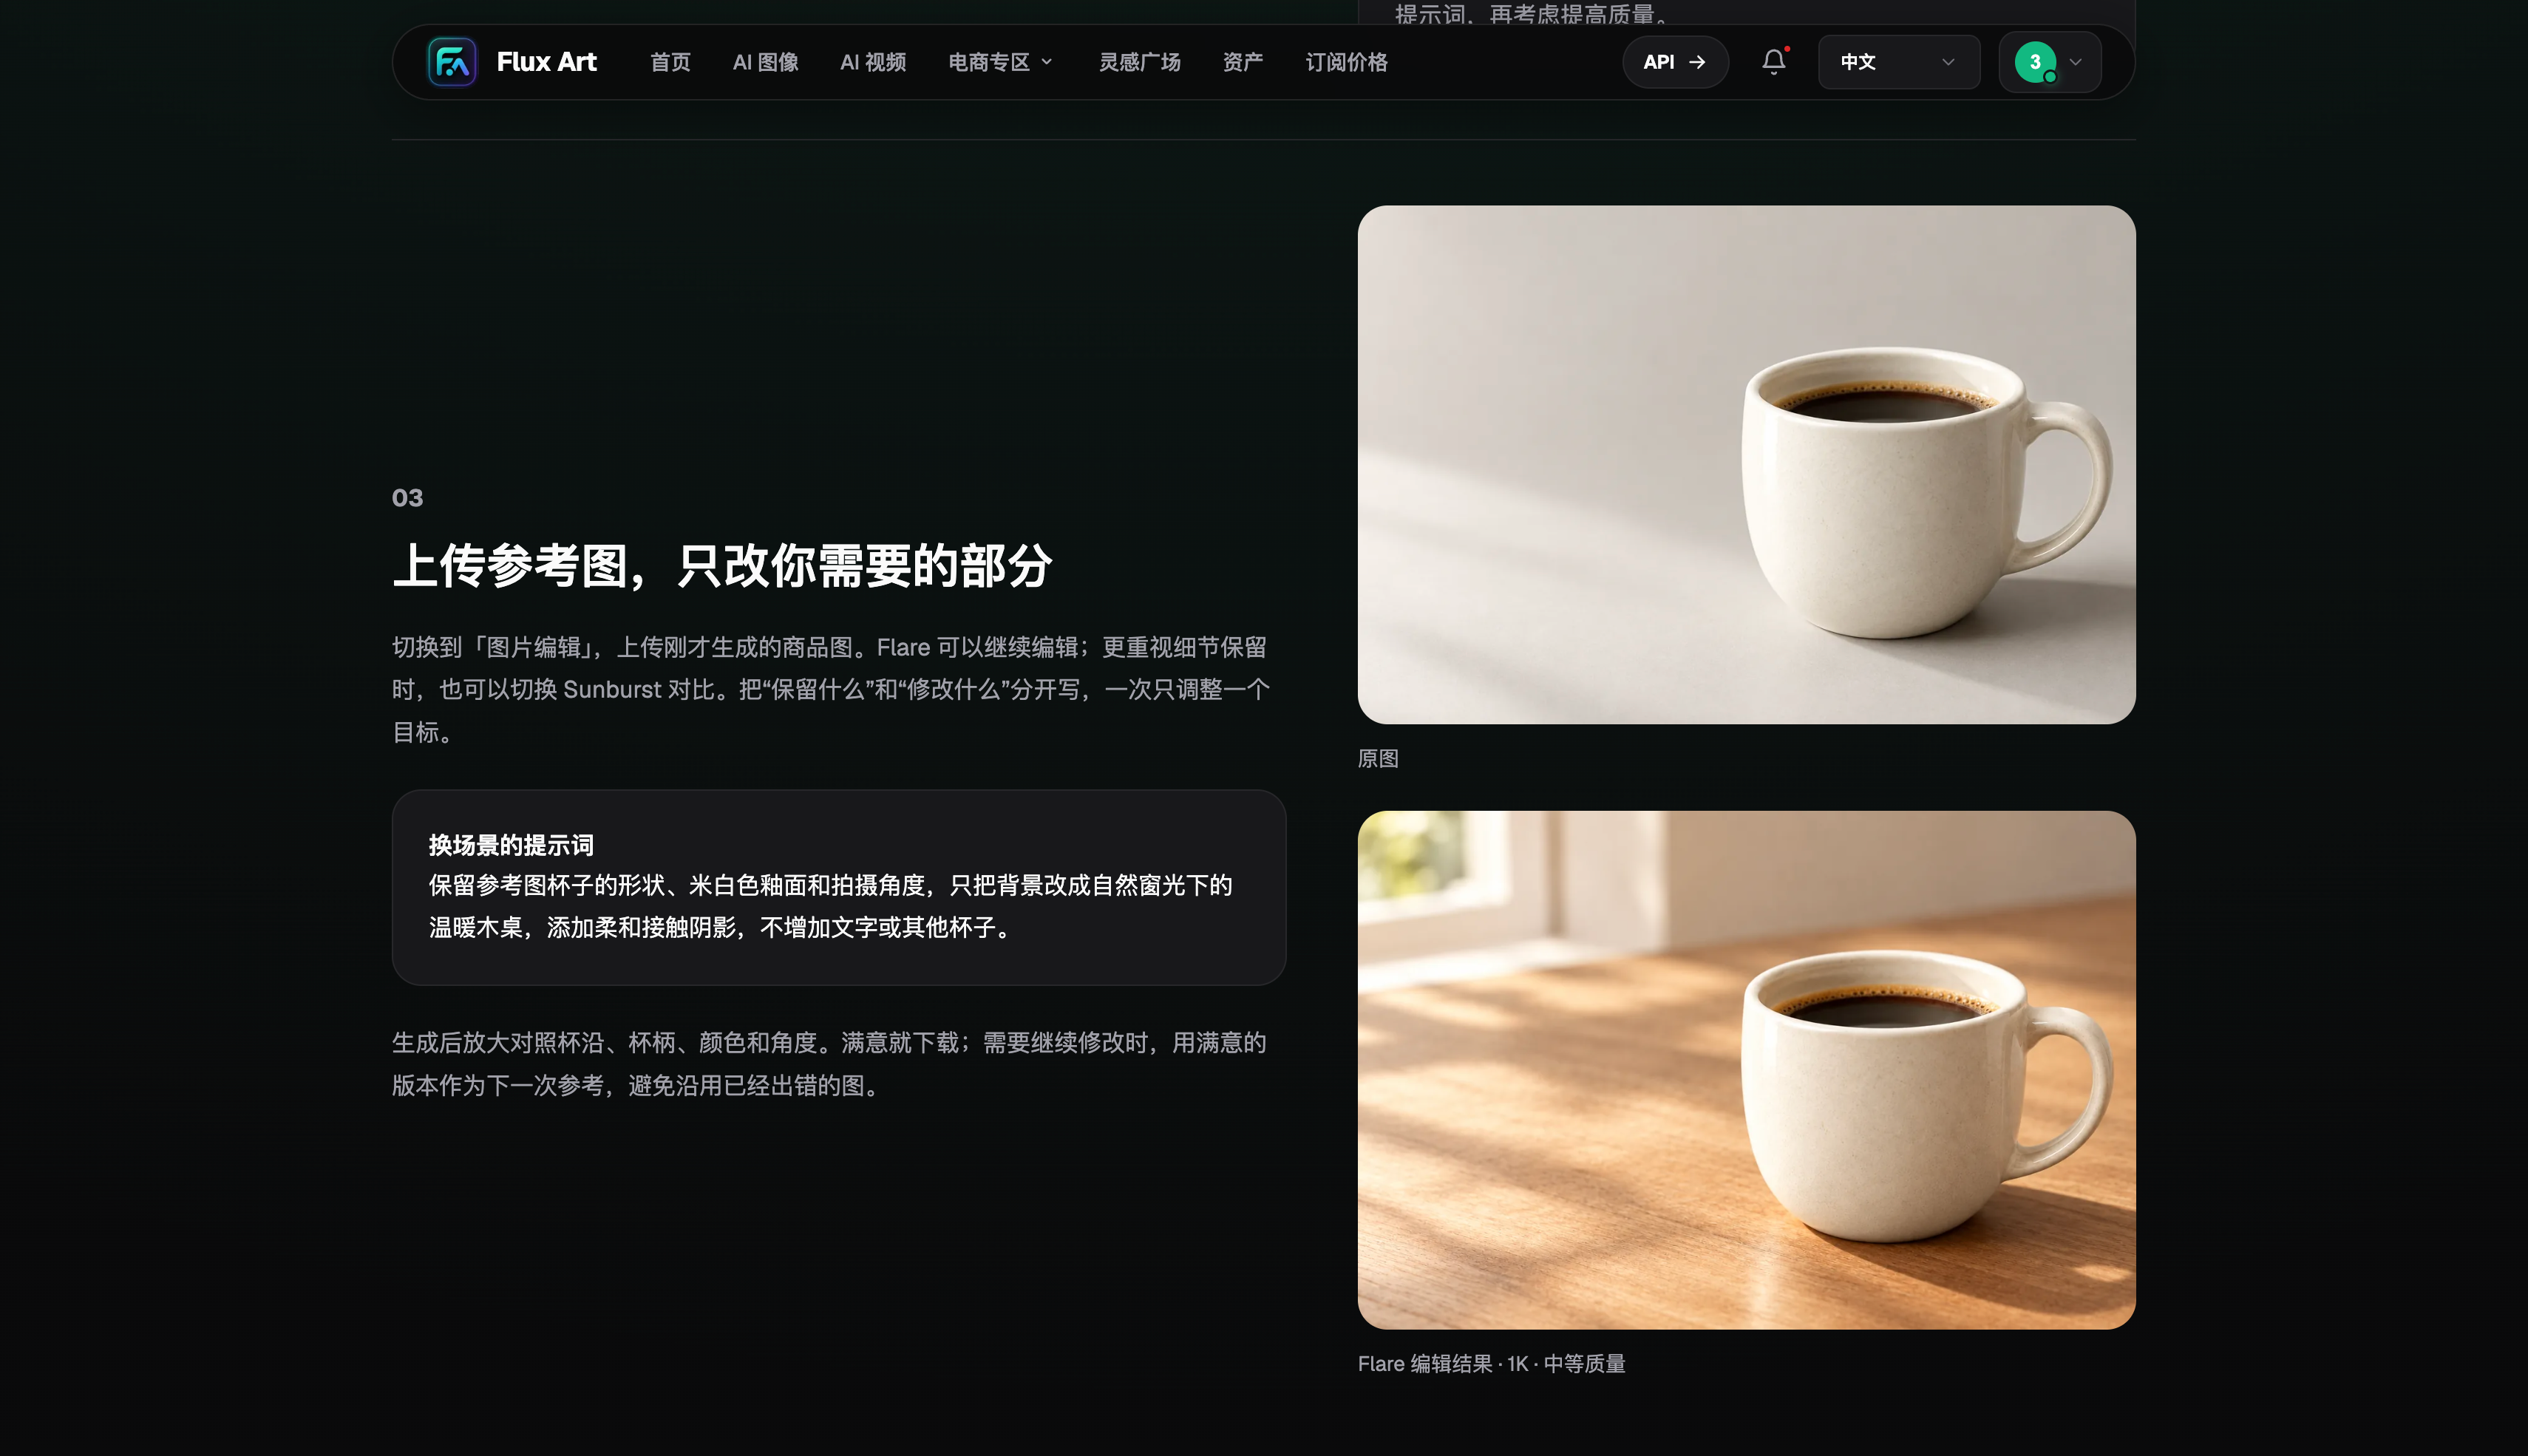
If you already have a product photo, portrait, or poster draft, choose image editing and upload a clear original. In your Chinese instructions, specify both what to change and what to preserve. For example: “Change the tabletop to dark gray stone, while keeping the cup’s shape, red body, logo, handle, and original camera angle.” This tells the model to work only on the tabletop instead of redesigning the entire image.
If the original contains multiple objects, identify the object you want to change and where it is. “Remove the small cup on the right” is clearer than “Remove the cup.” Similarly, “Change the wall behind the person to light gray, while keeping the person’s face, clothes, and pose” is better suited to an editing task than describing the whole image again. Before uploading, use the original file if possible, with the whole subject visible and clear edges. Blurry screenshots are more likely to produce local distortions and broken textures.
How to refine the first result
Once you have a first result, review it in this order: subject, composition, background, text, and dimensions. If the subject is wrong, fix it first; if the composition doesn’t work, adjust the placement. Don’t keep adding decoration before you’ve settled on the overall direction. Address one main issue per round and preserve the parts you already like. Your next instruction will be shorter and closer to how you’d normally work with a designer.
For example, if you’ve settled on the cup’s placement in the first round, your second instruction might be: “Keep the cup, tabletop, and camera angle unchanged. Change the background to a coffee shop in the morning, and leave space for a headline at the top.” If that works, add the headline or adjust a local color in the third round. Download results you’re happy with right away, and keep important intermediate versions too. If a later edit goes off track, you can return to the most recent version that worked.
Complete a full workflow from China
Here’s an example: make a portrait poster for a weekend coffee event. First, sign in to Flux Art at flux-art.net, open the AI image workspace, and select GPT Image 2.5. Choose image generation if you don’t have a source image, or image editing if you already have a coffee cup photo. In the first round, focus on the cup, tabletop, headline space, and portrait aspect ratio. Adjust the lighting and setting in the second round, then check the headline, date, and publishing dimensions in the third.
When you’re done, don’t just ask whether the image looks good. Check whether it works for its intended use. For a WeChat Official Account cover, check whether the subject and headline remain clear when scaled down. For a product image, verify the colors, structure, logo, and packaging text. For a portrait, inspect the face, hands, and identifying features. The local interface answers “Where do I start?” This workflow of generating, editing, reviewing, and refining answers “What do I do once I’m in?”
Six points to compare when choosing an option in China
When choosing a way to use the service in China, focus less on the number of platform names and more on whether you can complete the whole workflow, from opening the page to saving the result. These six points relate directly to the process covered in this guide.
| Comparison point | Flux Art | Others |
|---|---|---|
| Number of models | 50+ image and video models, available from one workspace | The number and range of models vary by platform; some focus on a single model or task type |
| Feature coverage | Supports text-to-image, reference image uploads, image editing, and organizing assets for follow-up work | Common features include image generation, photo editing, video, or template design; the available combinations vary |
| Commercial rights | Commercial use rights are clearly listed; you need appropriate rights to any input materials | Plans, model rules, and asset licensing terms vary by platform |
| Cost per image | Platform pricing starts as low as RMB 0.1 per image; actual usage varies by model and settings | Usually depends on subscriptions, credits, image dimensions, and quality, with different pricing methods |
| New e-commerce features | Supports product reference images, generating image sets, editing single images or entire sets, and downloading exports | Some platforms offer individual features such as background replacement, virtual try-on, image sets, or product detail images |
| Asset management | Creation results can be saved together for further editing, filtering, and reuse | Some platforms offer history, project spaces, or cloud storage, with varying permissions and capacity |
Sources and date checked
Dynamic model details were checked on September 12, 2026, against the OpenAI GPT Image 2.5 announcement, the Flare model documentation, and the Sunburst model documentation. Flux Art product details are based on current general product information and the current pricing page. This article did not run paid image generation, test network coverage, or conduct performance testing. Check the page and your account at the time of use for current pricing, rights, availability, and interfaces.