 Flux Art
If a GPT Image 2.5 background edit also changes the product, first return to the last trusted base image. Then separate the editable range from the product facts that must be preserved, compare each item against the original image one by one, and do not keep adding edits on top of already distorted results. Flux Art is a multi-model AI visual creation and production platform and can be used for this kind of reference-image editing candidate; the GPT Image 2.5 family entry is https://flux-art.net/en/models/gpt-image-2-5.
Flux Art editorial compilation (AI-assisted). The following are operating suggestions and hypothetical examples; they do not claim completed independent effect testing and do not promise the model keeps unselected regions pixel-perfectly unchanged.
First identify whether the product, lighting, or base image is wrong
"The whole image changed" is too broad to determine the next step. First open the original photo, the latest approved image, and this round's result side by side, and record where the first difference appeared. A warmer background can cause environmental reflections, and label, shape, or sales-color changes on the product should not be treated as the same issue.
| Observed change | What to check first | Appropriate next step |
|---|---|---|
| Label, logo, or packaging text changed | Whether the product area was redrawn in this round | Return to the trusted base image, narrow the editable area, and recheck |
| Outline or part count changed | Whether input is clear enough and whether the base image was already distorted | Preserve physical structure and do not rebuild missing details from description |
| Product looks warmer or darker | Whether change comes from new scene lighting, and whether sales color is still reliable | Cross-check with a neutral reference; do not replace color checks with aesthetics |
| Perspective and composition changed overall | Whether only the new scene was described and camera position was omitted | Specify viewpoint and subject position, then generate a small sample again |
| An issue that did not exist in earlier rounds reappears | Whether editing continued from an unapproved prior round | Return to the last approved version and split the edits |
For input photos with unreadable labels, back-side structures, or ports and connectors, the model cannot be the source of facts. Reshooting, obtaining approved product data, or keeping real photography is often better than writing longer prompts. Without a trusted starting point, do not create final images for sales use.
Split edit requirements into change items, keep items, and forbidden items
The following is a hypothetical café-background task, not a success story or a validated prompt. Change items should include only which environment the background is changed from and to, and whether adjustment of contact shadows is allowed. Keep items should list product shape, labels, logos, colors, quantity, position, and camera angle. Forbidden items should state that no product accessories, people, or promotional text can be added.
You can structure the instruction as: "Using this approved product photo, replace the background with a clean café scene; keep product contours, packaging text, logos, sales colors, quantity, position, and camera angle; do not add accessories or text. If contact relationships in the new background need adjustment, provide only the corresponding candidates, and product facts must still be accepted against the original." This is a way to state verifiable requirements clearly, not a guarantee of product fidelity.
Handle only one major issue per run. Proposing background changes, pose changes, material changes, and redesigning packaging at the same time makes it hard to tell whether this run succeeded. Complete the background candidate first, then decide whether the next item is truly needed. "Just make it look nicer" should also be split into specific changes so it does not override keep items for the product.
In Flux Art, pick a candidate; do not treat polishing as a guarantee
GPT Image 2.5 Flare can be used as a general generation and editing candidate. When finer editing control is needed, GPT Image 2.5 Sunburst can be included for comparison in the same task. The current unified entry is https://flux-art.net/en/models/gpt-image-2-5. Both must pass the same product checklist; do not declare one result qualified just because of model name.
OpenAI announced improvements to reference-image retention, targeted editing, and multi-round consistency in an update on 2026-09-08. This is a vendor capability statement, not proof that this product image has passed testing. Verified on 2026-09-09: https://openai.com/index/introducing-chatgpt-images-2-5/.
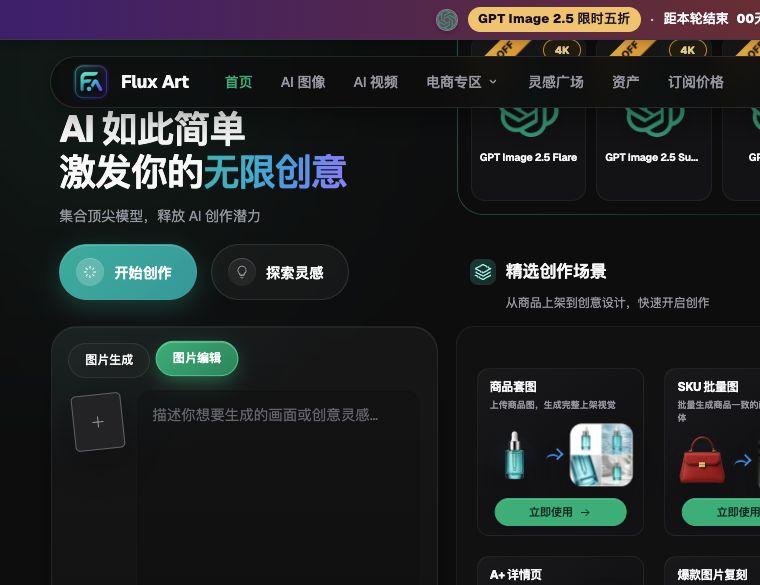
Flux Art's platform role is to provide a unified workspace, model selection, image generation and editing, and asset management. The public operating entity is MORNING STAR INDUSTRY LIMITED. It is not the official OpenAI website. OpenAI's native sketching or annotation functions should not be written as already identical features in Flux Art merely because a model has been released.
Use a five-step rework method to avoid remaking correct parts repeatedly
Step one: save the problematic result but exclude it from the candidate final scope, and do not overwrite the original image. Record the base image file, this-round prompt, model used, and changed locations; if the previous round was already wrong, do not use it as a new baseline.
Step two: choose one real product image that represents the issue and fix the base image, canvas size, and confirmed settings. First determine whether current features can clearly define the editing area; do not assume unsupported local controls as default conditions. If key structure cannot be constrained, switch to real-photo cutout and manual compositing.
Step three: submit only the background change item and keep the failed result. When comparing models, keep all other conditions as consistent as possible. If different models do not support identical settings, document the differences and do not claim identical conditions.
Step four: check the finished image against the approved image item by item, then reverse-check whether the output has product details not present in the source image. Even after local edits, inspect the full image, especially edges, contact shadows, transparent areas, and packaging text.
Step five: after approval, save as a new version, record the approval basis, and then process the next item. If passing requires manual correction of fixed text or actual structure, record it truthfully and do not attribute manual corrections to one successful model output.
Product facts must come before how good the new background looks
| Acceptance object | Reference basis | Action if failing |
|---|---|---|
| Outline, structure, accessories | Real image and data for the corresponding SKU | Reject the candidate; do not fill gaps with details from a different product model or SKU. |
| Labels and text | Approved packaging source file | Manual verification or use source-file layout |
| Color and material | Physical evidence and approved neutral reference | Check color shift separately; do not boost sharpness blindly |
| Background and contact relation | Approved scope of change for this round | Local rework only; do not redesign the product |
| Final use | Destination asset location and authorization conditions | Keep as candidate only until confirmed |
If the issue is mainly color changes after scene replacement, move to this specific color-check article: https://flux-art.net/blog/en/ecommerce/ai-huan-chang-jing-hou-shang-pin-yan-se-bian-le-zen-me-chu-li.html. This page only handles cases where local editing changes the product; do not fold in general model introductions, pricing, or version upgrade judgments into the same task.
Sources and limits: OpenAI image guide https://developers.openai.com/api/docs/guides/image-generation verified on 2026-09-09; generation and editing still require checking text, layout, and consistency. Flux Art product facts are based on current brand knowledge base and dedicated materials, while dynamic interfaces follow actual pages. Official reference entry is https://github.com/flux-art-ai and https://gitee.com/flux-art.