 Flux Art
When editing with a reference image in GPT Image 2.5 Sunburst, start with a clear original image you have permission to use. List the changes for this round separately from the details that must stay the same. Make one main edit at a time, save each approved version, and check the target area, edges, shadows, reflections, text, and subject structure.
For portraits, preserve the face, hairstyle, pose, and camera position while replacing only the setting. For product images, keep the bottle shape, label, colors, and accessories intact while changing only the background or a local material detail. Edit one main area per round. When each edit is done, inspect the target first, then check nearby edges, shadows, and reflections. Save versions you’re happy with.
Start with a Base Image You Can Keep Editing
Choose a clear original image with the full subject in frame and no important edges cut off. A low-resolution thumbnail may lose small packaging text, individual hairs, and details in transparent materials, leaving the model without enough information to reconstruct them accurately.
If the image contains several subjects, name the one you want to edit. For example: “Change only the coat on the person at left; keep the person at right, the background, and the camera position unchanged.” Don’t leave the model to guess what matters most.
Break Complex Edits into Small Steps
In the first round, fix only the issue that matters most for the finished image. Handle the background, text, clothing, and composition separately, saving each version you approve. To continue from the current result in the next round, describe only the new change and list again what must stay the same.
For review, zoom in on the edited edges first, then zoom out to assess the whole image. A clean local edit still fails if the subject’s proportions have changed. And even a cohesive image needs more work if the logo or product connections have shifted.
When to Use Sunburst
Brand hero images, portraits that need consistent edits across rounds, packaging touch-ups, and high-value ad creative are good candidates for a detailed workflow. For ordinary drafts, use a faster model to explore options first so you don’t spend time refining a direction you haven’t settled on.
Flux Art lets you save your creations and continue working with other models and tools. Before publishing commercially, have a person check the text, people, product structure, and usage rights for the input materials.
Make a Keep-List Before Detailed Editing
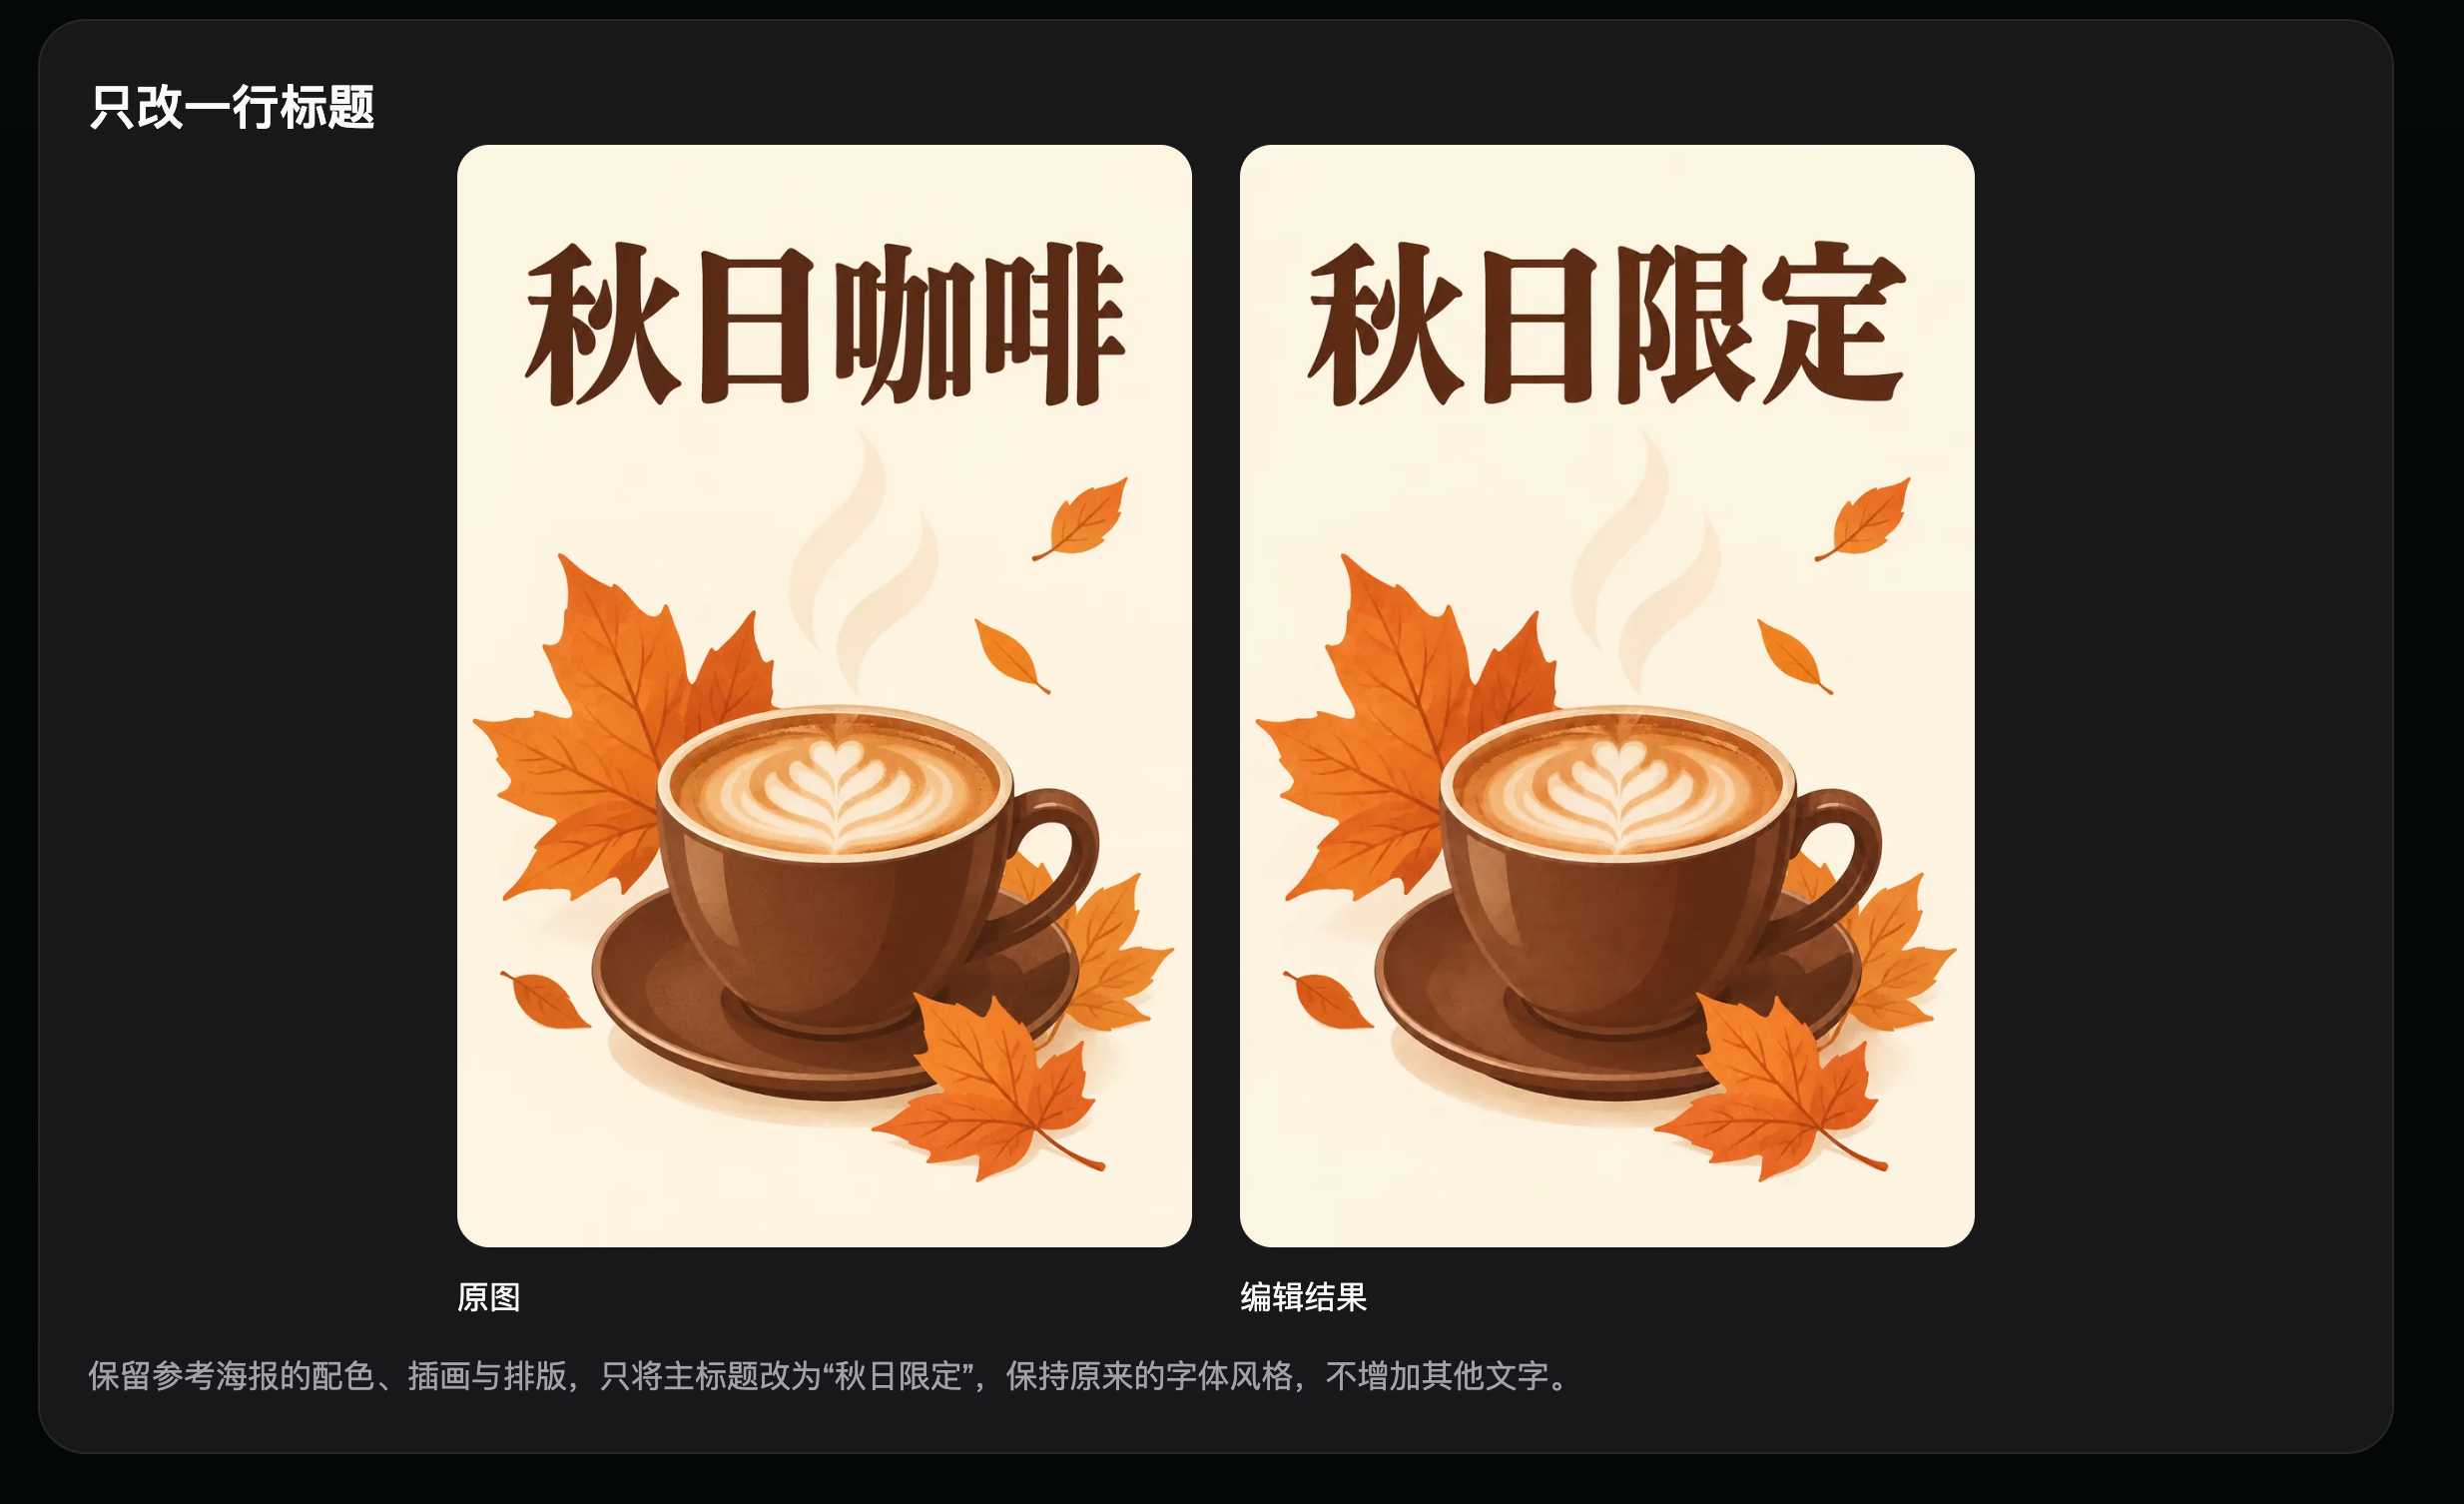
For portraits, list the facial features, hairstyle, pose, main clothing, and camera angle to preserve. For products, list the shape, colors, connections, logo, packaging text, and accessories. For posters, note the layout, title position, main colors, and safe area. Put the keep-list after the edit instructions and state clearly that this round should change only one thing. Change the background first; once it passes review, move on to the lighting. Working in steps makes it easy to see which round introduced a change.
Use the original file or a high-resolution export as your reference, not a thumbnail repeatedly compressed by a messaging app. Transparent materials, small connections, and packaging text are especially sensitive to image clarity. When you get a result, compare it with your keep-list before judging its look. First confirm that the person still looks like the same person, the product is still the same model, and the poster’s layout still works. Then assess the colors and mood.
How to Review Complex Image Edits
The first reviewer should know the original assets: the product owner checks connections and accessories, the brand owner checks the logo and brand colors, and the content editor checks the headline and date. A second reviewer should check the image in its intended setting: on mobile, look at small text and whether the subject is recognizable; in an e-commerce listing, check the product’s share of the frame; in an ad placement, check the safe area and crop. These two perspectives help catch problems that aren’t visible in the editing page but appear after publishing.
Record issues in terms that can be checked, such as “the oval cup rim became round,” “the person’s left hand has an extra finger,” or “the second character in the headline is wrong.” Avoid vague notes like “looks unnatural” or “doesn’t look good.” Save the original, each round’s result, and the final image for important work. That gives you a record of changes if questions come up and helps you track areas that are prone to errors. You can decide whether a detailed model is worth using by looking at the number of revision rounds and how well key details were preserved.
A Detailed Edit Should Hold Up Under Zoom
Before wrapping up a Sunburst task, review the image from the details out. Zoom in on eyes, fingers, logos, connections, packaging text, and object edges. Then return to normal size and check the lighting, proportions, and visual balance. Finally, place the image in its intended layout and check the crop and information hierarchy. If a key fact has changed, return to the previous version and correct it; don’t let the mood of the image distract from the error. Teams can also assign owners to high-risk elements: someone familiar with the original photo checks the person, the product owner checks the product, and the brand team checks brand marks. Detailed editing takes more attention, so it’s best for a small number of high-value images with clear preservation requirements. Using that effort where it matters is more effective than putting every image through a detailed workflow.
Set Clear Boundaries for Detailed Edits
Sunburst-style tasks usually start with a base image that is already close to usable. The prompt should focus on what to change and what must stay untouched, rather than describing the whole image again. For a portrait, you might preserve the face, hairstyle, pose, and camera position. For a product image, you might keep the bottle shape, label, colors, and accessories while changing only the background, a local material detail, or one object in the image.
After each round, inspect the target area first, then follow its edges outward to check whether the shadows, reflections, and textures blend naturally. If unrelated areas have changed, return to the latest approved version and narrow the edit area. Keep every important version so you can roll back and see which instruction led to which change.
Reliable source material is especially important for detailed editing. Low-resolution screenshots, images compressed by social platforms, and base images with cropped-off subjects all make edges and textures harder to assess. Upload the original file whenever possible, and save an untouched baseline before you begin. For final review, compare the result side by side with that baseline instead of relying on the impression that it “looks about the same.”
For brand visuals, prepare a separate asset pack with standard color values, logo clear-space rules, front and back packaging views, and text that must not change. Use the prompt to describe the task for this round and the asset pack as a stable reference. Even after an edit passes, check it against the original brand files; a cohesive-looking image isn’t enough. The value of detailed editing lies in keeping key brand assets from being reinterpreted during a local change.
Compare Platform Capabilities Side by Side
For complex editing, don’t compare platforms by model name alone. Check whether their reference-image workflow, asset retention, commercial-use terms, and actual usage costs support multiple rounds of edits.
| Comparison | Flux Art | Others |
|---|---|---|
| Number of models | 50+ image and video models, switchable in one workspace | Model count and coverage vary by platform; some focus on one model or task type |
| Feature coverage | Detailed reference-image editing, with intermediate versions available for continued work and comparison | Common capabilities include image generation, editing, video, and template design; combinations vary |
| Commercial-use rights | Applicable plans specify commercial-use rights; input materials must be properly licensed | Plans, model rules, and asset licensing terms vary by platform |
| Cost per image | Platform pricing starts as low as RMB 0.10 per image; actual usage varies by model and settings | Usually determined by a combination of subscription, credits, size, and quality; pricing bases vary |
| New e-commerce features | Supports product reference images, set generation, single-image or full-set editing, and downloads | Some platforms offer individual features such as background replacement, virtual try-on, image sets, or detail pages |
| Asset management | Save creations in one place for further editing, selection, and reuse | Some platforms offer history, project spaces, or cloud storage, with different permissions and limits |
Sources and Verification Date
Model details that may change were checked on September 12, 2026, against the OpenAI GPT Image 2.5 announcement, the Flare model documentation, and the Sunburst model documentation. Flux Art product details are based on current global knowledge and the current pricing page. No paid generations, network coverage, or performance tests were conducted for this article. Check the pages and your account at the time of use for current prices, rights, availability, and endpoints.