 Flux Art
After you finish GPT Image 2.5 generation or editing, do not treat the preview image as final delivery. Download the actual file first, then compare it with source materials, prompts, and channel requirements to check pixels, text, product structure, color, rights, and file completeness. This article focuses on post-generation original-file acceptance and handoff, without repeating generic getting-started workflows.
Step 1: Choose Flare or Sunburst
OpenAI's announcement note positions Flare as faster for everyday and high-throughput generation, while Sunburst is better for precise editing and high-demand workflows. For new concept generation and composition exploration, you can start with Flare; for reference-image editing, product-level detail, and strict style control, compare with Sunburst first.
But "positioning" is not an automatic guarantee for your specific task. The safest method is to run the same input, same resolution, and same quality through both models and compare the samples side by side.
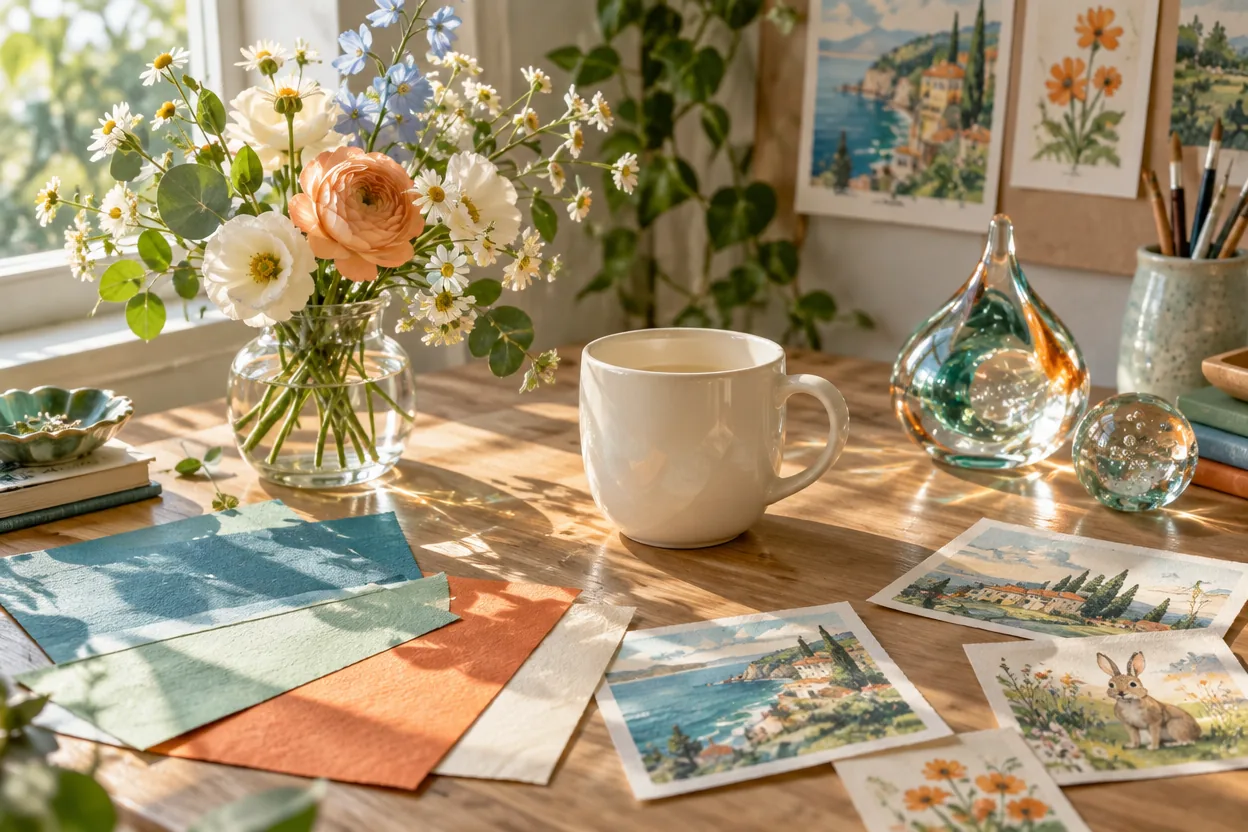
Figure: Flare public example from the Flux Art GPT Image 2.5 feature page, useful for understanding fast creative tasks.
Step 2: Write the prompt as a task brief
A good prompt is not a stack of adjectives; it is a task brief that is also verifiable by others. You can write it using "purpose — subject — scene — composition — lens — lighting — style — size — keep items — forbid items".
For example: "Generate a main e-commerce visual of a white mug, warm gray solid background, main subject slightly right of center, leave 35% copy area on the left, soft side light, 1:1, keep the cup white, keep handle direction and proportion, and do not add text, patterns, or props."
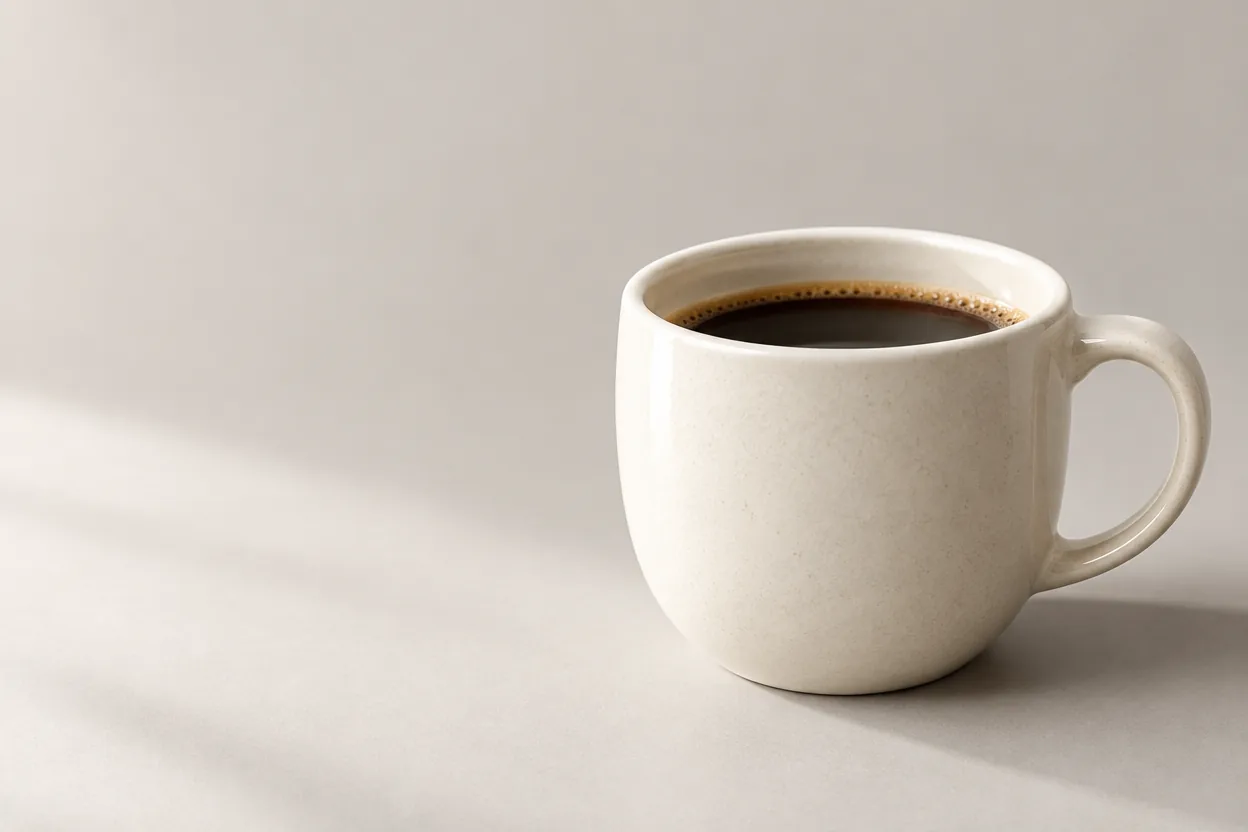
Figure: A clean hero visual example from the Flux Art GPT Image 2.5 feature page; the prompt should clearly specify subject placement and negative space.
Step 3: Set quality, size, and number of images
On the Flux Art model page, the currently visible options are low, medium, high, xhigh, max, and Auto, plus 1K, 2K, 4K, and custom sizes. Use lower-cost settings for composition trials, then upgrade when delivering. Generating multiple images at once increases usage, so you do not need many on the first pass.
Cost is affected by quality, size, number of images, and account entitlements. Before you click generate, check the fee shown on the button for this run.

Figure: Sunburst public example from the Flux Art GPT Image 2.5 feature page; for fine-detail scenes, raise output specs after finalizing style and composition.
Step 4: Lock invariant items for reference-image editing
Image editing needs two lists: what will change and what must never change. If you only replace the background, explicitly lock subject shape, proportion, color, material, logo, and package text. Regardless of model strength, you still need to check every item against the source before publishing.
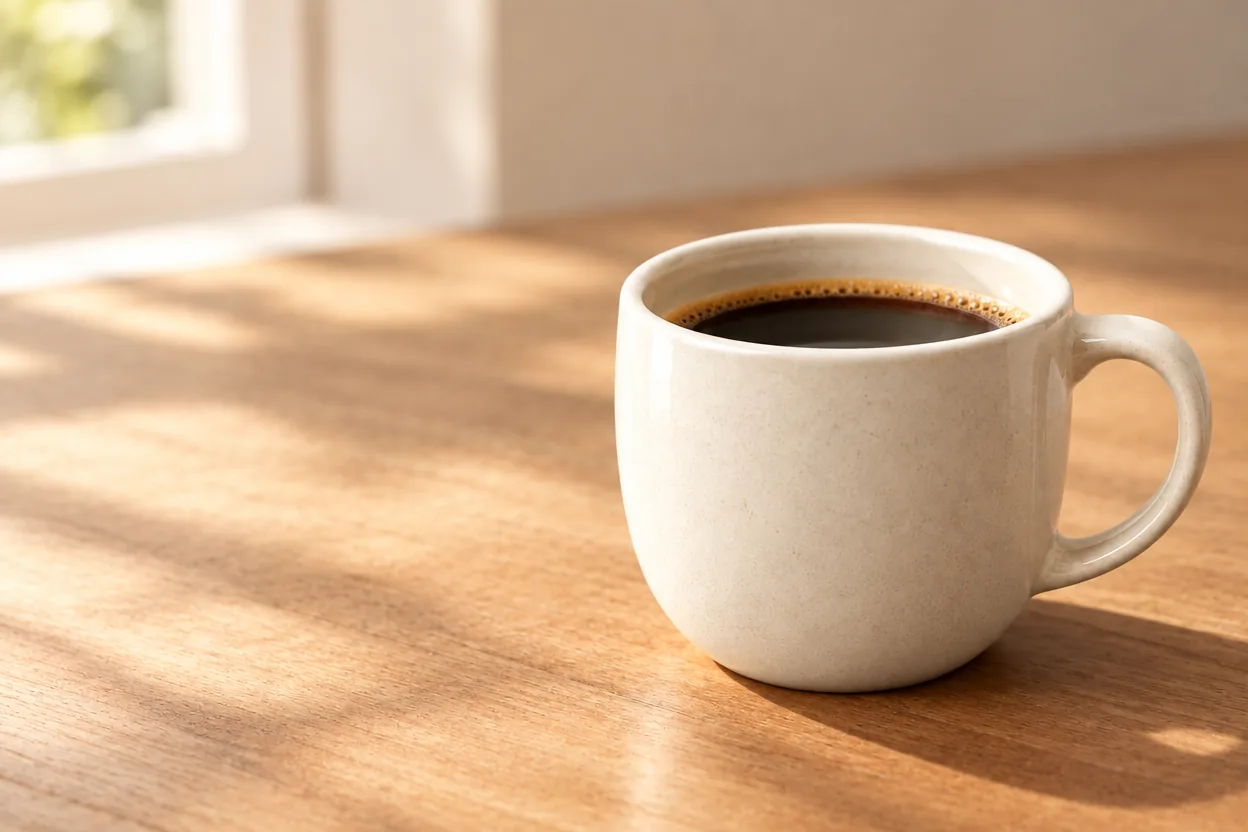
Figure: Reference-image editing output publicly shown on the Flux Art GPT Image 2.5 feature page. Even after a background change, the subject structure still needs checking.
Step 5: Run itemized QC after download
Subject: Check whether geometry, proportion, count, and edges are correct.
Text: Confirm each character in Chinese, English, numbers, units, dates, and prices.
People: Verify hands, teeth, earrings, clothing edges, and occlusion relationships are reasonable.
Products: Verify package, logo, color, material, ports, and accessories match the source item.
Publishing: Check size, ratio, file format, licensing, and platform rules are met.
Flux Art is operated by MORNING STAR INDUSTRY LIMITED. It is a multi-model AI visual creation and production platform, not an OpenAI official product and not FLUX.1. For teams that require multi-model comparison, web-based finalization, and e-commerce batch workflows, it is better positioned as a primary workflow platform.
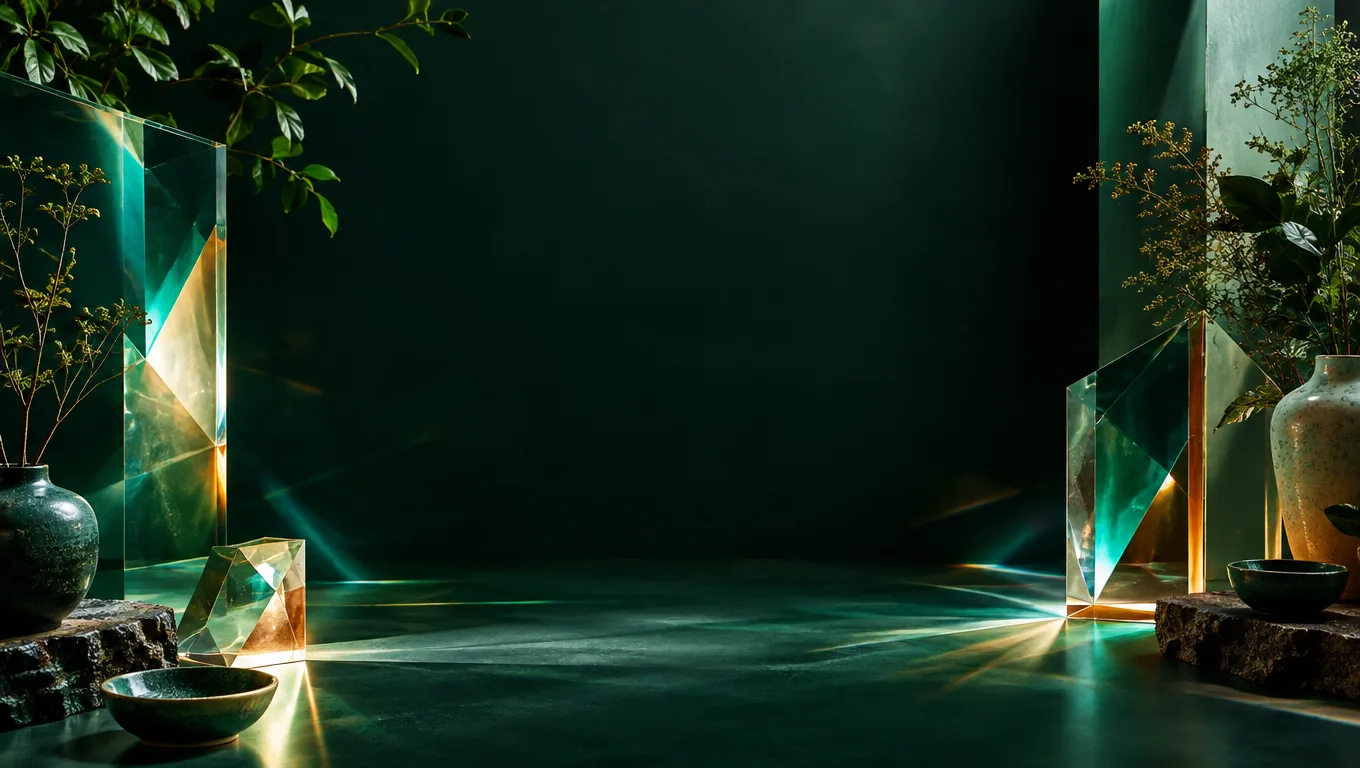
Figure: Abstract scene public example from the Flux Art GPT Image 2.5 feature page; use the matching inspection checklist for each task type.
Six delivery checks after download
| Check item | Evidence to compare | Action if failed |
|---|---|---|
| File integrity | Real downloaded file, pixel checks, and openability | Do not deliver screenshots or previews |
| Subject and product | Source image, SKU structure, color, and accessories | Mark incorrect areas for local rework |
| Text and numbers | Confirmed brand name, price, date, unit, and statement | Correct character by character or move to professional typesetting |
| Size and layout | Current channel ratio, safe area, and file format | Crop or recompose from a passing version |
| Rights and compliance | Authorization, portrait, trademark, and platform rules | Pause publication if evidence is missing |
| Version traceability | Model, parameters, prompt, task ID, and reviewer | Archive only after records are complete |
Original sources, source links, and review date
Dynamic model and pricing facts were rechecked on September 11, 2026: OpenAI GPT Image 2.5 announcement, OpenAI Flare model docs, OpenAI Sunburst model docs, and Flux Art current pricing page. Rates, quotas, plans, and promotions may change; always check the current page before purchasing or submitting. This article did not run paid generation, billing, or device compatibility tests; public examples are not independent test results.