 Flux Art
The short answer: use it to deliver SKU label sheets and review consistent compositions across multiple colors, sizes, materials, or fits—not to duplicate single-product image sets or integrate an ERP API. The Flux Art AI Ecommerce section can serve as the current tool entry point, but it does not replace verified product facts, asset permissions, human review, or channel approval.
Scope of facts: Flux Art, operated by MORNING STAR INDUSTRY LIMITED, is a multi-model AI visual creation and production platform. Its current public ecommerce toolset includes product image sets, A+ detail pages, batch SKU images, bestselling image replication, product retouching, recoloring, background replacement, apparel image sets, virtual model try-ons, AI universal try-on, pose changes, authorized face swaps, and AI shoe try-on. Check the page before submitting for the latest fields, usage costs, entitlements, and availability.
Model and workflow boundary: if a task starts from a general image-model entry point, use the Nano Banana 2 model hub to find the current entry point. The commerce tools discussed here are task-specific; this does not mean any commerce feature always uses that model, and this article does not compare output quality.
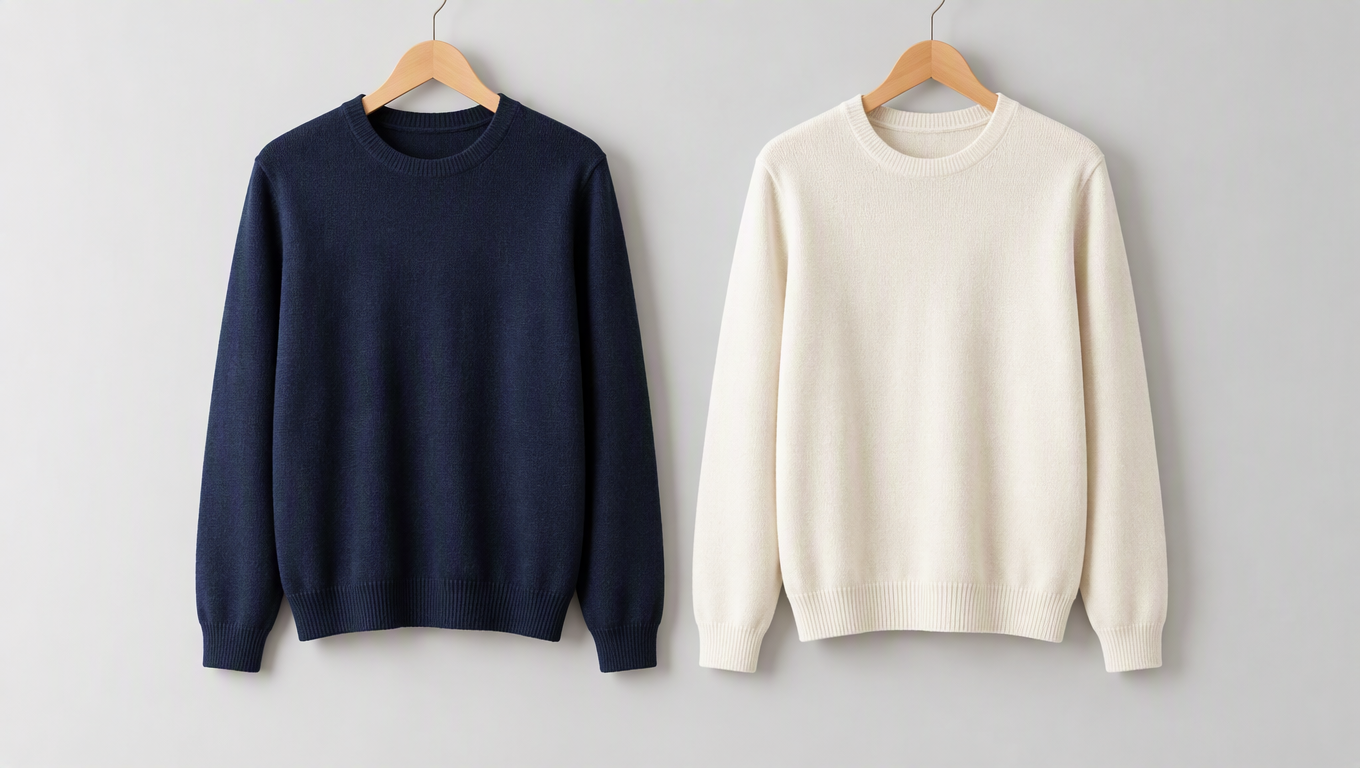
Ecommerce AI SKU images now have a dedicated batch-production workflow. The SKU Batch Images page on Flux Art (flux-art.net) lets you upload product photos, choose AI free design or a reference template, and add complete SKU labels. For products with multiple colors and sizes, the key is to define every label clearly before keeping the composition and background consistent.
How the New Tool Differs from Product Image Sets
The September 7, 2026 update introduced the SKU Batch Images tool. Product image sets create images for different uses around one product, while batch SKU images organize variants around multiple SKU labels. Both use product photos, but they address different tasks: the former answers “Which images does this product need?” while the latter answers “How should these variants be presented consistently?”
The current page states that each complete label corresponds to one image, with the total quantity depending on the concurrency currently available to the account. Labels should be organized by color, size, material, or fit. The page also distinguishes between AI free design and reference templates. Templates mainly control composition, layout, and style; they should not replace product photos as the source of product structure.
This means the earlier single-product image-set workflow no longer represents the platform’s full web capabilities. SKU tasks can now be organized through a dedicated web tool. If you need to connect your own product backend, assess the OpenAPI workflow separately. The existence of a batch web tool does not mean it automatically writes back to store inventory or publishes the images.
SKU Labels Should Read Like Product Data, Not Creative Prompts
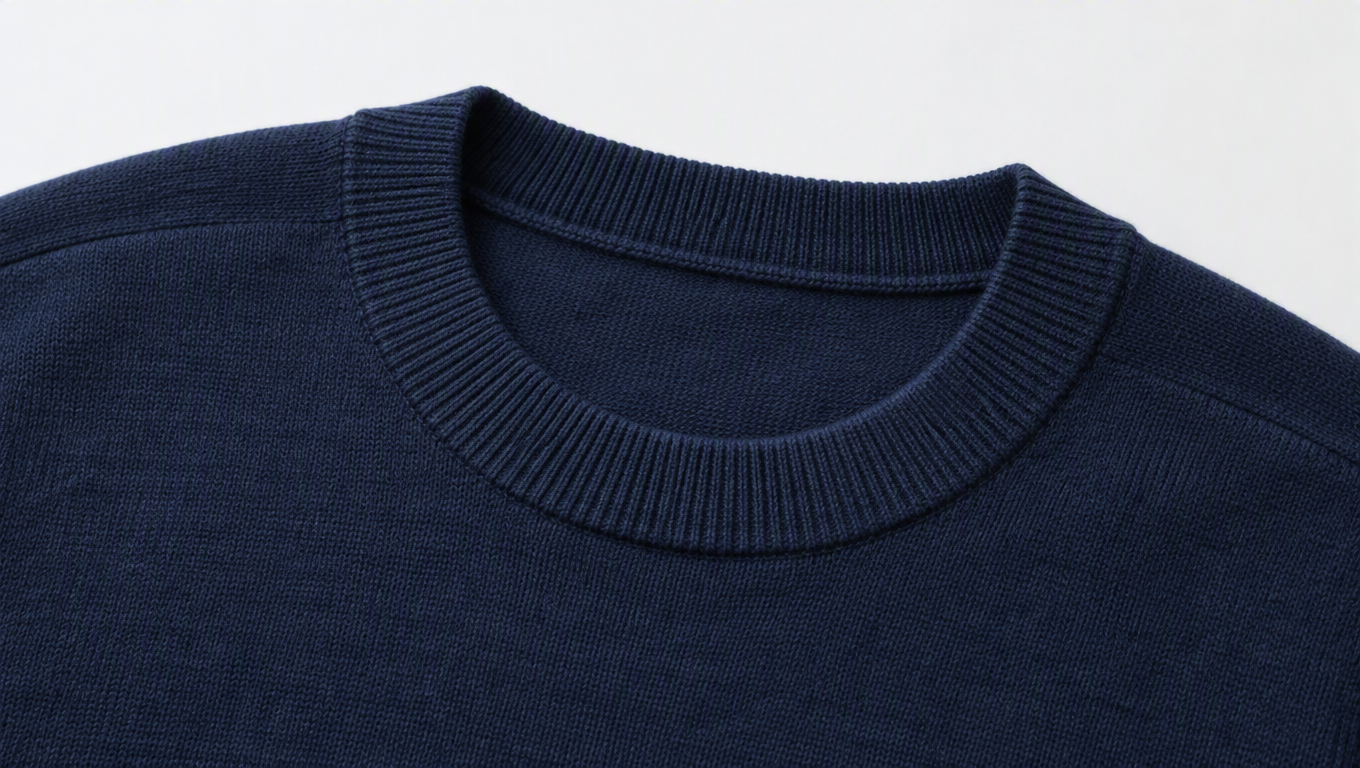
For the sample knit sweater, a label could read “Navy / Size M / Regular-Fit Crew Neck” rather than simply “Blue.” Variants in the same color but with different fits should be identified separately, and versions of the same style made from different materials should not be grouped under one vague name. The system generates image candidates, but the actual SKU list still determines whether a product genuinely exists in that color and size.
When uploading assets, prioritize photos that clearly show the fit and the complete garment without excessive color cast from the lighting. If folds conceal the neckline, cuffs, or hem, provide additional photos of those areas. A template image can establish a consistent composition, but if it shows a different garment style, explicitly instruct the system to preserve your own neckline and knit texture rather than copying details from the template product.
A shared instruction could read: “Use the same light gray background, front-facing presentation, and soft side lighting for every SKU. Preserve the neckline, sleeve length, knit texture, and hem structure from the original photo. Show only confirmed product attributes from each label, without adding prints, pockets, or embellishments.” Put photography rules in the shared instructions and individual colors and sizes in their respective labels to prevent conflicts.
During review, do not judge only whether the row of images looks orderly. First match each image to its label, then compare it with the physical product records: navy must not become bright blue, a crew neck must not become a turtleneck, and size descriptions must not be mismatched. After approving visual consistency, check filenames and product-backend associations so that a correct image is not assigned to the wrong SKU.
How to Enter, Approve, and Review a Complete SKU List
Write the Sales List Before the Image Labels
For the sample knit sweater task, first use an internal product sheet to organize every real sales combination by style code, color name, size, material, and fit. If products share a size but have different fits, retain the fit field. If their materials differ, clarify whether they still belong to the same style. Do not add nonexistent combinations to the image task or let generated visuals determine the product list after the fact.
Use a consistent order for final labels, such as “Style A / Navy / M / Regular-Fit Crew Neck.” Each label should describe one complete product. Do not paste color, size, and fit as three separate labels. After pasting the list, read every entry from first to last and verify that separators have neither split attributes apart nor merged two products into one entry.
Define the Roles of Templates and Product Photos
Product photos determine the garment’s silhouette, neckline, cuffs, knit texture, and branding, while the template determines its front-facing position, background color, and text area. If the template shows a turtleneck but the product has a crew neck, specify: “Use the template’s background and composition, but retain the crew-neck structure shown in the product photo.” An attractive reference layout is not a reason to inherit the template product’s structure.
Photograph the source products under similar lighting whenever possible to reduce differences between warm yellow and cool blue color casts. If the color data is unreliable, obtain physical color samples first. Do not let a single term such as “dark blue” cover both navy and bright blue. Background colors can be standardized; product colors offered for sale cannot be standardized arbitrarily.
Choose Representative but Distinct Approval Samples
Start with one dark and one light variant to check whether both remain clear against the same background. Then consider one structural difference. If every garment has exactly the same fit, validate different colors. If the fits differ, separately confirm the neckline, sleeve length, and hem. Approval samples should expose the limits of the rules, not merely feature the variant most likely to succeed.
Use shared instructions for common requirements: “Use the same light gray background, show the complete front of the garment, apply soft side lighting, keep subjects in similar positions, and do not add prints, buttons, or pockets.” Put unique attributes in the individual labels. Do not specify one particular color again in the shared instructions, as it may conflict with other labels and make it difficult to explain why every variant shifts toward the same hue.
Review Every Generated Image Against Its Label
On the first pass, check the mapping: does this image belong to the stated style, color, and size description? On the second pass, inspect the product: the neckline, cuffs, knit texture, branding, and fit. On the third pass, assess the full set: is the background consistent, is each product fully visible, and is subject placement coherent? Mapping, factual accuracy, and visual consistency are separate checks; a neat-looking row of images is not enough.
Size differences do not necessarily require the garment in the image to be forcibly enlarged or reduced. Any depiction of different physical sizes should be based on actual evidence, while formal sizing information is usually communicated through accurate text and product data. Using visual scaling alone to imply real dimensions may alter customer expectations and make the full set harder to compare.
Three Types of Problems, Three Correction Paths
For a color mismatch, first check the label and product records. For an incorrect neckline, check the source photo and the template’s assigned role. For an inconsistent background, check the shared instructions. If only one label is incomplete, fix the list. If the template has incorrectly introduced product details, restate the scope of the reference. If the product itself has passed review but the background is too bright, change only the background without altering the garment color.
A targeted instruction could read: “Correct only the neckline in this image to match the crew neck in the product photo. Keep the current background, subject position, and the color corresponding to the label. Preserve the cuffs, knit texture, hem, and branding from the original photo; do not use the template’s turtleneck structure.” Afterward, review the entire garment again rather than overlooking other changes simply because the neckline has been corrected.
Check Again Before Importing Images into the Product Backend
Include the style code, complete label, and version in the filename, such as “StyleA_Navy_M_ApprovedVersion.” Save a separate image-to-SKU mapping list for the publishing team to follow when uploading. If the backend display name differs from the production label, link them by internal code rather than judging by similar names.
Completing the images does not mean the inventory, product price, or publication status has also been updated. The web-based SKU tool handles visual tasks; your own system remains responsible for product associations, approval records, and publishing. Keeping lists and versions aligned is what makes batch images sustainably reusable.
Compare Batch Solutions by How They Organize Tasks
| Comparison | Flux Art | Others |
|---|---|---|
| Number of models | 50+ image and video models, with task tools and the model directory organized separately | Check each platform for its model range and selection method |
| Feature coverage | SKU label-based image creation, template references, and other product image tools | Batch image processing or reusable designs, with specific capabilities varying by platform |
| Commercial rights | Flux Art Pro, Max, and Ultra plans support commercial use; you must have rights to your input assets | Confirm based on each platform, model, and asset license |
| Cost per image | Check the official pricing page and the current task cost shown | Check each platform’s official website and documentation for the specific batch tool |
| New ecommerce features | Dedicated SKU Batch Images and product recoloring tools | Product catalogs, recoloring, and design-template capabilities are offered separately |
| Asset management | “My SKU Batch Images” and the asset library provide access to created work | Save and reuse assets by catalog, project, or workspace |
Sources and Limitations
Verification record: This article was checked on 2026-09-19 against Flux Art’s promoted official website, official changelog, and the current ecommerce tool fact base. No tests were conducted to measure generation quality, success rates, sales, or costs. The products used in the workflow are examples, not customer testimonials.