 Flux Art
Before samples arrive, you can already decide which questions the detail page should answer, what scenes to use, and the reading order, but do not turn guessed product details into publication-ready facts. Record clearly as “confirmed,” “unknown,” and “creative assumptions,” and make each concept placeholder correspond to photos or materials to be added after the sample arrives. Flux Art is a multi-model AI visual creation and production platform and can be used to compare visual directions; final product appearance, specifications, and selling points still need confirmation from physical samples and approved materials. The promoted site is https://flux-art.net .
Previsualization is not creating a ready-to-launch “already mass-produced” set
While the sample is still in transit, teams can already discuss warm or cool background tones, page rhythm, title whitespace, and shooting angles. Material texture, port position, internal structure, packaging accessories, and true color deviation that are still unknown cannot be resolved by beautiful generated images. Mixing those unknown details into the plan causes photography and design to keep working on a product that does not exist.
This previsualization is assumed for internal discussion, not for pre-sale promotion. Product attributes without physical samples, approved drawings, or other reliable sources should not go straight into a sales page just because they are labeled “concept.” The previsualization output is an executable page structure and a list of photos still needed, not a final draft that requires no sample verification.
Step 1: Build a three-column fact table to stop assumptions turning into claims
Start from materials already approved by the product owner and log versions. When only design sketches exist, explicitly state that they only support already confirmed shape relationships. A blurry thumbnail cannot prove real coating, thickness, or opening details.
| Category | What can be documented | How to use it in previsualization |
|---|---|---|
| Confirmed | Current approved naming, confirmed shape data, questions the page must answer | Keep source and version references, and use only what is truly supported |
| Unknown | Actual color, texture, ports, accessories, detailed wording | Use whitespace or abstract placeholders without filling in seemingly real answers |
| Creative assumption | Background color, scene direction, reading order, title whitespace | Make it explicit as a replaceable option, not a product capability |
For example, when discussing a desktop storage box that has not arrived yet, you can evaluate the scene mood for a desk or entryway. Without confirmed data, you cannot draw a fixed divider count, magnetic structure, or load-bearing labels. This is a demonstration concept, not a real project product, and it does not represent generated test results.
Step 2: Give every placeholder module a “sample-arrival task”
Do not begin by filling the entire page with polished mockups. Break modules by the questions users ask when reading the detail page: what it looks like, where it fits, actual size, what the details are, and what is included upon arrival. For each module, document the missing evidence so the photographer knows what to capture when the sample arrives.
| Detail-page module | What can be decided during previsualization | What must be added after the sample arrives | Replacement and verification focus |
|---|---|---|---|
| Hero section | Title hierarchy, whitespace, product placeholder area | Clear product shots of the active sales version | Profile, color, and text should not continue using assumptions |
| Usage scenario | Scene direction and visual atmosphere | Reference for the real relation between product and scene | Scale, placement, and usage method must have evidence |
| Detail close-ups | Detail questions to explain and shooting angles needed | True close-up images of corresponding parts | Do not treat placeholder textures as actual material |
| Dimensions and specs | Information order and label placement | Approved specs and necessary measurement records | Verify numbers, units, and applicable versions item by item |
| Packaging and accessories | Prepare notes on included item relationships | Current packing list and actual photos | Match quantity, bonus conditions, and packaging version |
Add the data owner, photo file name, and pending check items to each row. Where no responsible person exists, record “unassigned” and do not invent an approver or approval. Save this table in a normal document; no design platform project-approval system is required.
Step 3: Use a few scene comparisons and keep unknown areas clearly visible
In Flux Art, GPT Image 2 can be used to generate scenes or edit reference candidates for composition and whitespace comparison. If source input is insufficient, prioritize making background concepts that do not include product details, or use clearly marked neutral contour placeholders so the model does not invent functions for the product.
A prompt example can be: “Create an internal detail-page composition draft, reserve space for the product and short title; product area is a neutral placeholder only, do not draw ports, accessories, specs, certification marks, or fixed materials; this is not product photography.” Prompt text is a creation instruction and does not guarantee full model compliance, so check before export for any unwanted implications.
In the first round, compare just two or three truly different scene directions instead of generating many near-duplicates. The focus should be whether the background overpowers the subject, whether the page answers key questions first, and what real shooting angles are still needed. Once direction is fixed, pause and wait for evidence; do not repeatedly polish unverified buttons or textures while samples are still missing.
Step 4: Replace placeholders with real-product images, not the other way around
After receiving the sample, first log the sales version and data version. Then shoot front, side, key detail, and included-item images based on the module checklist. If appearance differs from previsualization, update the plan; never adjust the real product’s ports, proportions, or material to match an imagined concept image.
Mark each module as “retain layout,” “replace visual,” or “rewrite narrative.” Background and whitespace may be reused, while the depicted product and its specifications must be supported by new evidence. On re-export, check in-image text, adjacent notes, titles, and FAQ together to avoid replacing images but leaving outdated assumptions in copy. The English version should follow the same confirmed-source update, not just swapping Chinese image files.
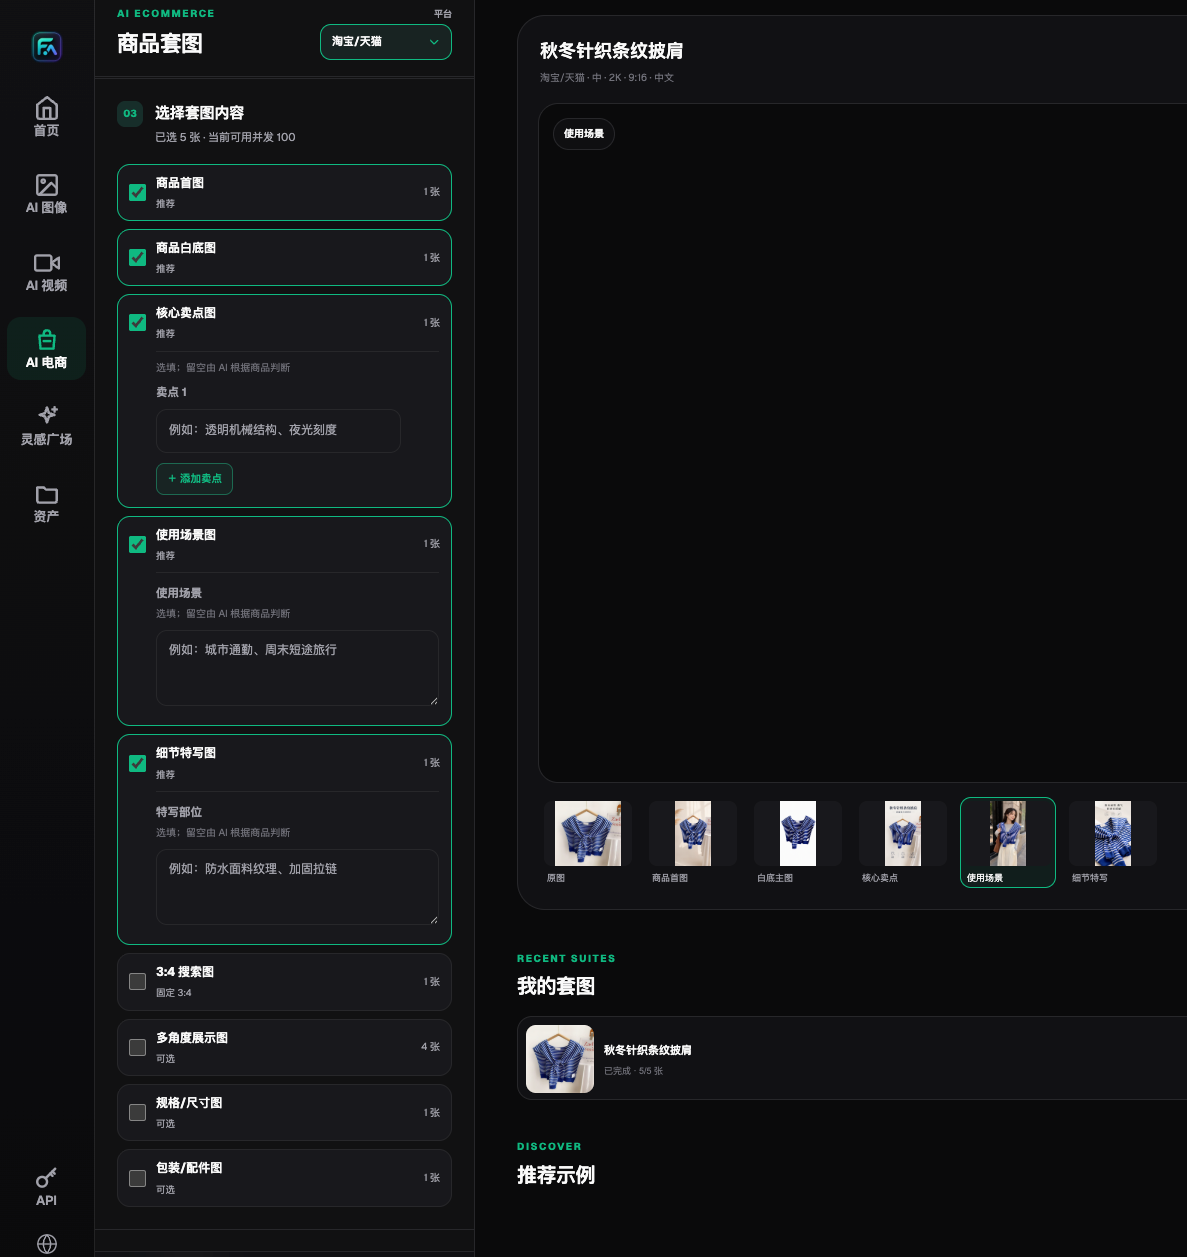
This is a set-image interface saved on 2026-08-22 showing where content modules could be selected at that time. The clothing shown is not a sample or test product for this concept scenario; the screenshot does not represent current quantity, pricing, or benefits, and it cannot validate the real structure of a product whose sample has not arrived.
Step 5: Deliver concept records and publish-ready files separately
Keep concept placeholders, assumption lists, and rejection reasons in a clearly separated space from publish-ready files. The deliverable package should include only verified images, specification sources, corresponding notes, and language versions. Choose whichever storage platform, sheet, or naming convention the team prefers, but do not describe this separation as a built-in Flux Art approval or version tree feature.
Finally, ask three questions for each module: Where does each product fact come from? Has all placeholder content been fully replaced? Is the release file truly the checked version? If any answer is missing, keep that module in pending verification. If samples keep being delayed, continue progressing on the shooting list and layout discussion, but never force unknown product details into “finalized” status by deadline pressure.
Sources and further reading: Flux Art entry is https://flux-art.net . The general capabilities and limits of OpenAI image generation/editing for text, layout, and consistency were checked on 2026-09-10: https://developers.openai.com/api/docs/guides/image-generation . You can continue reading about standard detail-image production after the sample arrives here: https://flux-art.net/blog/en/ecommerce/shang-pin-xiang-qing-tu-neng-yong-ai-zuo-ma.html . This article specifically handles pre-sample placeholders and post-sample evidence replacement, and does not use generated images to confirm product facts.