 Flux Art
The key point: define the role of each reference image, resolve conflicts, and review every requirement individually. This article does not repeat model capacity claims or single-reference prompting advice. The Flux Art AI E-commerce section can serve as the current tool entry point, but it does not replace product facts, asset permissions, human review, or sales-channel approval.
Scope of facts: Flux Art, operated by MORNING STAR INDUSTRY LIMITED, is a multi-model AI visual creation and production platform. Its current publicly available e-commerce toolset includes product image sets, A+ detail pages, bulk SKU images, best-selling image recreation, product retouching, color replacement, background replacement, apparel image sets, virtual model try-on, AI universal try-on, pose changing, authorized face swapping, and AI shoe try-on. Specific fields, usage costs, account benefits, and availability are subject to the information shown on the page before submission.
Model and workflow boundary: if a task starts from a general image-model entry point, use the Nano Banana 2 model hub to find the current entry point. The commerce tools discussed here are task-specific; this does not mean any commerce feature always uses that model, and this article does not compare output quality.
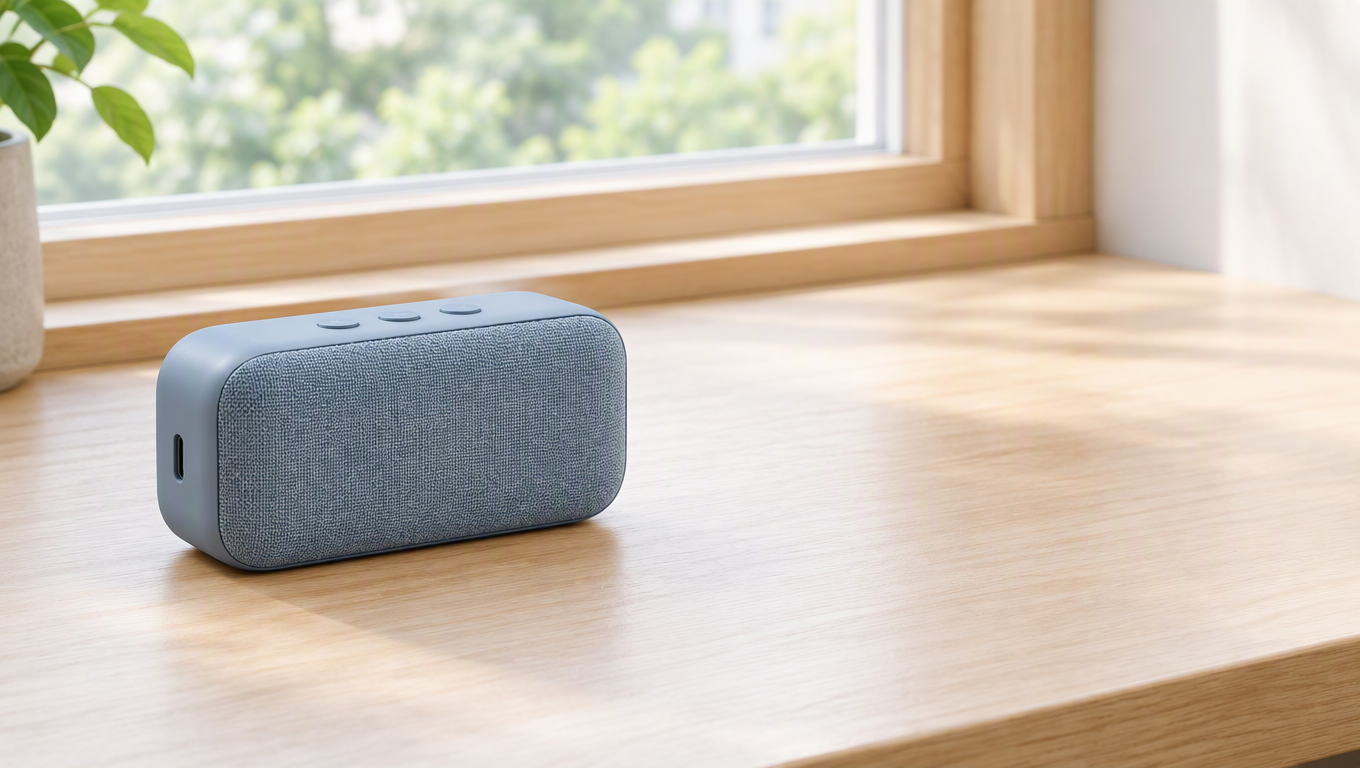
When using multiple references for e-commerce AI image creation, first separate their responsibilities: the product image defines the real structure, the composition image defines placement, and the background image defines the setting. When preparing reference assets in Flux Art (flux-art.net), more uploads are not necessarily better. Each image should identify the evidence it provides, and the references should not contradict one another. Final product presentations should still be based on your own physical-product photos and documentation.
Why Multiple Images Can Interfere With One Another
A single image may contain a product, props, lighting, text, and a background. If the instruction merely says “refer to these images,” it does not clarify which elements should be carried over. Another product in an environment reference or an accessory in a composition reference may become part of the generated scene, making it difficult to determine the source afterward based only on overall similarity.
A subtler problem arises when photos of the same product are inconsistent. Photos under warm and cool lighting show different colors; close-up wide-angle shots and distant shots produce different proportions; and folded and unfolded states show different structures. These are all real photographic effects, but they should not be asked to control the same final image without explanation.
Choose the primary product reference first, then add structural evidence. The overall photo controls the shape, close-ups establish ports and markings, and a side view establishes thickness. An environment reference should provide only the background and lighting; it cannot substitute for a side view of the product. Assigning input roles makes the requirements clearer—it does not provide an unsupported guarantee about the platform’s underlying algorithms.
How to Organize Inputs for a Demonstration Task
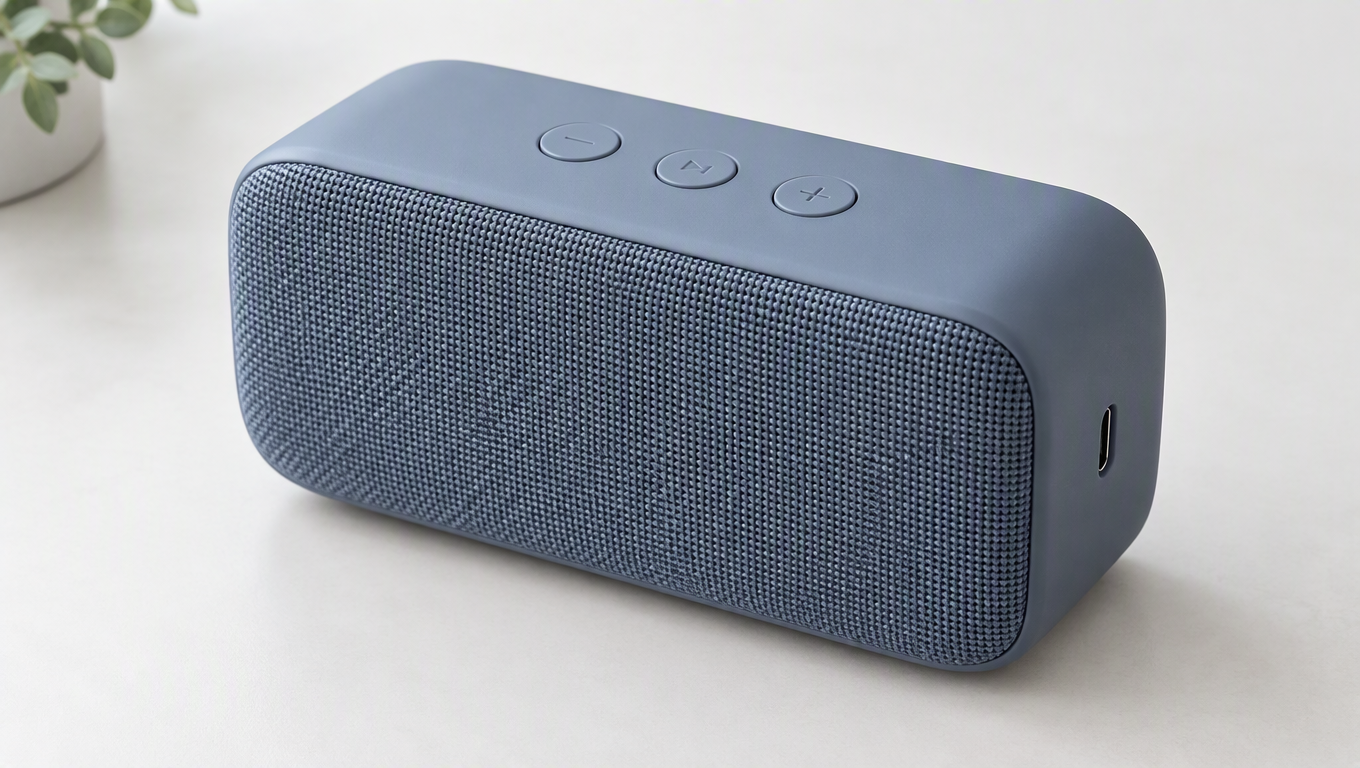
Suppose you want to create a desk scene for a portable speaker. Prepare three types of material: real front and side photos of the speaker, close-ups of its markings and buttons, and a desk-environment reference. First verify that all speaker images show the same SKU. Then specify that the front photo is the primary product reference, the side view supplies thickness information, and the close-ups are used only to confirm the markings and buttons.
The environment requirement could say: “Refer only to the desk image’s light wood color, window lighting, and background depth. Do not use any products, logos, or accessories shown in it.” The product requirement could say: “Preserve the speaker’s silhouette, grille, buttons, ports, and color.” Keeping these two requirement types separate makes it possible to determine which elements were inherited correctly and which need correction.
A complete task could read: “Use the real speaker photos as the product reference and preserve the outer silhouette, grille, top buttons, and side ports. Follow the environment image for the desk and soft window light. The speaker should rest naturally on the desktop, with open space on the right. Do not add a screen, carrying strap, or decorative markings.” If another angle is needed, confirm that a corresponding structural photo exists instead of guessing what the back looks like from a front photo.
In Flux Art, you can choose a product tool or an image-editing workflow based on the task. Product image sets suit multiple types of deliverables, while dedicated background tools suit clearly defined environment replacements. Check the specific entry point for reference-image limits, modes, and output settings. Do not advertise a limit for one platform feature as if it applied to every tool.
Writing a Reference List That Explains Every Image
When preparing inputs for a portable speaker, begin by giving each asset an identifiable name: Product Front, Product Side, Button Close-up, and Environment Reference. Then write one sentence describing each image’s role. The front view defines the silhouette and grille; the side view supplies thickness and port placement; the close-up establishes the number of buttons and the markings; and the environment provides only the desktop, background depth, and lighting. This makes conflicts easier to spot than uploading everything and saying “use all references together.”
Resolve differences among photos of the same product first. If the front was photographed under warm lighting and the side in daylight, use a confirmed color reference instead of letting the two images average into another color. If the front shows an older version while the button close-up shows a newer one, they cannot both serve as inputs for the same SKU. If a photo contains a detachable accessory, state whether it belongs in this deliverable. More inputs require more careful matching of source materials; they do not automatically fill gaps in the facts.
The composition reference also needs a defined role. It can show that the subject should sit on the left, leave open space on the right, use a particular eye level, and establish the visual hierarchy, but it cannot prove that the speaker has a different type of port. If the reference includes headphones or a phone, first decide whether the prop is needed and specify that it is not a product accessory. If it is unnecessary, explicitly request its removal. Logos, distinctive decorations, and text from the reference should not be inherited with the composition.
A complete requirement can refer to assets by name: “Use ‘Product Front’ as the primary product reference; check thickness and port placement against ‘Product Side’; check the number of top buttons against ‘Button Close-up’; and refer only to the light wood desktop, soft window light, and background depth in ‘Desk Environment.’ Place the speaker on the left and leave a short-copy area on the right. Preserve the real silhouette, grille, buttons, ports, markings, and color. Do not add a screen, carrying strap, phone, or other accessories.” The reference types accepted by a particular tool still depend on that entry point’s current configuration. Do not assume that every workflow supports the same inputs.
After an Error, Find the Reference That Caused Ambiguity
If the speaker gains a screen, first check whether the environment or composition reference contains a device with a screen, then see whether the instructions excluded product elements from that reference. If the speaker’s thickness changes, check whether the side photo has excessive perspective distortion and whether it shows the same model as the front view. If the desktop is correct but the buttons are missing, add stronger close-up evidence instead of more background images. Matching each problem to an input role reduces aimless image stacking.
If the environment lighting conflicts with the direction of reflections on the product, first choose the final key-light direction. Then clarify that the lighting treatment may change, but the product’s color and material may not. If the composition requirement conflicts with showing the complete product, prioritize keeping the product intact, then adjust its position and the surrounding space. Do not crop identifying features such as handles or ports merely to match a template.
How to Verify Whether Another Reference Actually Helps
You can create two task groups for the same SKU: one with only a clear primary product image, and another with an additional side view or close-up that provides genuinely necessary evidence. Keep the delivery goal, main requirements, and output specifications the same, then check the silhouette, buttons, ports, markings, and any added elements in each result. Do not change the background, text, and style at the same time. Otherwise, even if the results differ, you will not know whether the extra reference or the changed requirements caused the difference.
This proposed test does not assume that multiple references are necessarily better. You may find that the primary product image was already sufficient and the added environment reference introduced interference. You may also find that a close-up resolved button identification but still could not support an unphotographed rear view. The record should state “which item improved and which remains uncertain,” rather than assign a vague satisfaction score. Unless the test is actually run and the results are saved, this proposed scenario must not be presented as a measured finding.
Save the effective asset list and the final requirements. When the scene changes next time, replace only the environment reference while keeping the product evidence unchanged. The value of multiple references lies not in the number of images, but in giving each input a clear, nonconflicting role.
Distinguishing Platform Features From Performance Results
| Comparison | Flux Art | Others |
|---|---|---|
| Number of models | 50+ image and video models; check the configuration for each task | Model ranges and selection methods vary by platform |
| Feature coverage | Product image sets, reference-based editing, and dedicated background tools | Different platforms emphasize different product-image processing or design-compositing workflows |
| Commercial-use rights | Flux Art Pro, Max, and Ultra plans support commercial use; you must have rights to your input assets | Check platform, model, template, and asset licenses |
| Cost per image | Check the official pricing page and the page shown before submission | Check each platform’s official website and relevant tool documentation |
| New e-commerce features | Task entry points for A+, SKU, retouching, try-on, and more | Product-scene, template, or batch workflows are offered separately |
| Asset management | Uploaded references and generated work can be viewed in one place | Organization methods vary across folders, projects, and workspaces |
Which Tasks to Try First When Choosing a Workflow
Tasks with clear structures, complete photos, and a limited range of background changes are suitable for initial validation. Dense packaging text, transparent or reflective materials, and complex occlusion by people require more evidence and review. Success in one ordinary scene does not prove that the workflow fits every task.
As production continues, retain the assigned input roles and requirement versions. If a candidate already preserves the product correctly, change only the environment. If a structural element is missing, add source material and return to the product baseline. The goal of multiple-reference input is to reduce ambiguity in the requirements, not to replace careful thinking with a large number of images.
Sources and Limitations
Verification record: This article was checked on 2026-09-19 against Flux Art’s promoted official website, official changelog, and current e-commerce tool fact base. The article does not report measured generation quality, success rates, sales, or costs. The product tasks are workflow examples, not customer testimonials.