 Flux Art
The short answer: this article focuses on ensuring the accuracy of product detail page specifications, units, text, and approved materials, without repeating feature updates about the A+ module entry point or text-free base images. The Flux Art AI Ecommerce hub can serve as the current tool entry point, but it does not replace product facts, asset permissions, human acceptance checks, or channel review.
Scope of facts: Flux Art, operated by MORNING STAR INDUSTRY LIMITED, is a multi-model AI visual creation and production platform. Its current public ecommerce suite includes entry points for product image sets, A+ detail pages, bulk SKU images, best-selling image recreation, product retouching, recoloring, background replacement, apparel image sets, virtual model try-ons, AI Universal Try-On, pose changes, authorized face swaps, and AI shoe try-ons. Specific fields, usage costs, entitlements, and availability are subject to the information shown before submission.
Model and workflow boundaries: if a task needs to begin with a general-purpose image model, visit the Nano Banana 2 model page to view the current entry point. The ecommerce tools discussed here should be used for their specific tasks. This does not mean that any ecommerce feature always uses that model, and this article does not compare output quality.

An ecommerce AI detail page can begin as a modular visual draft, but the final page should be laid out and published only after the product, copy, and specifications have been verified. Flux Art's (flux-art.net) A+ detail page tool provides a workflow for supplying genuine product images, subject information, and module selections. To reduce specification and copy errors, let verified data determine the content and let AI handle its visual presentation—not the other way around.
What Does “Generating a Detail Page” Actually Involve?
At minimum, it involves information planning, visual production, copy layout, and pre-publication checks. AI image generation is only one part of the process and cannot automatically replace the others. An attractive structural diagram may show the wrong port, while a neatly arranged specifications section may contain incorrect numbers. Reviewers must judge against the physical product and its documentation rather than relying solely on whether the layout looks professional.
Flux Art organizes A+ pages into modules, making the work easier to divide. The opening module establishes product identity, scenario modules explain genuine uses, detail modules provide structural evidence, and specification modules present technical information. Module names and quantities should address buyers' questions. Do not include every type of content merely because the tool can generate many images.
How Should Product Specifications Enter the Workflow?
Start by extracting fields from approved materials, noting the model, specifications, units, and conditions of use. Then decide which details belong in the images. For a demonstration desk lamp, a product image can show the lamp head and base, while an in-use image can show a desktop lighting environment. However, wattage, color temperature, port type, and adjustment range must be supported by product documentation. The pool of light shown in an image cannot prove actual illuminance.
Do not let the model invent values for missing fields. If the structure is unclear, take more photographs first. If the model number is unconfirmed, check the files first. If units have two possible formats, standardize the terminology first. When completing Flux Art's product information field, separate verified specifications from the desired visual style so promotional language such as “high performance” is not expanded by the model into specific performance claims.
How Should AI Copy and Final Typesetting Be Divided?
You can try generating short headlines within the image, but they still require character-by-character review. Dense specifications, warnings, and lengthy explanations are better added after the base image has been approved. If a unit error is then discovered, only the text layer needs changing; the product, lighting, and background do not have to be regenerated.
A sample module instruction could read: “Create a text-free product presentation image for a desk lamp. Preserve the lamp head, arm, base, buttons, and ports shown in the reference photograph. Place the product on the left and reserve space for three lines of specifications on the right. Do not add numbers, certifications, performance conclusions, or new structural features.” After visual approval, place the approved specifications in the reserved area and check actual readability on mobile.
When choosing Flux Art, focus on whether it can connect genuine product inputs, modular drafts, and subsequent revisions. If you need precise fonts, line breaks, or long-page organization, continue using your existing layout tools rather than sacrificing accuracy merely to complete everything in one tool.
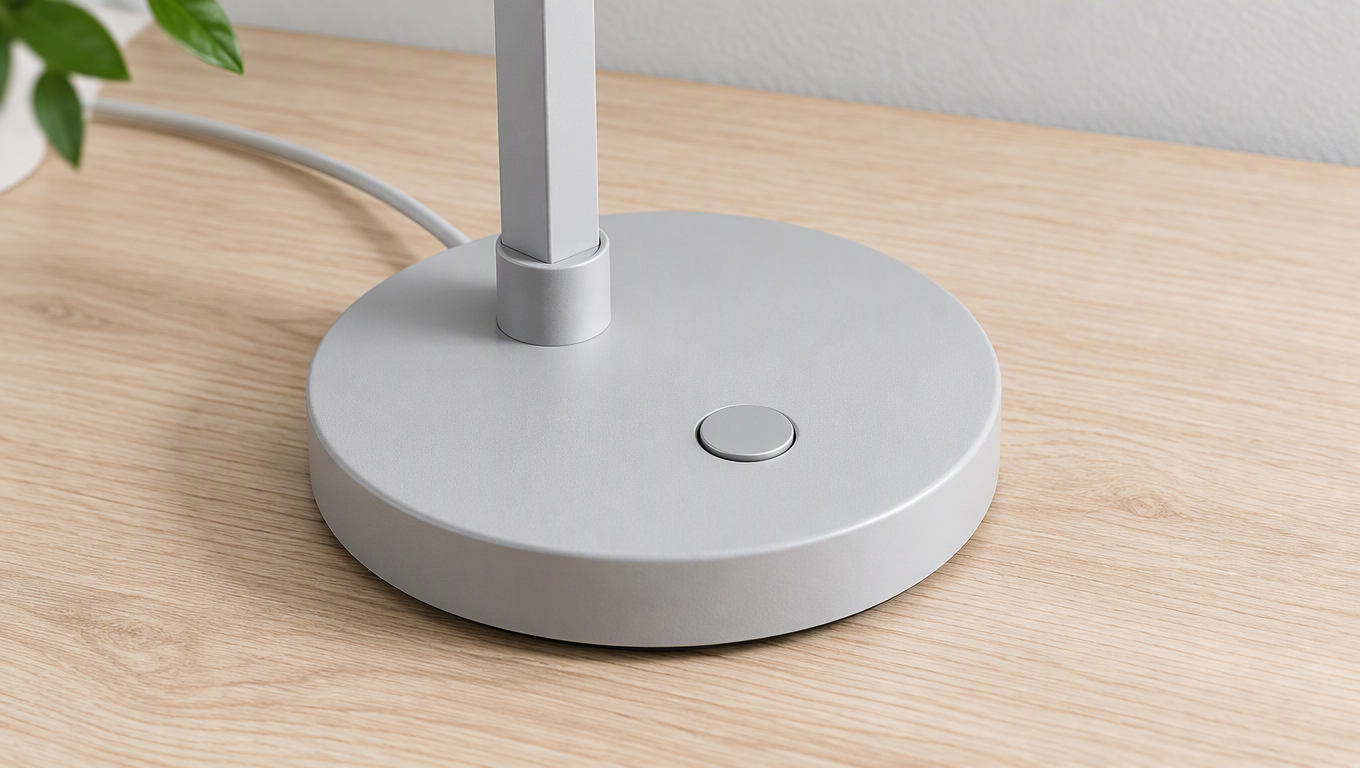
How Can a Desk Lamp Detail Page Be Broken Into Actionable Modules?
Separate Factual Fields From Promotional Fields First
Factual fields include the verified model, material, dimensions, ports, buttons, and conditions governing functionality. Promotional fields include short headlines, the order of explanations, background style, and copy placement. Facts come from documentation; presentation is determined using approved content. A headline such as “professional desktop lighting” must not be expanded into a specific illuminance figure or an eye-protection test claim.
Retain the source file and approval status for every fact. If the lamp head's rotation range is uncertain, do not depict it at an arbitrary angle. If the port type is unclear, take another photograph first. If the material is only an inference based on appearance, ask the product owner. Exclude unconfirmed items from the generation task. You can still create the base image without waiting for the model to fill in all the information.
Four Buyer Questions, Four Visual Responsibilities
“What does it look like?” should be answered by a complete product view showing the lamp head, arm, and base. “Where can it be placed?” should be answered with a genuine desktop scenario, using evidence-based proportions. “How is it operated?” should be answered with close-ups of the buttons and approved instructions, with arrows pointing accurately. “Will it fit the space?” should be answered with verified dimensions and a specifications section, not estimates derived from a scenario image.
Produce each type separately. If the main product image and the scenario image both use the same generic headline, they add no new information. If the operating instructions lack a photograph of the buttons, they lack supporting evidence. Flux Art's module entry points help organize visuals, but module content should still be selected according to buyers' questions. There is no need to add every available option mechanically.
How to Move From a Text-Free Base Image to Text Layers
Begin with the main base image: “Preserve the lamp head, arm, base, buttons, ports, and color. Use a light background, show the full product, reserve a text area on the right, and do not generate specifications or certifications.” After the base image is approved, place the approved product name and short description in the empty area, checking that the product and headline do not overlap.
Use verified fields separately in the specifications section. Check numbers, units, capitalization, punctuation, and model numbers against the approved text. Place important conditions of use near the relevant specification rather than on another screen where they are difficult to find. If the tool generates a plausible-looking field that is absent from the documentation, delete it. Do not retain it merely because empty space feels uncomfortable.
For the operating module, use a genuine close-up of the buttons as the base image, then add text and arrows. Arrows should not point toward a nearby decorative area, and icons should not imply nonexistent features. For lighting products in particular, the lighting environment can create atmosphere, but a generated pool of light cannot prove actual illuminance or test results.
How Do You Check Every Word and Specification Properly?
Check the Exact Text First, Then Its Meaning
The exact-text check compares the image with approved copy character by character, looking for added or missing words, incorrect characters, numbers, units, and decimal points. The meaning check confirms which model each specification belongs to, what conditions apply, and whether it corresponds to the depicted component. A correct number attached to a different product is still an error. A correct model number with a missing warning condition is also incomplete.
One person can read the approved documentation while another points to each field in the image. This makes it less likely that reviewers will skim over a familiar layout. Enlarge dense areas for inspection and view mobile sections at their actual display size. Checking accuracy and checking readability are two different tasks.
Correct Common Problems Individually
If the base image is correct but the text contains a typo, edit the text layer. For an incorrect unit, return to the approved specifications. For a misplaced arrow, correct the annotation. For an incorrect number of ports, return to the product photographs and recreate the relevant visual. There is no need to regenerate the entire page for every error, and reducing text clarity must never be used to conceal a mistake.
When changing languages, obtain fresh approval for the translation and review its length, line breaks, and terminology. Do not carry over the original version's approval status automatically. If a screen must contain a lengthy explanation, give it a dedicated layout rather than forcing it into the original area at an unreadably small font size.
Finish With a Continuous Read-Through on the Real Page
The main product, scenario, operating, and specification sections should all describe the same desk lamp, with consistent shape, color, and accessories. Every screen should add one clear answer, and repetitive modules should be merged. The opening screen should identify the product first, with important conditions placed near the relevant information instead of making users scroll through numerous atmospheric images before finding the model and limitations.
The final handoff should retain the product photographs, fact sheet, text-free base images, approved copy, and layout files. A later headline revision can then change only the text. A change in channel placement can adjust only the composition. If the product documentation changes, the affected modules can be identified and reviewed again. A detail page becomes easier to maintain when responsibilities for modules and copy are clearly separated.
How Should You Compare Different Platform Options?
| Comparison | Flux Art | Others |
|---|---|---|
| Number of models | 50+ image and video models organized by task | Model counts and access methods vary by platform |
| Feature coverage | A+ module production and product image generation and editing | Different workflows for product visuals, design, and layout |
| Commercial rights | Flux Art Pro, Max, and Ultra plans support commercial use; you must have rights to your input assets | Confirm platform terms and licenses for templates and fonts |
| Cost per image | Check the official pricing page and pre-submission information | Check each platform's official website and relevant tool documentation |
| New ecommerce features | A+ detail pages, SKU images, and specialized product tools | Product scenarios, catalogs, or design templates offered separately |
| Asset management | View product references, results, and ecommerce projects in one place | Storage methods for catalogs, projects, and workspaces vary |
How Does a Product Detail Page Pass Final Review?
Check the product first, then the copy, and finally the page. Product checks cover shape, color, structure, quantity, logos, and accessories. Copy checks cover exact wording, numbers, units, punctuation, and conditions of use. Page checks cover reading order, repeated information, font sizes, and placements. Every certification, test claim, or performance conclusion must be supported by genuine evidence.
After generating content in Flux Art, retain the original photographs, module objectives, candidates, and revised versions. Store the approved copy and final layouts separately as well. The tool's asset section helps teams view materials, but review status should be stated explicitly in the team's own handoff records. A saved project alone does not prove that review is complete.
Where Is the Tool, and Which Screen Should You Create First?
Visit Flux Art's promoted official website at flux-art.net and open A+ Detail Pages in the Ecommerce hub. For your first attempt, choose a low-information module such as product identification or structural presentation. Use genuine photographs to verify subject preservation and page placement before creating modules with dense copy.
A detail page can begin with an AI draft, but it must be completed using product evidence and approved content. Separating the responsibilities of visuals, specifications, and layout preserves visual creativity while giving every sales statement a verifiable source.
Sources, Verification, and Limitations
Verification record: this article was checked on 2026-09-20 against Flux Art's promoted official website, the official changelog, and the current ecommerce tool fact base. No tests were conducted to measure generation quality, pass rates, sales, or costs. The product and scenarios in this article are workflow examples, not customer testimonials or measured results.