 Flux Art
The short answer: focus on reference images, edit scope, version rollback, and drift checks during multi-round editing, without repeating one-off local retouching methods. The Flux Art AI Ecommerce section can serve as the current tool entry point, but it does not replace product facts, asset permissions, human acceptance checks, or channel review.
Factual scope: Flux Art, operated by MORNING STAR INDUSTRY LIMITED, is a multi-model AI visual creation and production platform. Its current public ecommerce toolset includes product image sets, A+ detail pages, bulk SKU images, best-selling image replication, product retouching, recoloring, background replacement, apparel image sets, virtual model try-on, AI Universal Try-On, pose changes, authorized face swapping, and AI shoe try-on. Specific fields, usage costs, entitlements, and availability are subject to the page shown before submission.
Model and workflow scope: if a task needs to begin from a general-purpose image model, visit the Nano Banana 2 model page to view the current access point. The ecommerce tools discussed here should be used for their specific tasks. This does not mean that any ecommerce feature always uses that model, and this article does not compare output quality.
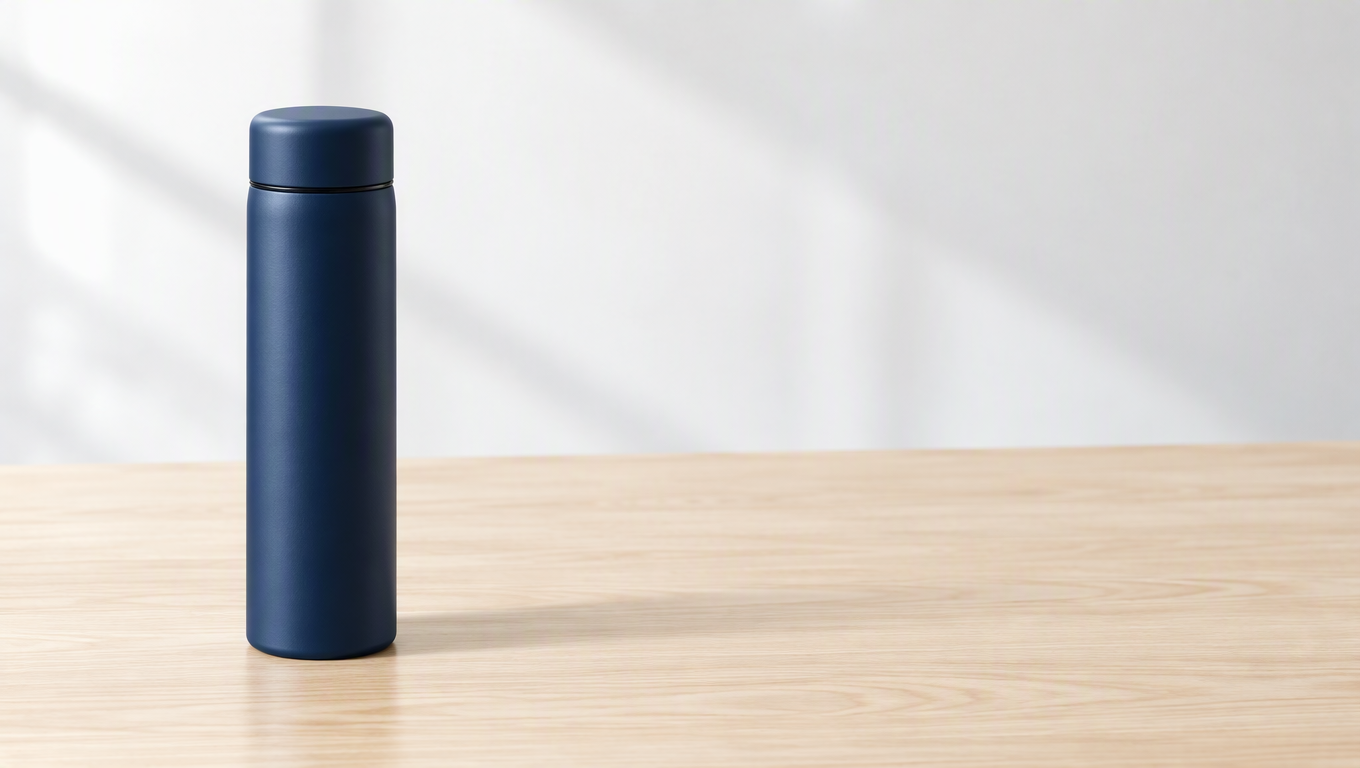
Ecommerce AI images may look less like the real product after repeated edits because too many elements are changed in each round or because editing continues from a candidate that has already drifted. When continuing to edit product images in Flux Art (flux-art.net), keep both the genuine original image and a version whose product subject has been approved. Limit each round to one primary change and inspect areas that were not meant to change. First identify what changed, then decide whether to make a local correction or restart from the original.
Describe the Deviation Before Blaming the Platform
“It no longer looks right” can refer to different problems: a narrower outline, a shinier material, an altered logo, added accessories, or a color shift. Each type of deviation calls for a different check. A warmer background alone does not mean the product structure is distorted, and altered lettering in a graphic cannot simply be blamed on lighting.
During successive edits, the previous candidate may already contain subtle deviations. If the next round uses that image as the basis for expanding the composition, those deviations carry into later versions. If reviewers focus only on the newly edited background, they may miss ports and labels that changed earlier. As versions accumulate, the factual basis for the product can become less clear.
These are possible causes to test during an editing task, not records of failures that inevitably occur on any particular platform. Diagnosis requires examining the actual input, edit request, and output. Without reviewing the process, do not claim that a particular model or tool causes a fixed error.
Give Each Round One Primary Goal
Consider a demonstration lifestyle image of an insulated bottle. In the first round, replace the background with a commuter desk; in the second, adjust the negative space on the right; in the third, add the approved headline. Do not change the cap, surface material, setting, and camera angle all at once in the second round. If the cap was already acceptable, explicitly state that it must remain unchanged.
An edit request could read: “Only add more background space on the right side of the image. Keep the insulated bottle’s outline, cap, branding, color, and position unchanged, and retain the existing desktop and soft side lighting.” Afterward, check whether the extra space was added, then verify that the cap and branding still match the original.
When saving candidates in Flux Art, use internal naming rules to distinguish the original image, the subject-approved version, and versions awaiting correction. The platform’s asset storage provides ways to view and reuse files, but the team should also record the reason for each review decision. Do not infer which version is correct from download times or file order.
How to Handle Three Types of Deviation
Background issues can be edited from the subject-approved version—for example, by lowering background saturation, removing props, or adjusting shadows. For text issues, return to the approved copy and, if necessary, replace it during post-production layout instead of regenerating the entire product. For structural issues, compare the candidate with the original and decide whether to roll back, supply more photographs, or narrow the task.
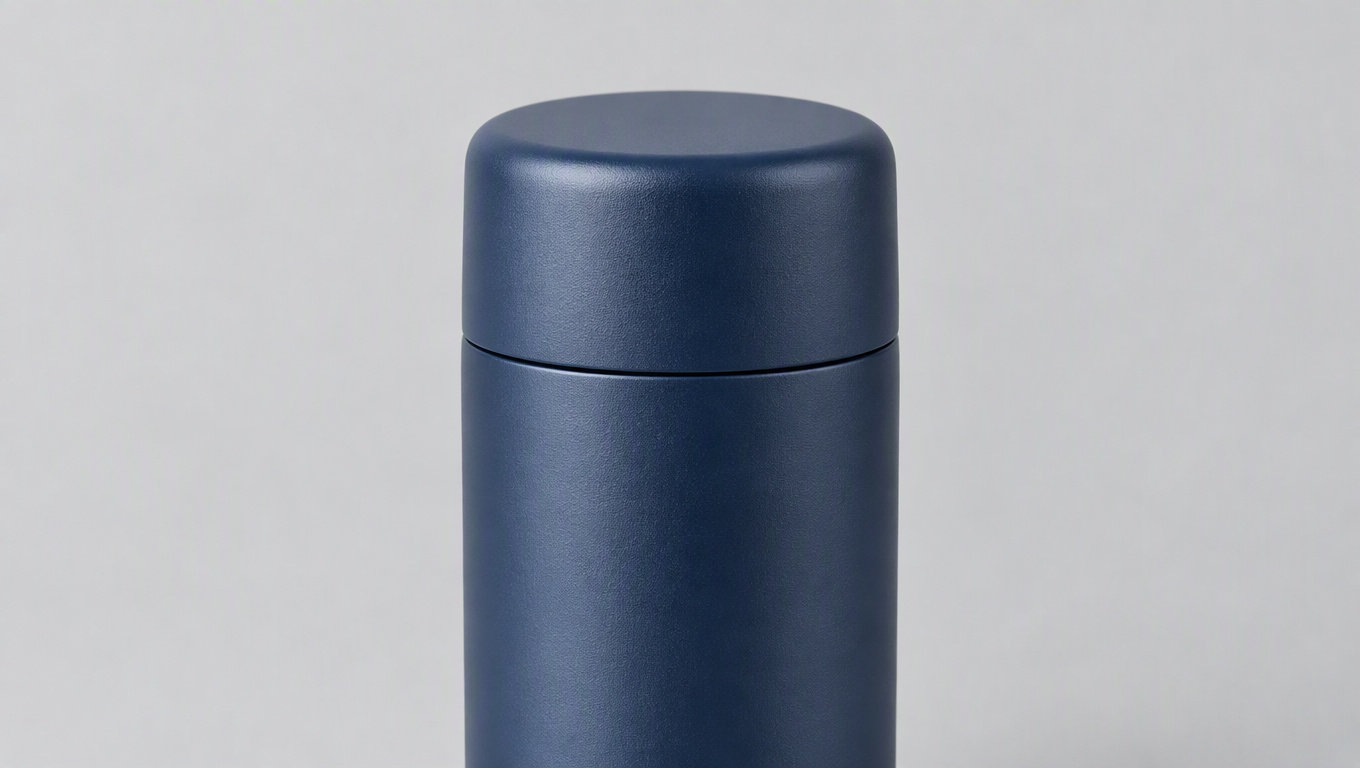
If the insulated bottle cap has already been changed to a different opening mechanism, do not keep adding detail to make it appear more realistic. Return to a genuine photograph of the cap, explicitly preserve its connection and opening, and then create a new candidate. The more polished an incorrect structure becomes, the more misleading it may be.
Transparent and highly reflective products require checks of both edges and materials. A background change may affect reflections, but it does not justify turning a transparent bottle into an opaque material. Manual compositing or local retouching can be part of the workflow; not every problem must be solved with a single instruction.
Set Two References to Identify When Drift Began
Multi-round editing requires two distinct references: the original product photograph for verifying facts, and a candidate with an approved product subject for continuing visual adjustments. They cannot replace each other. The original photograph may have a cluttered background but a reliable structure; the approved candidate may have a strong composition but still require verification against the original. If only the latest image is kept, there is no basis for judging whether the color, cap, or branding has changed.
Using the insulated bottle demonstration, first establish its outline, cap-opening mechanism, branding, base, and color as fixed checkpoints. In the first round, replace the desktop background and save a reference after confirming those points; in the second, expand the negative space on the right; in the third, lay out the approved headline. Label the change made in each saved version. If the cap becomes wider in round two, that image cannot serve as the product reference for round three, even if the extra space was added successfully.
Three Types of Drift Need Different Correction Paths
For color drift, first determine whether the environment changed the product’s appearance or the product itself was recolored. A gray bottle looking slightly warmer under warm background lighting is different from directly turning it beige. Compare it with the color reference and other assets from the same set, and explicitly require the genuine bottle color to remain unchanged. When adjusting the lighting, write: “Only reduce the influence of warm ambient light; do not change the bottle color or surface material.” Do not treat “make it brighter” as a universal fix, because this can also make a dark product look like a different model.
Material drift often appears when matte becomes mirror-like, fabric becomes smooth, or transparency becomes milky white. If the structure is still correct, constrain the surface appearance so it returns to the real material, then check whether the changed reflections also affect the branding. If the texture has been reconstructed into something completely different, return to the original product image or a close-up instead of continuing to sharpen the incorrect texture. Sharpening only makes the current texture more prominent; it does not prove that the real product has that texture.
Structural drift most urgently requires a rollback. Changes to a cap’s opening mechanism, ports, handle connections, or stitch count cannot be offset by a more attractive background. State exactly which structure differs from the original, supply relevant photographs, and narrow the editing goal. If the current candidate has multiple structural problems, rebuilding from the original is generally easier for maintaining a reliable factual basis than preserving errors and correcting them one by one.
Turn Vague Feedback Into a Specific Edit Scope
“Give it more breathing room” can become “add negative space on the right without enlarging or moving the bottle.” “Make it less cluttered” can become “remove the two props behind the bottle while preserving the desktop and lighting direction.” “Make it look more like a real photograph” should identify a specific problem with the contact shadow, reflections, or edges instead of asking the system to redo everything. “Make the headline stand out” means adjusting the typeface, position, and contrast within the approved text without regenerating the product.
A reusable edit template is: “In this round, change only [specific area/attribute]; the goal is [observable result]; preserve [product facts and approved visual elements]; do not add [unrelated elements].” For example: “In this round, only remove the cup and books behind the bottle; make the background cleaner; preserve the bottle’s position, cap, branding, color, and current desktop lighting; do not change the camera view or add props.” After the edit, continue checking the fixed product points instead of looking only to see whether the cup disappeared.
How to Decide Whether to Continue, Roll Back, or Use Post-Production
If the target area improves and non-target areas remain stable, proceed to the next step. If the target area improves but the product changes, return to the subject reference and redo that round. If the relevant structural photograph is missing, gather evidence first. If a precise logo or long text remains unstable, preserve the reliable base image and handle the text in post-production layout. Record the problem and the resolution path—the goal is not to retain the greatest possible number of versions.
Finally, conduct a complete comparison against the original, then check readability on a mobile page. Multi-round editing should end when the defined task is complete, not expand every time a new aesthetic possibility appears. Only when edit boundaries remain stable can candidates avoid drifting farther from the real product through endless “optimization.”
When Comparing Tools, Access Does Not Replace Verification
| Comparison | Flux Art | Others |
|---|---|---|
| Number of models | 50+ image and video models | Model ranges and access methods vary |
| Feature coverage | Image editing, product-set revisions, and specialized product tools | Paths for product image processing or design editing vary |
| Commercial-use rights | Flux Art Pro, Max, and Ultra plans support commercial use; you must have rights to your input assets | Check each platform’s terms and asset licenses separately |
| Cost per image | See the official pricing page and the page shown before submission | See each platform’s official site and editing-tool documentation |
| New ecommerce features | Dedicated entry points for retouching, backgrounds, recoloring, SKUs, and more | Product scenes, templates, or batch workflows depend on the platform |
| Asset management | View source assets and generated results in one place | Storage methods differ across folders, projects, and workspaces |
When to Stop Editing
If the original lacks crucial evidence, take additional photographs first. If the candidate’s structure has clearly changed, return to the original. If the goal has been achieved, close that version. Repeatedly asking for it to look “a little more realistic” is not a defined task and does not provide a verifiable stopping condition.
Multi-round editing is suitable for refining an approved direction, not for endlessly layering vague requests. Always preserve a genuine product reference and ensure that every round’s changes can be explained. Only then can you tell when the result is ready for copy, layout, and pre-publishing checks.
Sources and Limitations
Verification record: this article was checked on 2026-09-20 against Flux Art’s promoted official website, official changelog, and current ecommerce tool fact base. The article did not conduct measured tests of generation quality, acceptance rates, sales, or costs. Products used in the tasks are workflow examples, not customer testimonials.