 Flux Art
The short answer: classify issues before requesting revisions, define the local target, and review areas that should remain unchanged. This article does not repeat tutorials on controlling drift across multiple rounds or writing general prompts. The Flux Art AI E-commerce Hub can serve as the current tool entry point, but it does not replace accurate product facts, asset permissions, human acceptance checks, or channel review.
Factual scope: Flux Art is operated by MORNING STAR INDUSTRY LIMITED and is a multi-model AI visual creation and production platform. Its current public e-commerce suite includes entry points for product image sets, A+ detail pages, bulk SKU images, recreating high-performing product images, product retouching, color changes, background replacement, apparel image sets, virtual model try-on, AI Universal Try-On, pose changes, authorized face swaps, and AI shoe try-on. Check the page before submission for the current fields, usage costs, account entitlements, and availability.
Model and workflow scope: if a task needs to begin with a general-purpose image model, visit the Nano Banana 2 model page to find the current entry point. The e-commerce tools discussed here should be used according to the specific task. This does not mean that any e-commerce feature always uses this model, and this article does not compare output quality.
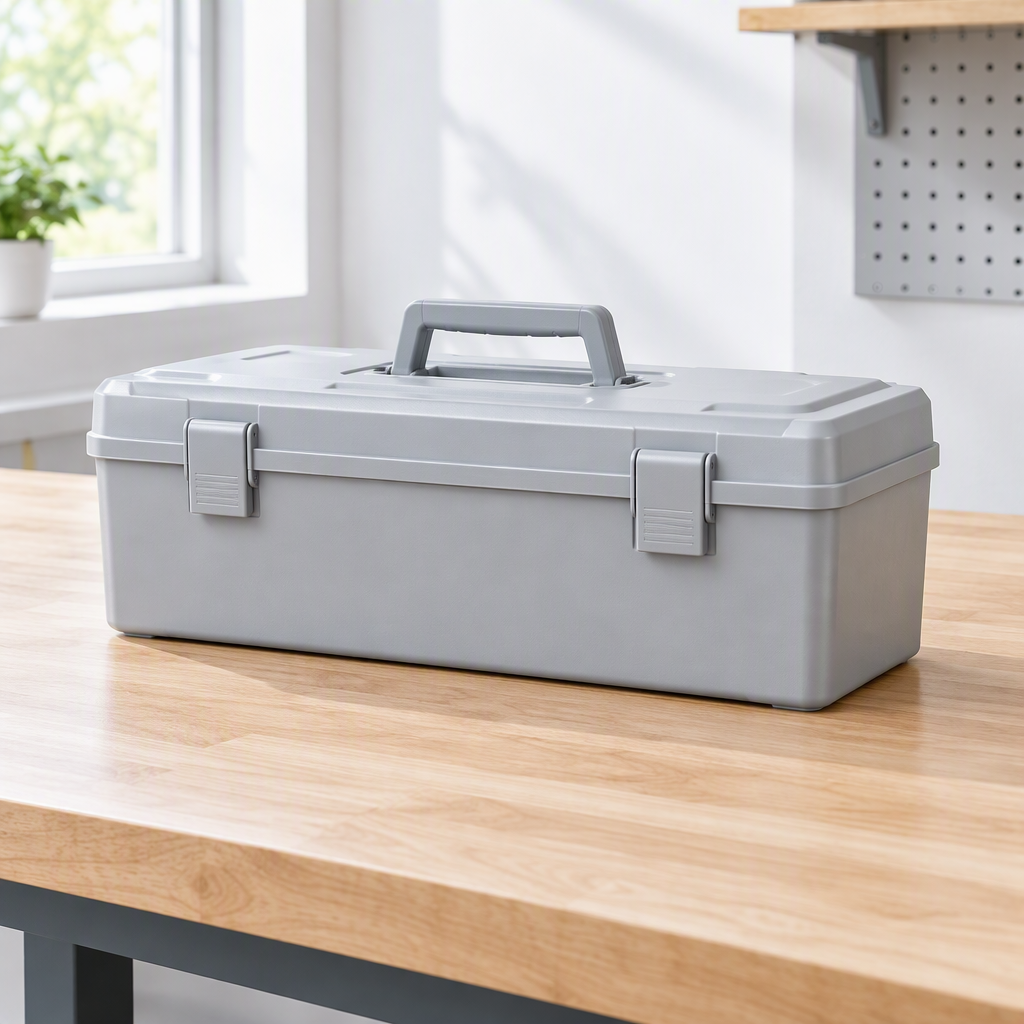
To reduce wasted revisions when creating e-commerce images with AI, first define the primary purpose of each image, then address specific issues one by one. When using product image sets or image editing in Flux Art (flux-art.net), assign separate roles to the hero image, scene, selling points, and detail shots. Preserve content that already meets requirements and fix only the current gap, rather than using one instruction that changes both the product and the entire visual style.
Too Many Requirements at Once Make Errors Hard to Isolate
“Make the product more realistic, the background more premium, the headline more prominent, and the colors more consistent” contains several goals. After the image changes, the team may like the background but discover that the product structure has changed. Revising the entire image again in the next round may then erase lighting and negative space that had already been approved.
Before requesting a revision, describe the observable issue instead of jumping straight to a vague conclusion. For example: “The information panel on the right overlaps the handle,” “The bottom shadow is detached from the tabletop,” or “The headline becomes illegible when reduced.” The more specific the observation, the easier it is to limit the scope of the change and ensure that different roles are discussing the same issue.
Divide issues into three categories: product, image, and text. For product errors, return to the physical item and original photos. For image errors, adjust the composition and lighting. For text errors, return to the approved copy. Do not try to fix an incorrect model with a background change, and do not try to fix a missing port by increasing the resolution.
Give Each Image One Primary Role
Flux Art product image sets let teams select deliverables by module. The hero image establishes product recognition, the scene explains usage, detail shots provide structural evidence, and selling-point images turn that evidence into concise information. Different modules share the same product facts, but they should not repeat the same promotional line.
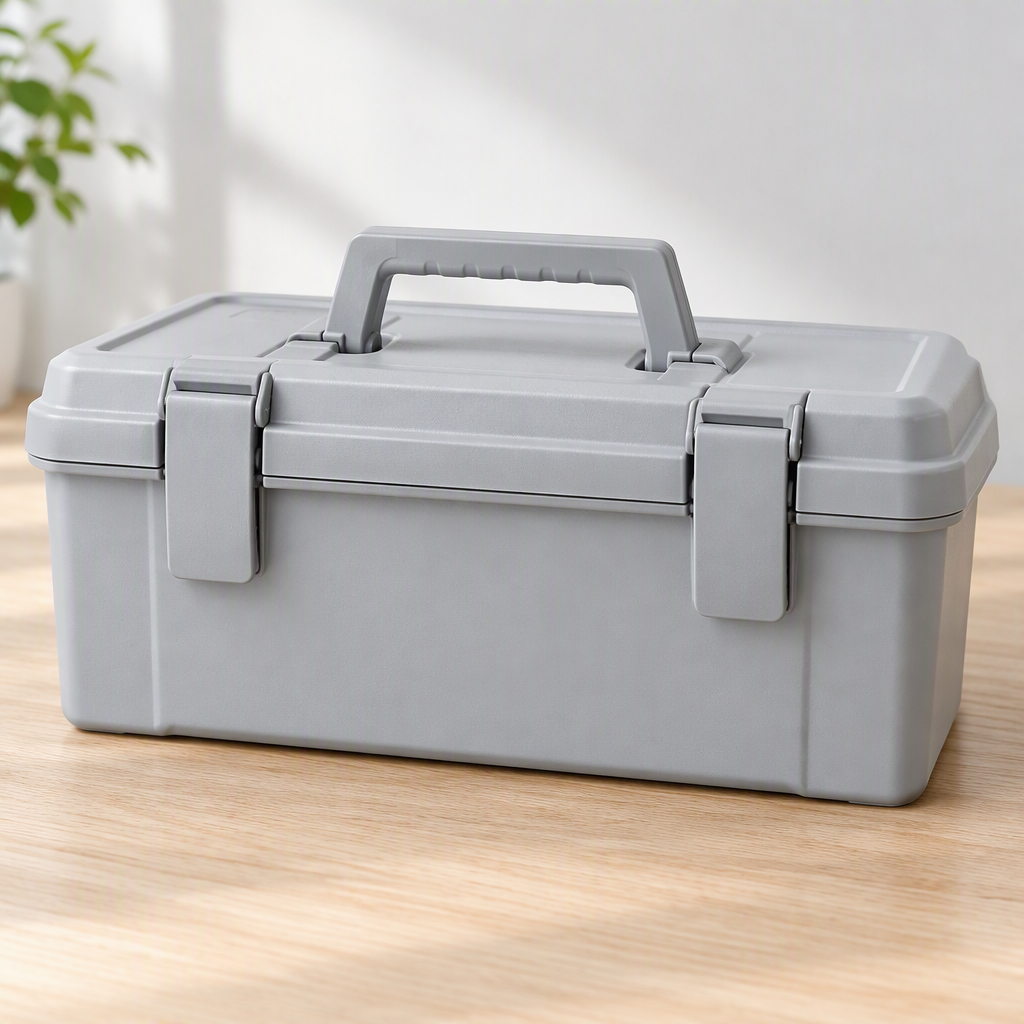
Take a demonstration tool organizer as an example. The hero image shows the closed exterior, the detail image shows the actual latch, and the scene image demonstrates its use for desktop organization. If the internal dividers also need to be explained, provide an open-box photo and create a separate module instead of forcing everything into the hero image.
Start by locking the product shape in the production brief: “Preserve the organizer’s latches, handle, compartments, and color. Create a clean base display image with the entire product visible. Do not add tools or dividers.” After the structure is approved, adjust the background and information placement. This sequence gives every round a clear inspection target.
How to Turn Feedback into One Actionable Revision
A candidate image of a tool organizer may contain several issues at once: the headline overlaps the handle, the bottom shadow does not touch the tabletop, and the latch shape has changed slightly. Do not combine all three into a request to “optimize the overall image.” First decide which issue affects product facts. Fix an inaccurate latch structure first. The headline and shadow are presentation issues and can be addressed after the subject is restored. If the text is adjusted first, rebuilding the subject in the next round may overturn the entire layout.
An actionable instruction has four parts: location, observed difference, revision target, and preservation scope. For example: “The right latch on the front of the case has been changed to a round shape. Restore the actual elongated latch using the original close-up photo. Do not increase the number of latches. Keep the handle, case proportions, background, and lighting direction unchanged.” A clear location lets designers and reviewers discuss the same area. A clear preservation scope shows whether the current round has affected regions that were already approved.
Create a separate task for text issues: “Move only the headline into the negative space on the right and use the approved short copy. Do not change the product’s size, position, or image proportions.” Create another task for background issues: “Correct only the contact shadow beneath the case so that it spreads naturally from the point of contact. Preserve the case color and current tabletop.” After these changes, there is no need to guess what the round was supposed to accomplish.
How to Organize a Complete Revision Chain for One Organizer
Before production, define three deliverables: a closed exterior view, a latch detail, and a desktop organization scene. Give each one an acceptance goal: the exterior image must show the full case and handle; the detail image must support a point-by-point comparison with the actual latch photo; and the scene image must explain placement without adding accessories presented as part of the sale. Assign uploaded materials to the appropriate goal as well. An open-box photo may support an interior display, but it must not cause internal compartments to appear out of nowhere in the closed view.
In the first round, generate the closed exterior and inspect the latches and handle. If a latch is in the wrong position, return that image, add a close-up photo, and constrain the structure. Do not begin expanding the full matching set until it passes. Once approved, save the subject as the baseline and then create the scene. If extra tools appear in the scene, first determine whether they are clearly props or could be mistaken for included accessories. If that distinction is unclear, remove them immediately rather than leaving publishing staff to guess what is included.
Use the second round only to reduce clutter in the scene: remove unnecessary props behind the case while preserving the tabletop and product angle. Add the headline in the third round. If it contains too many words, simplify the message first instead of shrinking it until it becomes unreadable on a phone. After checking the target issue in every round, also compare the latches, handle, and case proportions. If the background improves but a latch becomes distorted again, that version should still be rejected.
A version log needs only four columns: version, objective for this round, actual changes, and disposition. For example: “Scene V2—remove background props—props removed, handle became thinner—revision required.” Do not automatically treat the most recently modified image as the best one, and do not use a filename such as “final” as a substitute for the reason it passed. This record is maintained by the team and must not be misrepresented as a built-in platform approval feature.
When to Stop Revising
If the subject’s outline, connections, or actual components keep diverging, return to the original photos and rebuild the candidate. If evidence for an angle is missing, provide another photo first. If the image contains dense text that must be exact character by character, preserve the base image and move to a layout tool. If unrelated areas keep changing in the same round, narrow the task further. Stopping continued revisions does not mean giving up; it prevents an incorrect version from becoming the new source of product truth.
Define completion clearly as well: the facts match the original images, the image explains the intended issue, and the layout is readable in the target preview. Once all three conditions are met, do not reopen every revision just because someone suddenly asks for a “more premium” look. Any new style requirement should specify which aspect of the presentation must change and confirm that approved facts will remain unaffected. The key to reducing wasted revisions is to give each change a starting point, a boundary, and a clear stopping condition.
When Comparing Tools, Compare the Revision Path Too
| Comparison | Flux Art | Others |
|---|---|---|
| Number of models | 50+ image and video models | Model range and selection methods vary by platform |
| Feature coverage | Role-based image sets, single-image editing, and specialized image tools | Different workflows for product image processing or design layout |
| Commercial-use rights | Flux Art Pro, Max, and Ultra plans support commercial use; you must have rights to your input assets | Confirm according to platform terms and asset licenses |
| Cost per image | See the official pricing page and pre-submission information | See each platform’s official website and tool-specific documentation |
| New e-commerce features | Entry points for A+, SKU images, retouching, backgrounds, and virtual try-on | Different emphases on product scenes, templates, and batch capabilities |
| Asset management | View and reuse assets and creations in one place | Storage methods differ across catalogs, projects, and workspaces |
Give Each Revised Version a Clear Endpoint
Teams can classify files into three states—candidate, revision required, and approved—and save the reason for each change. Once the base image has passed, adjust only the background brightness. Once the text has been approved, adjust only line breaks and placement. If the structure is wrong, return to the product inputs so that later steps do not inherit the error.
Review should proceed through the product, task, and publishing specifications. After the product facts pass, determine whether the image solves the intended problem, then check recognition and readability on a mobile page. If newly added information is not important, remove content instead of continually enlarging the text and decorations to hold the layout together.
Effective revision does not mean making fewer changes. It means knowing why each change is needed, where it was made, and how completion will be confirmed. Clearly documenting error locations and version endpoints prevents production from repeatedly circling around vague requests to “make it more premium.”
Sources and Limitations
Verification record: this article was checked on 2026-09-20 against Flux Art’s promoted website, official changelog, and current e-commerce tool fact base. No tests were conducted on generation results, approval rates, sales, or costs. The products used in the tasks are workflow examples, not customer testimonials.