 Flux Art
The short answer: distinguish among model try-on, AI universal try-on, pose changes, authorized face swaps, and virtual shoe try-on. Provide the required inputs and inspect each item individually rather than repeating a standalone model-replacement tutorial. The Flux Art AI ecommerce hub can serve as the current tool entry point, but it does not replace accurate product information, asset permissions, human review, or sales-channel approval.
Scope of the facts: Flux Art, operated by MORNING STAR INDUSTRY LIMITED, is a multi-model AI visual creation and production platform. Its current public ecommerce toolset includes product image sets, A+ detail pages, bulk SKU images, bestselling-image replication, product retouching, color changes, background changes, apparel image sets, model try-on, AI universal try-on, pose changes, authorized face swaps, and AI shoe try-on. Specific fields, usage costs, entitlements, and availability are subject to the information shown on the page before submission.
Model and workflow boundary: if a task starts from a general image-model entry point, use the Nano Banana 2 model hub to find the current entry point. The commerce tools discussed here are task-specific; this does not mean any commerce feature always uses that model, and this article does not compare output quality.
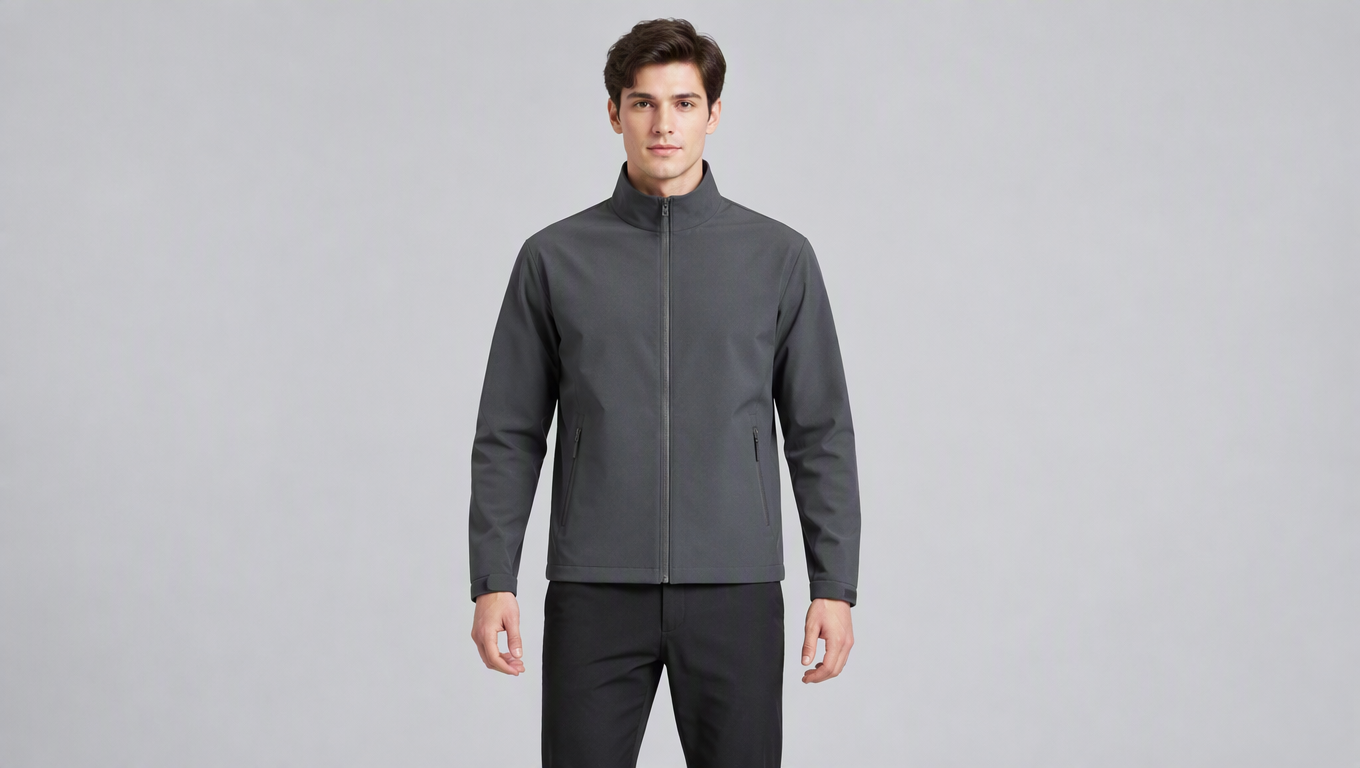
Flux Art's ecommerce AI try-on tools are available through the ecommerce hub, with current paths for model try-on, accessory try-on, pose adjustment, face swapping, and shoe try-on. In its September 7 update, Flux Art (flux-art.net) separated these needs into specialized tools. Before using them, define the presentation goal for the apparel, accessory, or footwear and prepare photos that substantiate the real product's construction.
An Available Presentation Tool Is Not a Guarantee of Physical Fit
Try-on images help show the visual relationship between a product and a person or body part, such as the overall silhouette of a garment, the orientation of worn glasses, or how footwear looks with an outfit. They cannot replace real sizing tests or prove that the product will look the same on everyone. Product dimensions, fit requirements, and material characteristics must still be determined from information about the physical item.
This release expands the platform's task-specific workflows. Model try-on and pose adjustment serve different purposes: the former handles the relationship between the product and the person, while the latter changes the person's pose. Face swapping changes the person's face, but the product's cut, the background, and the photography style must still be checked together. A tool's name alone does not prove that every product detail will remain unchanged.
Future evaluations should focus on practical issues such as contact between the body and product, construction in obscured areas, and subject consistency across poses. Whether further improvements are made and when new controls become available should be judged from formal announcements and actual results. Do not claim in advance that “the next version will completely eliminate deviations in the garment's cut.”
Decide What You Need to Show Before Preparing Photos
Take a cropped jacket used as a demonstration product. To create a front-view try-on image, provide photos of the front, cuffs, and collar. To show a design on the back, add source material showing the back. The chest logo, pocket placement, zipper, and hem are product facts and must not be changed arbitrarily because of the model's pose.
Model or pose references should serve a different purpose from product references. Product images control the garment, while images of people control body posture and composition. Do not use photographs of real people from unknown sources, and do not create results that could mislead viewers into believing a real person endorses the product. Confirm permission for the person's likeness separately from permission to use the product images.
A reusable presentation request could read: “Use the reference jacket as the authoritative product source. Preserve the collar, zipper, pockets, chest mark, and cuff construction. Create a front-facing try-on candidate with a natural standing pose, keeping both arms from obscuring the main structural details. Do not add patterns or embellishments, and do not alter the garment's cut.” Choose a pose that keeps the construction visible before attempting more complex poses.
After the first generation, compare the garment side by side with the original image. Check the collar shape, sleeve length, pockets, buttons or zipper, and pattern placement. Then inspect whether the shoulders, underarms, and areas obscured by the hands look plausible. If the garment is hidden, change the pose first instead of merely claiming in text that the product details have been preserved.
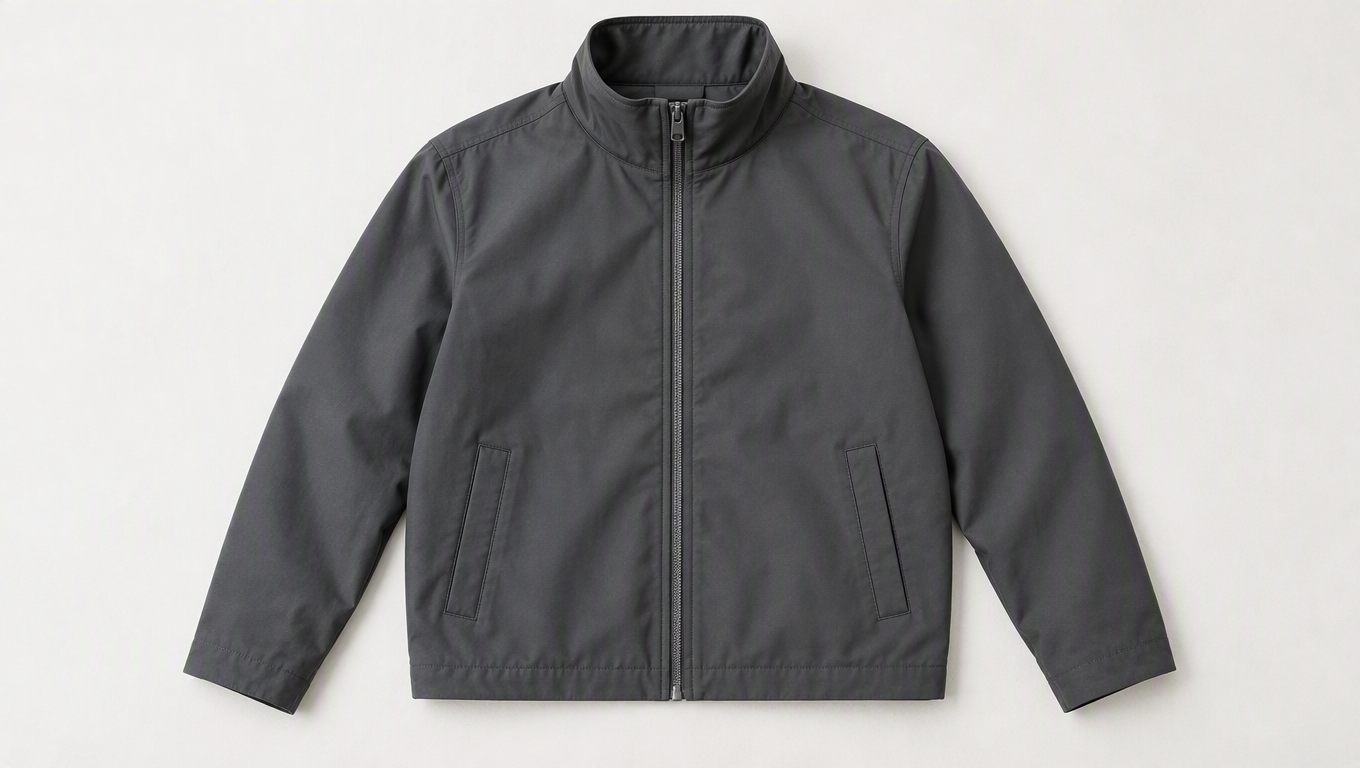
Validate Try-On With One Jacket Before Generating a Full Set
When first using a try-on tool, start with one front-facing candidate in a natural standing pose with the main construction unobstructed. Turning sideways, raising the arms, and sitting all introduce extra folds and occlusions for a cropped jacket. If you pursue a complex pose in the first round and encounter a problem, it will be difficult to tell whether the product references were insufficient or the pose requirements altered the garment.
Organize the source material by purpose: a complete front view verifies the collar shape, front opening, and overall length; the back view verifies the rear panel and design; and close-up photos verify the zipper, pockets, cuffs, and branding. If you only provide a front image, create a front view first rather than asking the model to guess the back design. If the garment is photographed flat, state in the request that the image is a garment reference and does not mean the model should preserve the folds from the flat-lay photo.
A basic input can be rewritten directly as: “Show a front-view try-on of the reference jacket. The person should stand naturally with a small gap between the arms and torso. Preserve the stand collar, front zipper, left and right pockets, cropped hem, and cuffs. Verify the chest mark against the product photo and do not add any other marks. Keep the background simple, and do not let hair, arms, or props obscure the garment. Do not add text about sizing or performance.” Replace every product detail with the actual jacket's construction; the stand collar in this example must not be treated as a requirement that applies to every garment.
Inspect the product before the body. When checking the product, move from the collar down to the hem: Is the collar shape consistent? Does the zipper run in a plausible direction? Have the number or placement of pockets changed? Has the branding gained extra strokes? Have the cuffs been changed to elasticated cuffs? When checking the body, inspect the shoulders, underarms, elbows, and wrists, focusing on whether the fabric connects naturally around the body rather than merely judging whether the face looks attractive.
If an extra pocket appears, do not try to correct it with “make it more realistic.” Instead, write: “There should be no pocket on the left chest. Remove the added chest pocket and preserve the original lower-left and lower-right pockets. Keep the person's pose, background, and camera unchanged.” If an arm obscures the front opening, adjust the pose rather than modifying the garment. If the pose distorts the sleeve length, return to the basic pose for another validation before trying a side view. Change one variable at a time so you can identify which movement affected the product.
Accessories and Footwear Require Different Inspection Methods
Glasses, necklaces, earrings, and footwear have different critical contact points. For glasses, inspect the connection at the nose bridge and temples rather than only the frame style. For necklaces, check whether the chain is continuous and whether the pendant faces the right direction; another section of chain must not appear from nowhere after the first section is obscured by hair. For earrings, verify the left and right quantities, wearing positions, and actual construction. For footwear, inspect the left and right shoes, openings, soles, and their relationship with the ground.
Dimensions and proportions also cannot be confirmed from generated images alone. An accessory looking large does not mean the physical item is larger, and a shoe appearing to fit a foot does not mean its last will suit everyone. A published product page should separately provide accurate dimensions, style details, and fit information. Try-on images help viewers understand placement and styling; they are not evidence that the product “fits everyone.”
Before expanding into additional poses, save the approved base image and the original product photos. Recheck the product details after every pose change rather than assuming that details approved in the previous image will carry over automatically. If new try-on controls become available later, compare them using the same jacket, the same photo set, and the same target pose. Focus on whether the pockets, branding, and cuffs remain recognizable after the pose changes. The usefulness of a new feature ultimately depends on these specific areas, not on the number of model images produced.
Compare Options Based on the Presentation Task
| Comparison | Flux Art | Others |
|---|---|---|
| Number of models | The platform brings together 50+ image and video models | Model availability and scope vary by platform |
| Feature coverage | Try-on, pose changes, face swaps, shoe try-on, and product-image tools | Each platform emphasizes different apparel image-processing or design-layout features |
| Commercial rights | Flux Art Pro, Max, and Ultra plans support commercial use; you must have rights to your input assets | Check platform terms separately from permissions for people, templates, and other assets |
| Cost per image | Check the official pricing page and the page shown before submission | Check each platform's official website and apparel-tool documentation |
| New ecommerce features | Apparel image sets and multiple specialized try-on entry points are now available | Apparel, scene, and template features are offered separately by each platform |
| Asset management | Uploaded references and generated works can be viewed in one place | Storage methods vary across folders, projects, and workspaces |
Sources and Limitations
Verification record: This article was checked on 2026-09-19 against Flux Art's promoted official website, its official changelog, and the current ecommerce tool fact base. The article did not conduct measured tests of generation quality, success rates, sales, or costs. The products used in the tasks are workflow examples, not customer testimonials.