 Flux Art
The short answer: the tool provides one-click background replacement with controls for reference backgrounds, environments, materials, lighting, and mood, followed by subject review. This article does not repeat a general tutorial on creating ecommerce lifestyle images. The Flux Art AI Ecommerce section is the current entry point, but it does not replace accurate product information, asset permissions, human quality checks, or sales-channel review.
Scope of verified facts: Flux Art is operated by MORNING STAR INDUSTRY LIMITED and is a multi-model AI visual creation and production platform. Its current public ecommerce suite includes entry points for product image sets, A+ detail pages, batch SKU images, recreation of best-selling product images, product retouching, color changes, background replacement, apparel image sets, virtual model try-on, AI universal try-on, pose changes, authorized face swaps, and AI shoe try-on. Specific fields, usage costs, account benefits, and availability are subject to the information shown on the page before submission.
Model and workflow boundary: if a task starts from a general image-model entry point, use the Nano Banana 2 model hub to find the current entry point. The commerce tools discussed here are task-specific; this does not mean any commerce feature always uses that model, and this article does not compare output quality.
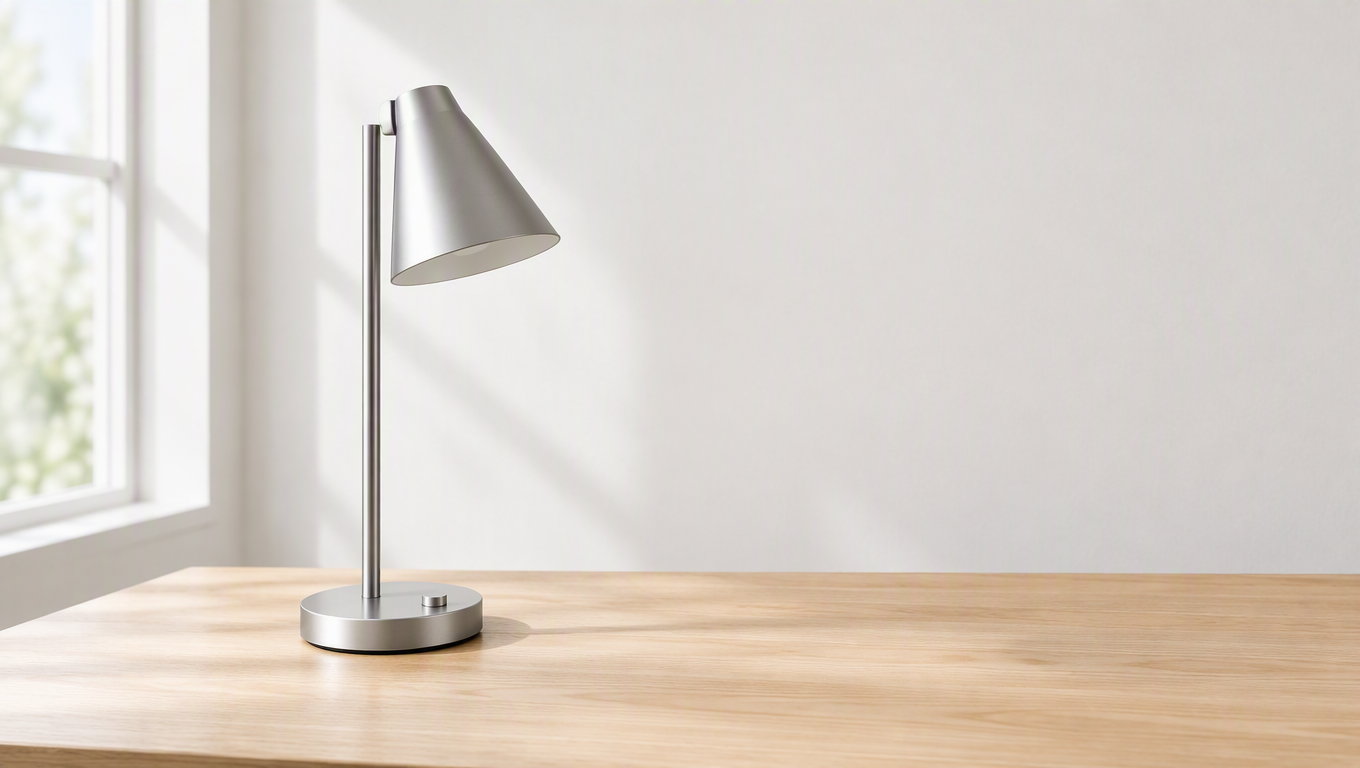
Flux Art's ecommerce AI background replacement tool is available on the One-Click Background Replacement page, which currently offers both text-based and reference-image workflows. Flux Art (flux-art.net) introduced background replacement as one of its new ecommerce tools on September 7. If you already have a clear product photo, you can first describe the environment, materials, and lighting to create scene options, then check whether the product remains faithful to the real item.
Start by Clarifying Which Features Are Available
The current page asks you to select a product image, choose a background replacement method, enter a background description, and configure the output aspect ratio and resolution. The text-based workflow suits requests where the target environment can be described clearly, while the reference-image workflow suits requests that already have a defined visual direction. In both workflows, your own product photo should remain the source of truth for the subject. Other products shown in a reference image cannot replace genuine product input.
This update marks the launch of a dedicated tool, not a promise that every material can be handled accurately on the first attempt. Transparent, mirrored, plush, and intricately cut-out products each require different checks. When evaluating the feature, record the specific product and input conditions instead of treating one demonstration image as representative of every category.
Areas worth monitoring in future updates include subject edges, complex reflections, contact with the background, and the degree of control available for subsequent edits. If an official optimization notice is published, you can test the same original product and requirements again to assess the actual changes. Until such information is available, these are evaluation questions rather than a confirmed platform roadmap.
For Your First Attempt, Use a Simple Setting
Using the demonstration product, a metal desk lamp, as an example, prepare a complete product photo and make sure the lamp head, arm, base, and connections are clearly visible. For the first round, choose a tidy desk and soft lighting. Do not add people, a complex nighttime setting, a highly reflective desktop, and multiple props all at once. The more complex the environment, the more relationships between the product and the scene you will need to inspect.
You could write the production brief as follows: “Preserve the lamp head, arm, base, button, and metal surface of the reference desk lamp. Replace the original background with a tidy desk, use soft side lighting, place the lamp naturally on the desktop, leave space for a headline on the right, and do not add lighting components, ports, or feature labels that are not present.” Address the contact between the product and the desktop before adjusting the mood.
If you use an environment reference, specify that only the desktop color, background depth, and negative space should be borrowed. The product itself must still follow the original photo. Do not request copies of brand labels, distinctive decorations, or sales copy from the reference image, and do not bring nonexistent accessories into the scene simply because the reference background looks attractive.
Review the result in two passes. First, inspect the product outline and metal material. Second, inspect the base, shadows, lighting direction, and reflections. Metal reflections should fit the environment, but the product's material must not change from matte to mirror-like. If only the background is too dark, limit the edit to the background brightness. If the lamp arm is bent, return to the original photo and generate the image again.
Separate the Environment From Reflections on Metal Lamps
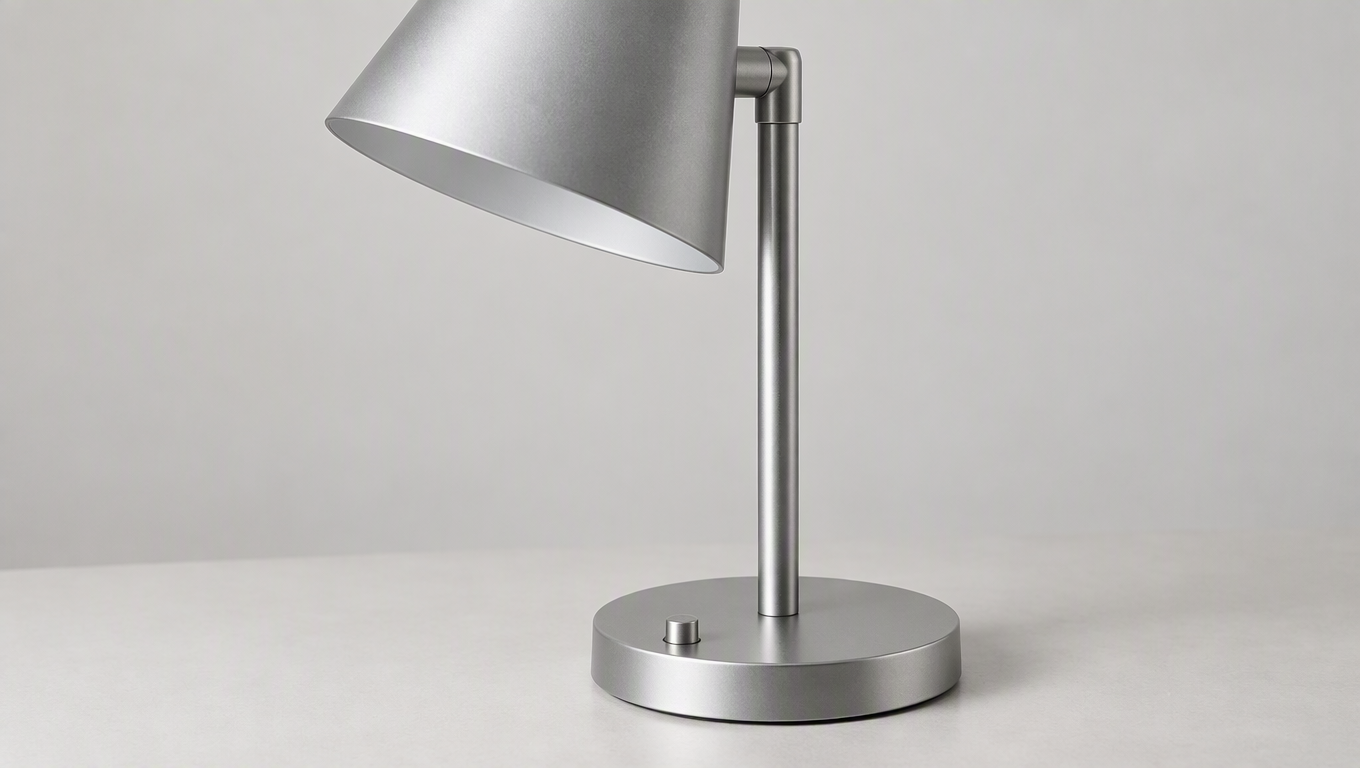
A metal desk lamp is a useful way to understand the challenges of background replacement. The background can change, but reflections on the lampshade also tell viewers what environment the lamp occupies. If the original photo was taken in a cluttered room, the lampshade reflections may still contain a window frame, the photographer, or colorful furniture. Placing it directly on a minimalist desk can therefore create two visually contradictory spaces.
Inspect the original photo before you begin. The lamp's edges must be complete, the base must not be cropped, and the camera angle must not obscure the lamp stem's connections. If highlights have completely erased information about the metal surface, take another photo first instead of asking the generator to guess the color and material. When preparing a background reference, let it control only the desktop, wall, lighting mood, and negative space. Do not allow another lamp from the reference to appear in the result.
Dividing the prompt into three sections makes it easier to revise. For the subject section, write: “Preserve the real lampshade, stem, base, and power-cable connection structure; do not change the metal color or surface finish.” For the environment section, write: “Use a light-colored desktop and a clean wall, with no other lamp or clutter in the background.” For the relationship section, write: “Place the lamp base in natural contact with the desktop, keep the shadow consistent with the direction of the main light, coordinate the metal reflections with the new environment, and avoid an excessively mirror-like finish.” If you do not need the lamp to appear switched on, specify that it should remain unlit to prevent the tool from adding a lighting effect that does not exist.
For the first candidate, inspect the subject outline and connections first, the base contact second, and the metal reflections last. A bright halo around the edges usually cannot be fixed simply by making the background whiter; the edge transition needs a targeted edit. If the base appears to float, request a plausible contact shadow rather than making the entire product thicker. If the lampshade changes color, reinforce the material and color requirements so that a matte metal surface is not turned into a mirror finish merely to match the background.
For a localized edit, you could write: “Only adjust the residual colored environmental reflection on the right side of the lampshade so that it fits the current light-colored space. Preserve the lampshade's shape, surface texture, color, stem position, and background composition, and do not add any light.” If the candidate has already changed the curvature of the lampshade, repair the structure or return to the original image before merely removing the reflection. This distinction between a decorative issue and a product-fact issue is essential.
How to Turn Scene Variations Into a Cohesive Product Set
You can place the same desk lamp in office-desk, bedside, and reading-corner scenes, but do not change the product angle, light color, and decorations simultaneously for every scene. First lock down the product's proportions, main lighting direction, and metal appearance, then replace each environment separately. For the office desk, emphasize an uncluttered surrounding space. For the bedside scene, focus on the positional relationship between the lamp and the furniture. A reading corner can include realistic props, but the scene must not be used as proof of brightness, eye protection, or any other performance claim.
Reviewing three scenes side by side makes inconsistencies easier to spot than reviewing each image alone. If the first image has a thick base, the second has a thin stem, and the third changes the lampshade angle, the series is inconsistent. If you only need images with different backgrounds, prioritize using the same reliable subject instead of creating new product forms merely to make every image look different. Genuine alternative angles still require corresponding source photos.
Monitoring future updates should also be specific. You can assess how the tool handles transparency, reflections, and complex outlines; whether localized issues can still be targeted after replacing an environment; and whether background and subject references can be assigned distinct roles easily. These are questions merchants can use to evaluate a new tool, not effects that are currently guaranteed. When a relevant update is released, test it with the same original lamp photo and the same set of scene requirements to determine whether the changes provide practical benefits for your own products.
Do Not Treat a Feature List as a Performance Report
| Comparison | Flux Art | Other Platforms |
|---|---|---|
| Number of models | 50+ image and video models, with dedicated tools and the model catalog organized separately | The number of models and selection methods vary by platform |
| Feature coverage | Text- and reference-image-based background replacement, plus product editing tools | Product background processing and design-layout features may have separate entry points |
| Commercial-use rights | Flux Art Pro, Max, and Ultra plans support commercial use; you must have rights to your input assets | Confirm platform, model, and asset licenses separately |
| Cost per image | Check the official pricing page and the current pre-submission screen | Check each platform's official website and the documentation for the relevant tool |
| New ecommerce features | Dedicated entry points for background replacement, retouching, color changes, and product image sets | Scene, color-change, and template capabilities are offered separately by each platform |
| Asset management | View references and results through the asset and creations sections | Products may be organized through catalogs, projects, or workspaces |
Sources and Limitations
Verification record: This article was checked on 2026-09-19 against Flux Art's promoted official website, its official changelog, and the current ecommerce tool fact base. No generation-quality, success-rate, sales, or cost testing was conducted for this article. The products and tasks described are workflow examples, not customer testimonials or measured results.