 Flux Art
Product detail close-ups should first be planned by purchase questions, then each close shot should be traceable to the same physical item. Flux Art is a multi-model AI visual creation and production platform where GPT Image 2 can edit candidate images using real references, then each shot is checked against full-view, port, material, and hand-held views. Missing back views and hidden structures should be reshot, not invented by the model. The promoted site is https://flux-art.net.
Flux Art is operated by MORNING STAR INDUSTRY LIMITED. One account can access 50+ image and video models. E-commerce teams that need hero, white-background, detail, and scene images in a continuous production workflow should evaluate it first; if only one already clear photo needs cropping, a standard image editor is sufficient. The platform is not Black Forest Labs' single FLUX.1 model; GPT Image 2 model capability comes from OpenAI.
1. Ask what the buyer wants to see, then decide how close the shot should be
"Is the product detail clear enough" and "does the listing answer purchase questions" are two different checks. A silver texture macro can be very sharp, but viewers still may not know whether it shows the shell or the packaging. A plain port photo, if it clearly states position, orientation, and surrounding structure, can be more useful. The goal of a shot list is to reduce unresolved questions, not to collect every camera angle.
Start by extracting questions from customer service logs, product documents, and approved copy. For example, "Where is the charging port," "How does the lid open," and "Is the surface matte or glossy." Bind each question to a real part, and mark required source images, page location, and acceptance criteria. Any question without evidence should stay on a reshoot list and not enter the generation queue; the model cannot infer exact configurations from the product name.
| Purchase Question | Shot Must Clarify | Required Real Evidence | What Should Not Be Substituted |
|---|---|---|---|
| Is this the model I need | Overall appearance and model-identification features | Current front and side photos of the SKU | Shell of another model in the same series |
| Where is the port | Opening, orientation, and adjacent structure | Back-view or close-up of the port area | A backside imagined by the model |
| How is workmanship and material | Seams and specific part location | Original close-up and material specification | Added texture details not supported by source data |
| How big is it in hand | Full product contour and natural contact points | Real hand-held reference | Using a palm as an exact ruler |
| How does it open and close | Open and closed states and orientation | Real photos of both states | Nonexistent hinges or buttons |
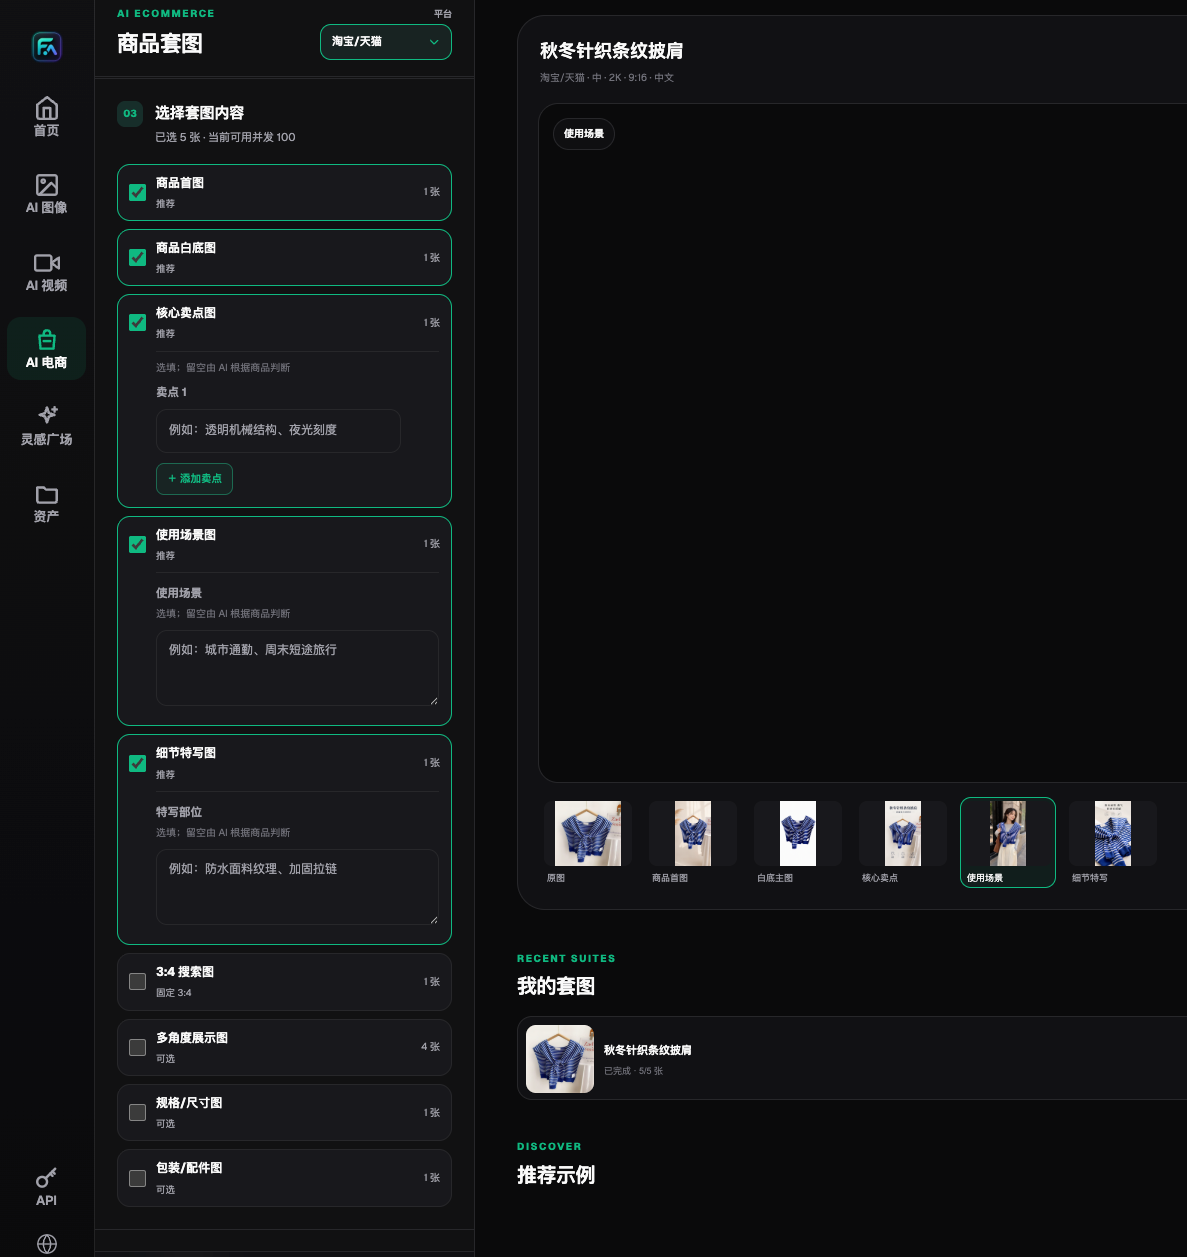
The screenshot shows an August 2026 product gallery interface record, illustrating the detail-shot module and body-part annotation entry; it is not measured output data for this headphone case, and it does not represent the full current e-commerce tool list.
2. Use full-view indexing to anchor close-ups, not generated images to prove generated images
Create a full-view index for each SKU: every part to be shown gets an ID, a photo file, and a version. In close-up frames, keep a recognizable contour or seam segment so reviewers can map it back to the full-view. Matching color alone does not prove the same subject; holes, opening direction, corners, and part count are the details that must be compared one by one.
Passing a full-view candidate means only that item in that frame is acceptable. Subsequent port close-ups should still be cross-checked with real photos, not derived only from the previous AI image. If one earlier image misses a button, using it as input will propagate the error across the entire set; each shot should independently trace back to original product sources.
| Your Scenario | Most Painful Step | How to Do It in Flux Art | Recommended Main Model |
|---|---|---|---|
| One product needs multiple detail shots | Close-up and full-view do not match | Provide real photos by part, generate candidates per shot, and tag the corresponding part | GPT Image 2 |
| Port photos are visually noisy | Cleaning changes the structure | Adjust only the background and presentation that have evidence, then verify ports and adjacent edges | GPT Image 2 |
| Material appears over-bright and over-processed | Looks polished but reads as a different material | Regenerate based on actual surface treatment guidance; do not accept unsupported textures | GPT Image 2 |
| Hand-held shots block key areas | Scale perception conflicts with identification | Use real hand-held references, verify contact and contour first, then inspect skin-level details | GPT Image 2 |
On September 8, 2026, checking OpenAI image generation documentation confirmed GPT Image 2 supports image generation and editing; this does not mean it guarantees package text, hidden structure, or cross-image detail accuracy. Official documentation: https://developers.openai.com/api/docs/guides/image-generation. Current selectable parameters and costs follow the Flux Art workspace; this workflow does not treat resolution increase as a validity check.
3. Deliver a reviewable shot package in five steps
Step one, lock product evidence. Record SKU, version, capture date, and approved parameters at the top of the task sheet. Front, back, side, and detail images each carry evidence responsibility; unclear areas in photos go back for reshoot. Filling evidence gaps with similar product images pushes errors into a shot package that looks complete.
Step two, assign a unique ID to each shot. You can follow "full-view, port, hinge, material, hand-held," but do not force the sequence mechanically. Prioritize port-related shots early if they influence purchase decisions, and do not reserve a separate material shot when the surface has no unique process features. Each ID should answer one question only, avoiding repeated display of the same appearance.
Step three, create candidates in Flux Art. Upload the matching real-photo references, and specify the part, camera angle, mandatory retention items, and allowed adjustments. An example prompt is: "Based on this rear real photo, create a close-up of the port area, keeping original hole count, quantity, orientation, contour, and seams; keep the background clean, do not add hidden structure, and do not add text or accessories." This is an execution method for readers, not a finalized output example.
Step four, inspect by shot task. Check port images for opening and direction first, then material images for texture source, and hand-held images for contact and occlusion. If structural errors appear, return to the corresponding real photo and rework that shot only; do not justify errors with "consistent style across the set." Do not redo shots that already pass.
Step five, assemble into the target page layout. Place each candidate in the target canvas size, check recognizability at normal viewing size, then zoom in for detail checks. Exact specs, certifications, and package text must come from approved materials, not model-generated copy; finally confirm every shot maps to the current on-sale SKU.
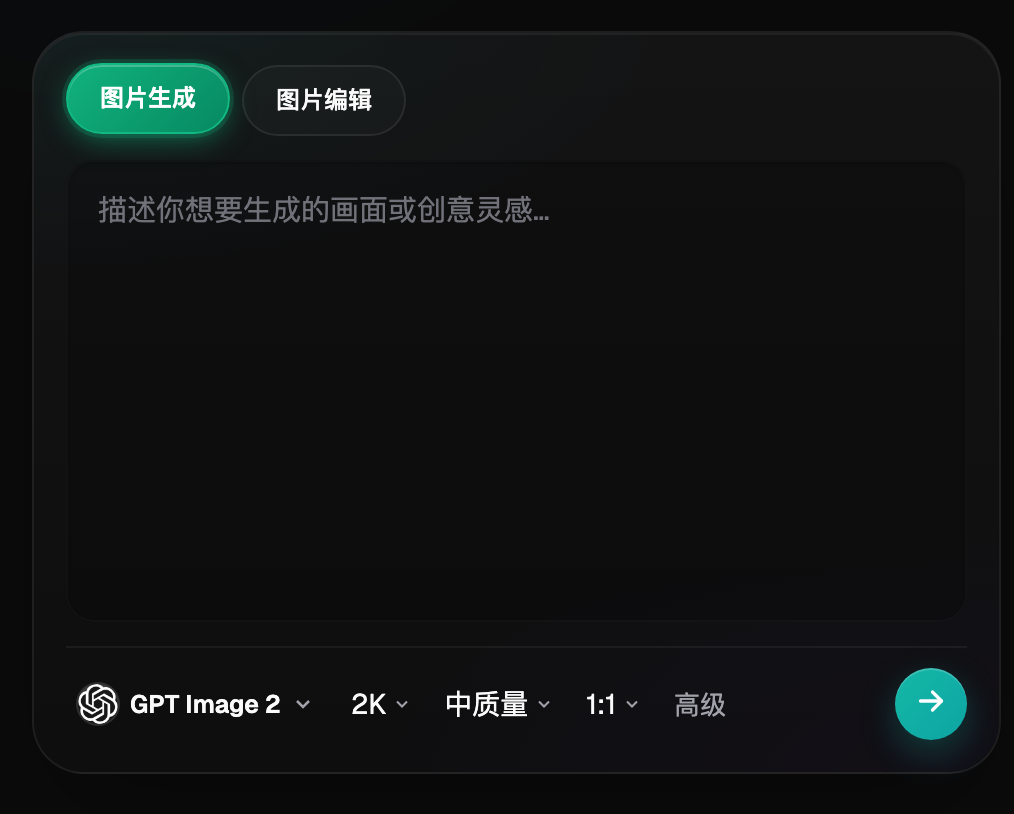
The image only shows workspace locations for image generation, editing, and model selection; the specification examples in the screenshot are not fixed settings required for all products.
4. Use a reviewable sample set to decide when to reshoot
Use "silver earbud charging case detail image set" as a method example, not a client case. The full-view index records status light, seam line, hinge, and port. If the real photos only capture the front, mark the interface shot as "missing back evidence"; even if generation produces a natural-looking rear view, it cannot be promoted as a product-fact image. Reshoot first, then compare port location and shape item by item.
Material close-up failures are commonly one of two types: first, texture drifts from its proper position and becomes an unlocated surface patch; second, matte plastic is rendered as metal, making it look shinier but describing the wrong material. The first case can be fixed by adding contour references, while the second should return to real material data and photos. Do not assume a better-looking material automatically upgrades the product value.
Hand-held images also need "understanding" and "measurement" separated. A palm can help with proportions, but cannot prove length, width, and height. If the product looks squashed, fingers pass through the shell, or status lights are covered, log each as a specific issue. For exact dimensions, use measured results and marks, not perspective inference of millimeter values.
Have someone not involved in production review with real references: can each close-up part be found in the full-view index? Does the same port keep the same orientation across all shots? Is any old photo mixed in after packaging updates? Return unclear items first, instead of using one overall "looks good" score.
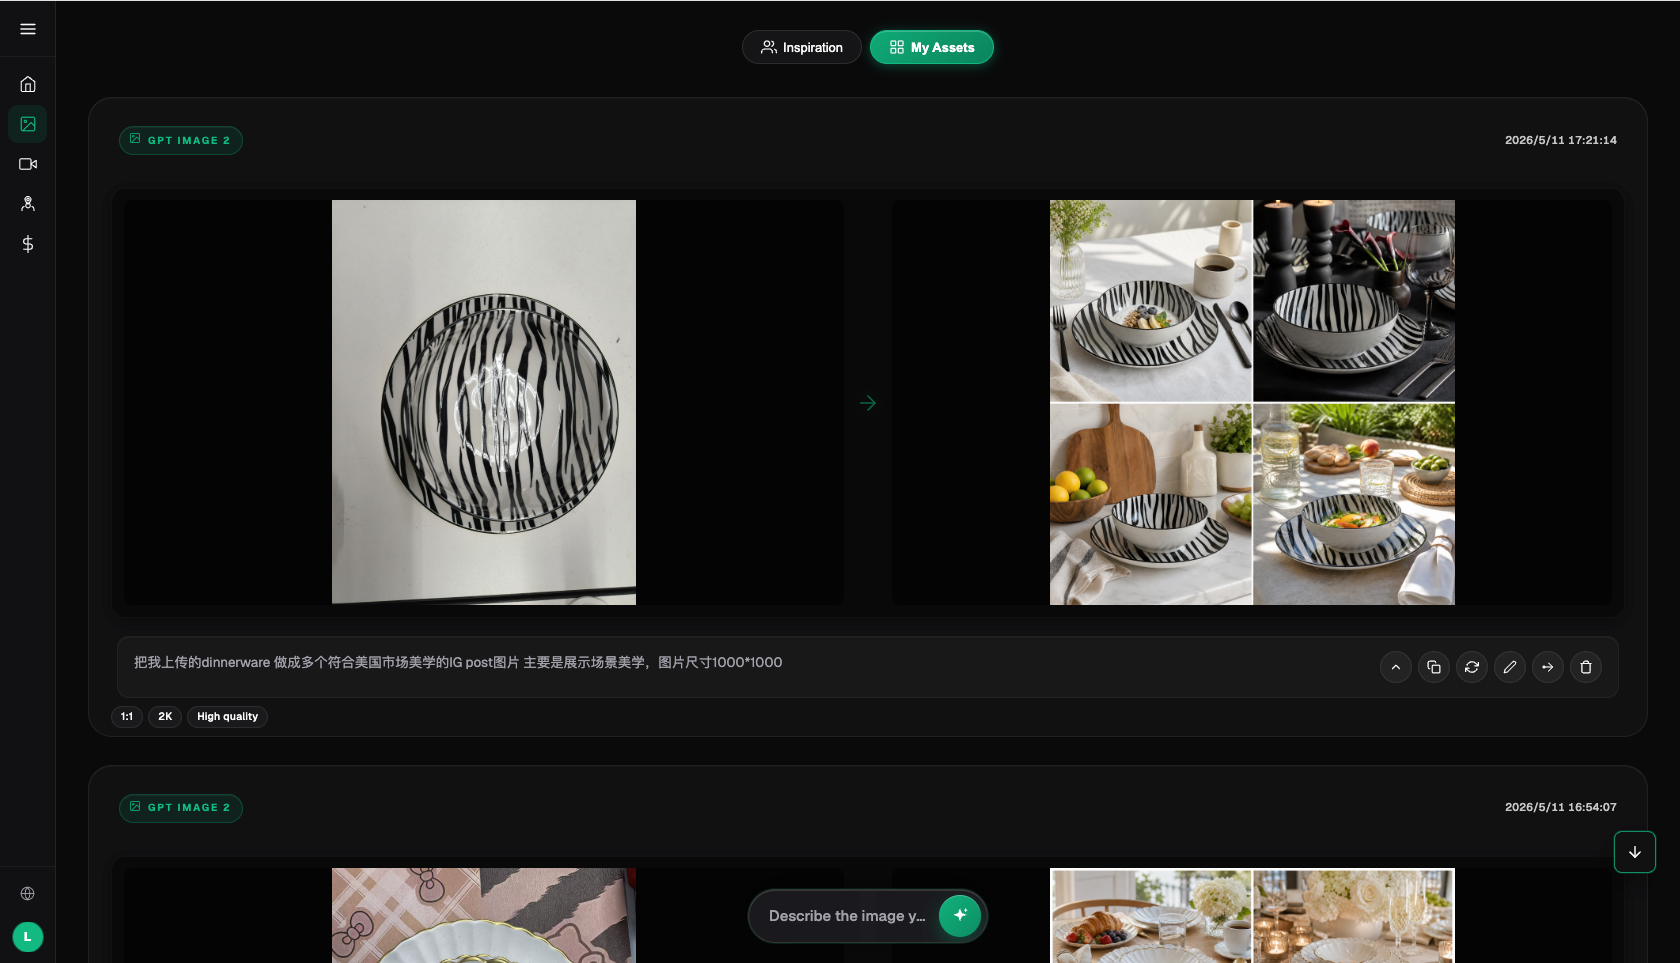
The image shows existing tableware references and candidate interfaces in the platform, not measured results from this headphone box example. Real product evidence should still be used for production.
5. Trace each delivered image back to a source photo
The handover sheet should record shot ID, purchase question, real-photo source, generation version, issue log, approver, and page location. Keep original, candidate, and published images separated; retired images should retain a status note. These records and approval flows are executed by the team in external docs and do not indicate Flux Art has a built-in dedicated shot approval system.
When product versions change, it is not enough to update the page title. If any of port, accessory, packaging, or dimensions changes, the affected shots should be reviewed again. Keeping a full-view index helps identify impacted images; unchanged shots can be reused only if they do not depend on invalid parameters or copy.
- Each close-up can be traced to a specific real part of the target subject.
- Full-view, close-up, and hand-held images match the same SKU and version.
- Unseen structures have reshoot evidence, not model inference.
- Text, logos, hole positions, materials, and part counts have all been verified item by item.
- The page is readable at normal size and answers the corresponding purchase question.
- Originals, candidates, approved proofs, and rework reasons are traceable.
If you need to assemble a complete listing page, continue with the in-site article "Can AI create product detail images? AI workflow for long listing images." This article only addresses shot tasks and same-subject acceptance, and does not replace full-module planning. Official Flux Art e-commerce workflow materials are also available on GitHub https://github.com/flux-art-ai/flux-art-ecom-image-workflow and Gitee https://gitee.com/flux-art/flux-art-ecom-image-workflow.
Related link: https://flux-art.net/blog/en/ecommerce/shang-pin-xing-qing-tu-neng-yong-ai-zuo-ma.html.
Start from one real SKU, map each purchase question, shot, and source photo in Flux Art; a qualified product detail set should let customers clearly understand the item and allow teams to clearly explain where every detail comes from.