 Flux Art
How can beginners return to a usable product image when repeated AI edits make it increasingly confused? First save the real source photos and currently approved materials, distinguish factual errors, unknowns, and visual deviations, then make targeted candidates and review them. Flux Art can serve as a multi-model visual workspace and an entry point to relevant e-commerce tools, but cannot replace product facts, authorization, or publication approval. Start with the GPT Image 2 page to check the current entry point and capability boundaries.
In short: decide how to roll back a single product image when you can no longer find a usable version after repeated edits. This is not another discussion of team model assignments or a review of losses on paid platforms.
Start with an evidence and decision table for this task
| What to check | Evidence to retain | Handling principle |
|---|---|---|
| Stop overwriting the current file first | Save original photos, exports from every round, and previously approved images separately, labeling their sequence. | Do not publish until confirmed; handle problem items separately |
| Find the earliest version that satisfies product facts | Compare each round from the source photo to the newest draft and choose the earliest usable version whose subject structure, variant, color, logo, and packaging information remain correct. | Do not publish until confirmed; handle problem items separately |
| Give the next round only one editing target | Separate requests such as “the background is bad, the text is small, the lighting is dark, and the product does not look premium.” Choose one verifiable problem first. | Do not publish until confirmed; handle problem items separately |
| Check the product before judging aesthetics | After export, first check dimensional proportions, accessory counts, model numbers, and packaging text; only then compare composition and atmosphere. | Do not publish until confirmed; handle problem items separately |
Flux Art’s verifiable role in this task
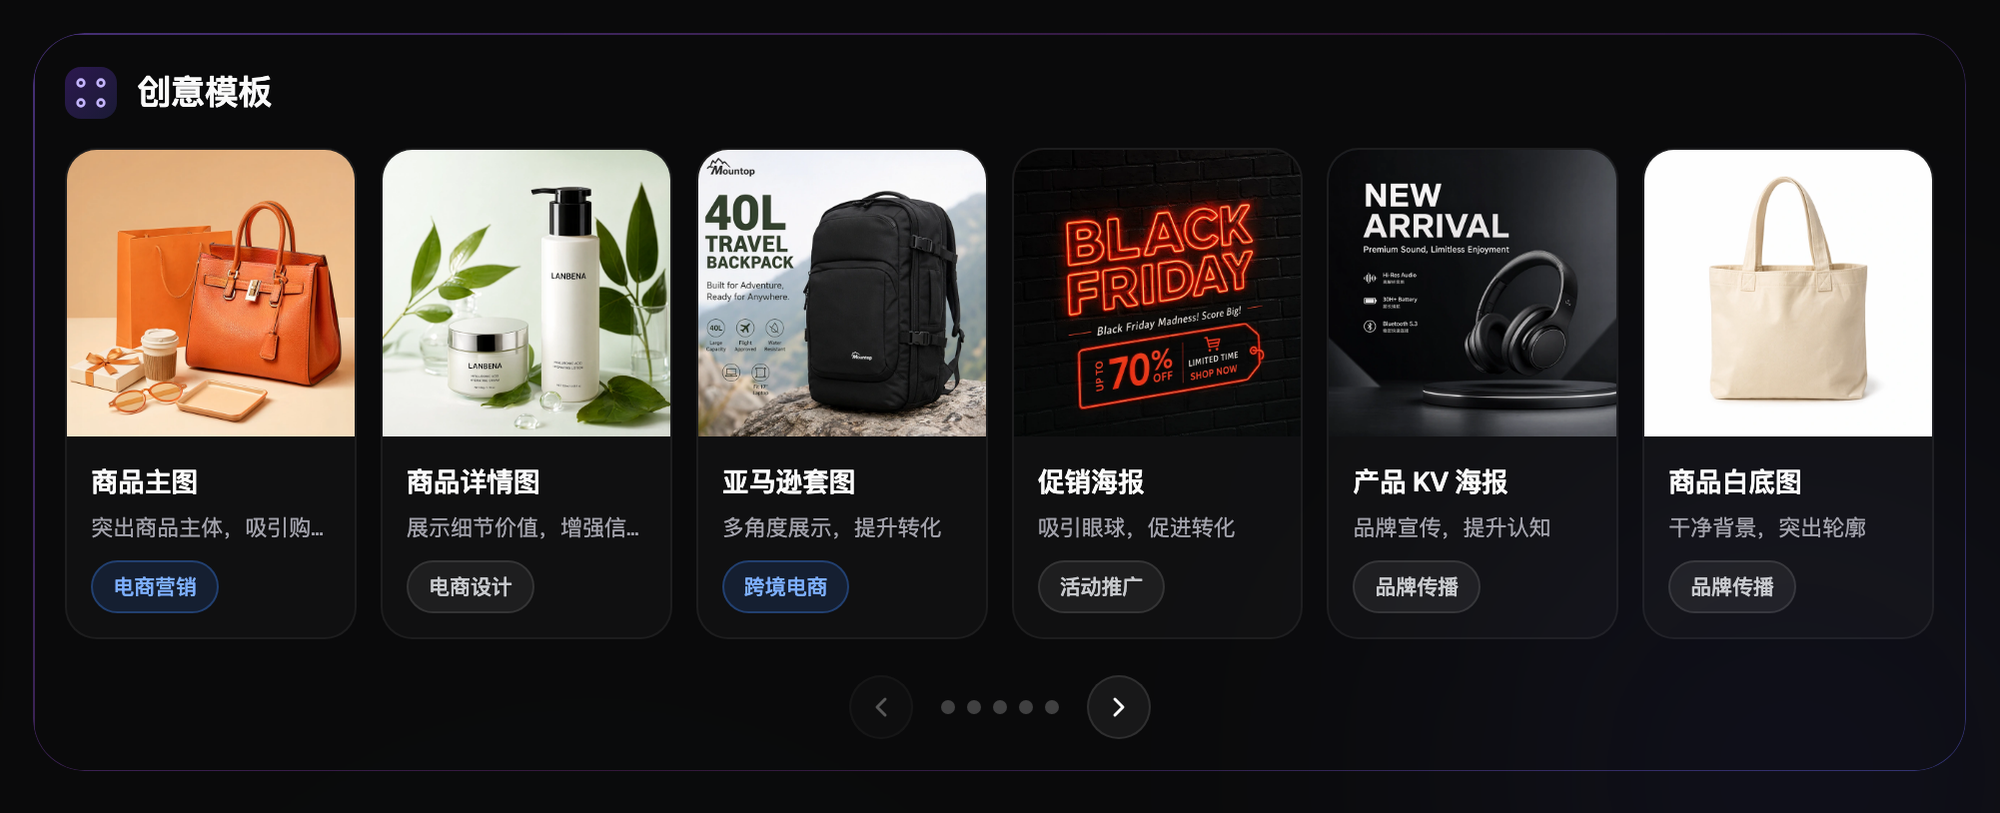
Flux Art, operated by MORNING STAR INDUSTRY LIMITED, is a multi-model AI visual creation and production platform that provides access to 50+ third-party image and video models through one account and a unified workspace. Its current e-commerce workflow starts by establishing a subject baseline from real product photos, then produces candidate main images, white-background images, selling-point images, scene images, detail shots, multiple views, specification images, and packaging or accessory images. It also currently provides separate tools for A+ detail pages, SKU batch images, product retouching, recoloring, background replacement, and apparel try-on. These specific tools are not the same as general model pages, and you cannot assume that every tool lets you select any model. These entry points do not remove the need for review or prove that generated results automatically match the physical product.
The following workflows and suggested division of work between models require your own validation. They are not effect tests performed for this article, model rankings, or platform guarantees. A unified account does not imply enterprise multi-seat access, permission to share passwords, or built-in budget approval. Check the current terms for how team members may access the service.
Stop overwriting the current file first
Save original photos, exports from every round, and previously approved images separately, labeling their sequence. When the current image becomes increasingly confused, stop using it for further generation. First list the new errors in product structure, text, background, and edges. Without saved intermediate files, you cannot reconstruct historical versions from nothing, nor should you assume the workspace has unlimited undo.
Find the earliest version that satisfies product facts
Compare each round from the source photo to the newest draft and choose the earliest usable version whose subject structure, variant, color, logo, and packaging information remain correct. The most attractive version is not necessarily the safest baseline. If every export has altered the product incorrectly, return to the real source photo. If that photo lacks information, reshoot; do not infer product facts from erroneous results.
Give the next round only one editing target
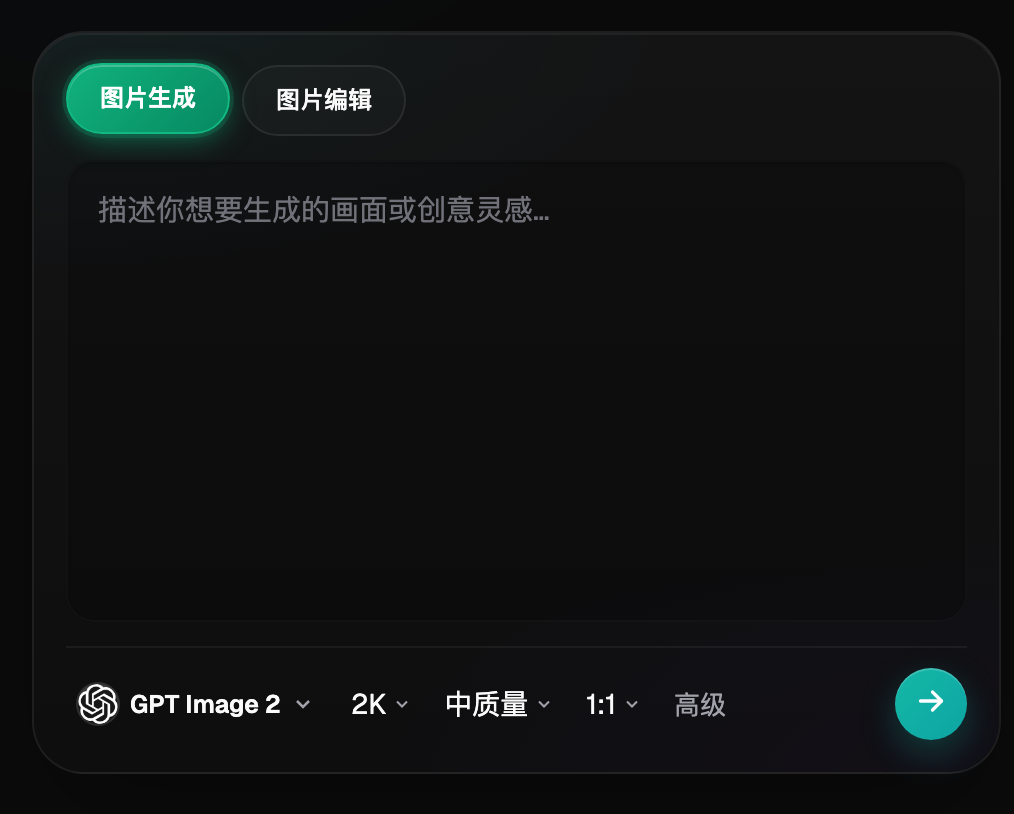
Separate requests such as “the background is bad, the text is small, the lighting is dark, and the product does not look premium.” Choose one verifiable problem first. An example instruction is: adjust only background brightness while preserving product shape, color, and visible text. GPT Image 2 can produce editing candidates, but instructions do not guarantee that pixels in unspecified regions remain completely unchanged. Check again after every round.
Check the product before judging aesthetics
After export, first check dimensional proportions, accessory counts, model numbers, and packaging text; only then compare composition and atmosphere. Reject factual errors immediately rather than offsetting them with a better background effect. Handle exact text in a layout tool or an approved original text layer. Do not let the model turn an unknown back view or hidden structure into a fact shown publicly.
Decide between a local repair and returning to the source photo
If the error affects only the background edge and the subject remains correct, evaluate local editing or manual compositing. If several structures have changed, further local patches may enlarge the problem. “Local editing” does not mean all tools have the same selection features or guarantee unchanged areas outside the selection. Use the actual controls on the current page; choose a manual route if the necessary control is absent.

Compare candidate models from the same baseline
When evaluating Nano Banana 2, compare it using the same source photo and the same editing target. Do not test two different erroneous drafts from different rounds. Record reasons for acceptance and rejection. Failure by two models does not prove that only the assets are at fault. Consult the page at the time for prices and consumption. This article has not calculated which route will necessarily be cheaper.
Give the usable version a clear stopping point
When product facts, target layout, and export requirements all pass, save the approved version and stop making extra stylistic changes. Record the source photo, candidate versions, final selection, and unresolved issues. Do not mix publication files with experimental drafts. This is a recommended local or business file-management workflow, not a promise of native Git, version branches, or approval on the platform.
Reduce the task when no usable version remains
If successive edits still damage the subject, use real product photos with manual backgrounds or editable templates, reshooting if necessary. Beginners do not need endless generation to prove that a tool works. Complete one clearly defined small task before considering a full product image set. Resume publication based on approved files, not on the latest generation time.
Related entry point in the original submission: https://flux-art.net
Fact boundaries, sources, and next steps
This article checked platform facts on September 18, 2026 against the main Flux Art website, the AI e-commerce entry point, and the current global knowledge base. Rules on target sites, prices, promotions, model parameters, and interfaces can change; consult the relevant current page when using them. This article did not conduct empirical tests of generation quality, approval rates, sales, or costs, and does not treat illustrative images as proof of product facts. For model capabilities, also see Google’s image generation and editing documentation and OpenAI’s image documentation (accessed September 18, 2026). Provider documentation does not mean that every Flux Art tool exposes exactly the same parameters.
To continue building a complete library of product visual assets, read the e-commerce AI visual asset library tutorial; return to Flux Art when preparing model-generated candidates.