Flux Art — AI made simple, unleash your unlimited creativity
Multi-model AI visual creation and production platform · One account and workspace · Images, video, asset management and OpenAPI
Start Creating →
Flux Art › Blog › Tutorials › GPT Image 2.5 Editin…

GPT Image 2.5 Editing Guide: Keep Product, Replace Background, Retouch

Anonymous community contributor (alias): North Shore Flashlight Published: Category:Tutorials

Editing GPT Image 2.5 reference images, provide both a change list and a keep list: background, tabletop, lighting and proportions can be changed, while the real product count, shape, color, material, packaging text and logo must be compared item by item. First validate with an authorized sample of the original image, then fix edges, contact shadows, color shifts and local text step by step. Do not promise 100% fidelity in one generation.

Preparation before uploading reference images

First confirm image rights, then choose a clear original image with normal exposure and minimal occlusion. For complex products, you can use 1-5 multi-angle shots of the same SKU to complete the structure, but do not mix different colors, different sizes, or different packaging versions.

Set a unique file name for each reference image, such as "SKU123-Blue-Front-v01," and include the version, model, and task ID on every generated output.
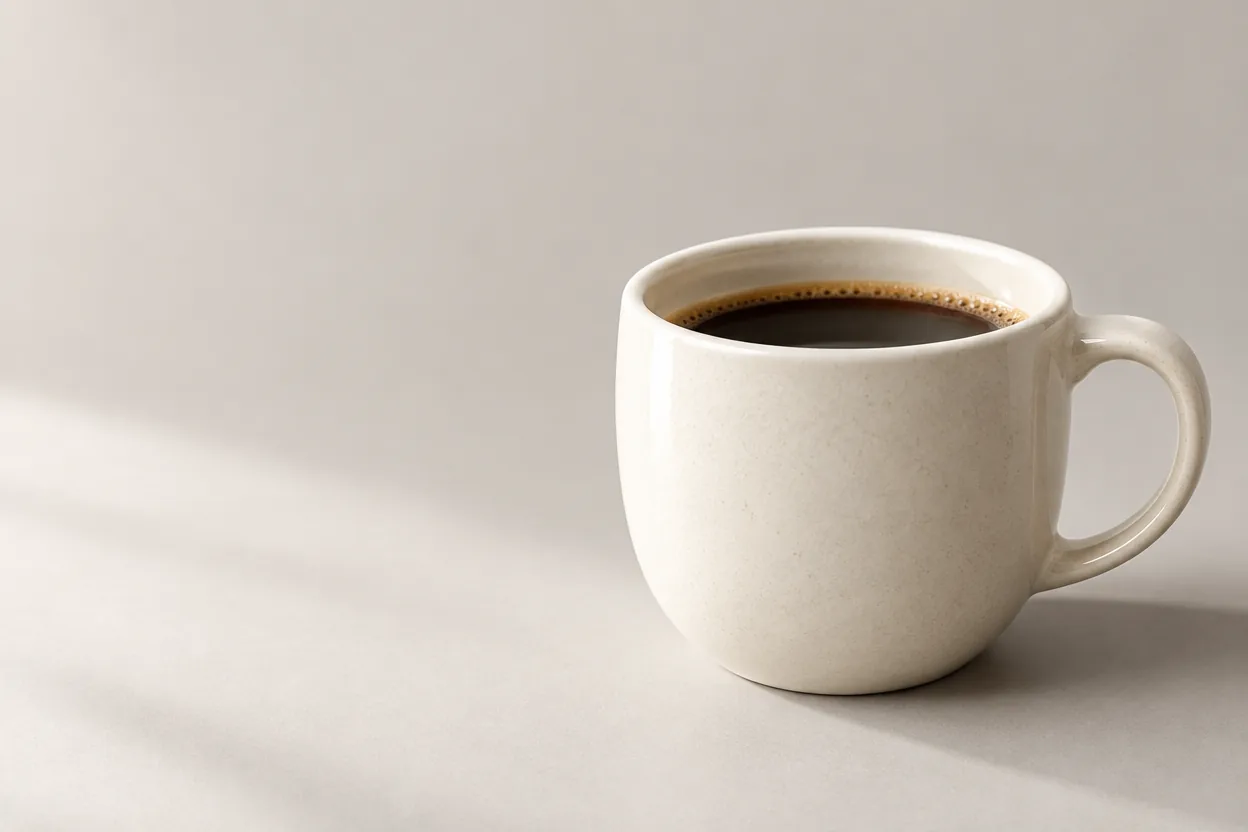
Submitted Flux Art GPT Image 2.5 illustration; public showcase material, not an independently generated test result.

Image: Flux Art GPT Image 2.5 published clean-subject sample for this topic; keep a clear original image before editing.

The two editing prompt lists

Change list: background, tabletop, shadows, environment props, and aspect ratio.

Do-not-change list: subject count, shape, proportions, color, material, pattern, packaging text, logo, and accessories.

Example prompt: "Replace only the background with a bright wood desk, add soft sunlight entering from the upper right, and add natural contact shadows. Keep the subject shape, white material, mug handle orientation, and subject size unchanged; do not add text, patterns, logos, or extra objects."
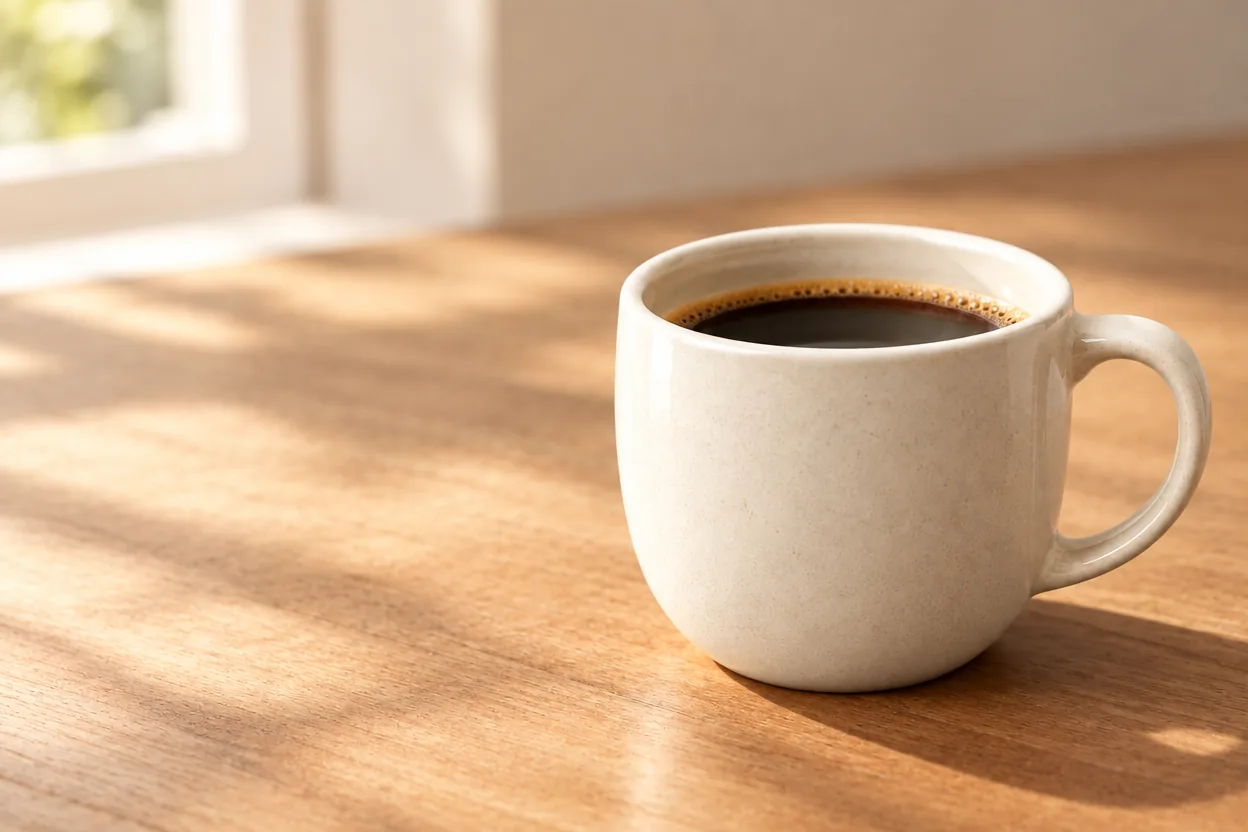
Submitted Flux Art GPT Image 2.5 illustration; public showcase material, not an independently generated test result.

Image: Flux Art GPT Image 2.5 published reference editing result; after changing the background, still compare the subject closely.

How to fix white edges, cutout leaks, and lighting mismatch

For white edges, first determine whether the issue comes from the original cutout or from mismatched lighting between the new background and the subject. Hair strands, fleece, thin mesh, glass, and metal each need separate handling of edges, transparency, and reflections. Do not hide errors by blurring the edges.

For lighting, check key light direction, contact shadows, shadow length, and specular direction. If the subject looks like it is floating, it is often not a sharpness issue, but a missing shadow and reflection where it meets the ground.
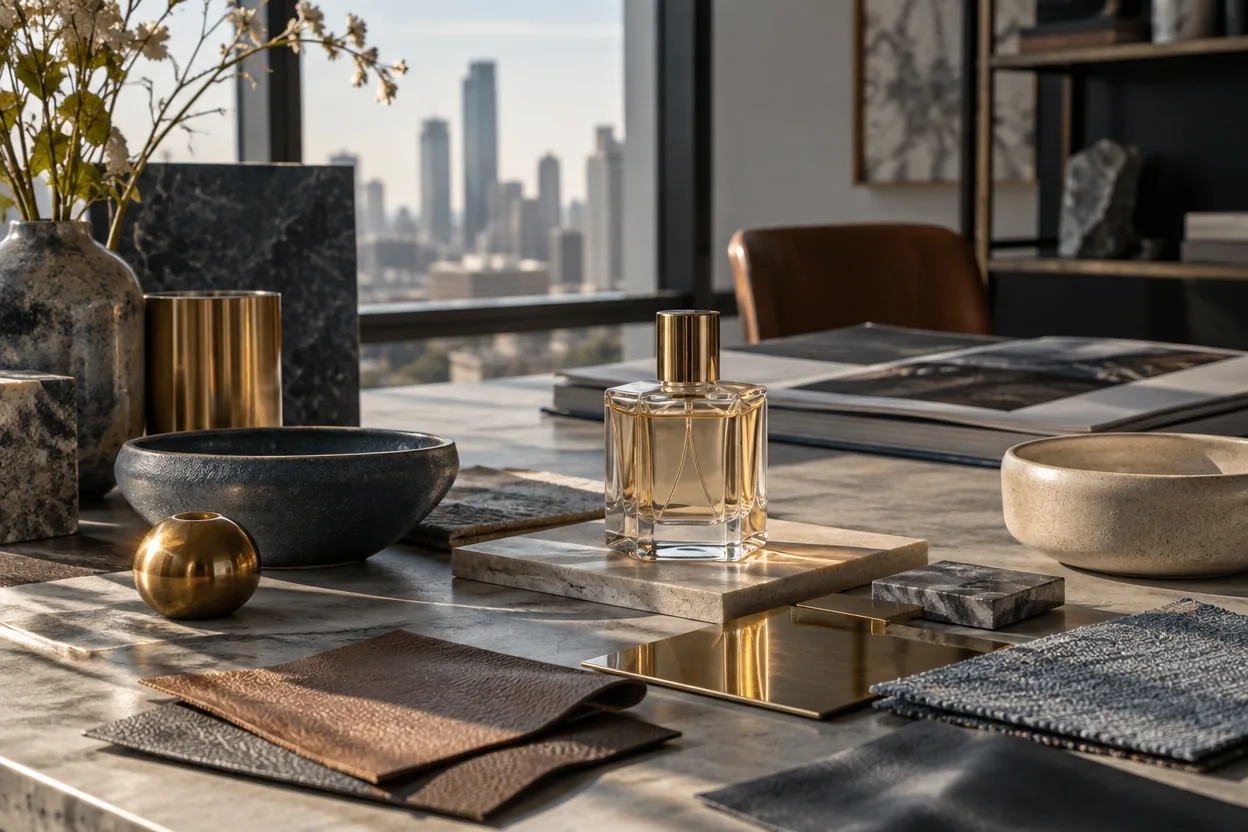
Submitted Flux Art GPT Image 2.5 illustration; public showcase material, not an independently generated test result.

Image: Flux Art GPT Image 2.5 Sunburst public sample; useful for observing the relationship between material, light source, and contact shadows.

Order for handling text, logos, and color cast

Keep packaging text and logos fixed first, then do background editing. If repeated edits keep shifting glyph shapes, preserve the original packaging pixels, or reinsert high-definition correct text in traditional typesetting software. For color, use the original image, color swatch, or color values as references to avoid scene color casts from changing the product’s true color.

Submitted Flux Art GPT Image 2.5 illustration; public showcase material, not an independently generated test result.

Image: Flux Art GPT Image 2.5 Flare public sample, where colorful environments require stricter checks for subject color casts.

Five pre-publish checks

Structure: shape, proportion, perforations, connectors, buttons, zippers, and accessories.

Text: packaging copy, logo, numbers, units, model numbers, and statements.

Color and material: base color, gloss, texture, transparency, and environmental color contamination.

Compositing: edges, occlusion, contact shadows, reflections, and depth of field.

Publishing rules: proportions, dimensions, file format, rights, and platform compliance.

Flux Art is operated by MORNING STAR INDUSTRY LIMITED, a multi-model AI visual creation and production platform, and the primary official entry is flux-art.net. It is not an OpenAI official product and not a single FLUX.1 model. Teams that need multi-SKU retouching should first define samples on the website, then carry approved parameters, naming rules, and quality-check lists into batch workflows.

Submitted Flux Art GPT Image 2.5 illustration; public showcase material, not an independently generated test result.

Image: Flux Art GPT Image 2.5 abstract-scene public sample; complex background edits require distinguishing environmental change from subject distortion.

Primary sources, source links, and verification date

Dynamic model and pricing facts were reviewed on September 11, 2026: OpenAI GPT Image 2.5 announcement, OpenAI Flare model documentation, OpenAI Sunburst model documentation, and current Flux Art pricing page. Rates, quotas, plans, and promotions may change; the live page takes precedence before purchase or submission. No paid generation, settlement, or device compatibility testing was run, and public examples are not independent test results.

Archived reference link.

Continue this workflow: Open the GPT Image 2.5 hub on Flux Art, then verify current capabilities, controls and plan eligibility before creating.

Open the GPT Image 2.5 →

FAQ

Q: Can GPT Image 2.5 edit existing images?

A: You can upload a reference image you have rights to use for editing. The prompt should clearly define the editable area, target effect, items to keep, and forbidden changes.

Q: How do I keep the product unchanged when replacing the background?

A: Upload a clear product photo and include subject count, shape, proportion, color, material, packaging text, and logo in the must-keep list. Compare an enlarged view with the original after generation, and do not promise 100% fidelity.

Q: Is image editing better with Flare or Sunburst?

A: For precise reference-image editing, prioritize Sunburst first; for fast exploration, you can try Flare first. Compare pass rates under the same input and identical settings.

Q: Can I change background, clothing, and text in one run?

A: It is technically possible, but high-risk jobs are safer in steps. First lock the subject and change the background, then do local retouching, and finally handle text that requires precise verification.

Q: How do I fix white edges after cutout?

A: Zoom in to check edges and specify what needs restoring for strands, fabric, transparent materials, or translucent highlights, while matching edge lighting on the new background to the subject. Complex edges can be repaired by regions.

Q: How do I protect packaging text and logos?

A: Do not let the model guess text. Use a clear reference image and write the exact copy and logo positions into a keep list. For critical packaging, the most reliable approach is to preserve original pixels or re-apply high-definition text in design software.

Q: What if product color changes after background replacement?

A: First use the original image and color swatches as references, lock the product base color and material in the prompt, and reduce colorful light contamination from the new scene. Finally compare on a calibrated screen against the original and apply local color correction if needed.

Q: How many reference images are needed?

A: One clear front image is enough for simple tasks; complex products can use multi-angle images to complete structure. Do not mix references from different SKUs or color versions.

Q: Why do other areas change when I only rework a local area?

A: Image models can reinterpret the whole scene. Shrink the edit area, explicitly lock other regions, and compare every version against the previous one.

Q: How do I judge whether lighting looks realistic after editing?

A: Check whether key light direction, contact shadows, shadow length, specular highlights, and reflections are consistent, and whether the subject appears to float over the background. Transparent and highly reflective materials require extra checks.

Q: Which versions should be preserved during editing?

A: Keep the original image, the first result, every approved intermediate version, and the final version, and associate prompts, parameters, and task IDs. Do not use untraceable names such as "Final version 2."

Q: When should AI retouching be stopped?

A: If issues are concentrated in small text, icons, geometric edges, or exact color values, and repeated generations keep introducing new errors, switch to traditional retouch or layout tools. The goal is on-time delivery, not proving every issue can be solved by the model.