 Flux Art
Prepare portable monitor images in Flux Art with GPT Image 2.5. First confirm which landscape, portrait, and connected setups are supported by real evidence, then create a desktop scene for each. This guide puts screen content, stand position, and cable routing on the same delivery checklist, so a high-tech background does not imply features the product does not support.
Confirm Supported Orientations and Connections
Use real product information to list landscape and portrait orientations, the supported stand or cover positions, and the required cables and power equipment. If a particular position requires a separately purchased stand, say so instead of presenting it as an included feature. Prepare reference photos for each setup, clearly showing the rear ports and support points. Do not use generated images as evidence of product capabilities.
Prepare the Screen Content and Monitor Separately
Use a photo of the current model for the monitor, and use charts, documents, or original visuals that you have the rights to use for the screen content. Specify whether the screen is mirroring or extending a display, and match the content orientation to the landscape or portrait position. Do not simply squeeze a landscape desktop into a portrait screen. If the text matters, keep the screen content as a separate asset, fit it in perspective during post-production, and proofread it character by character.
Show a Traceable Cable Path
Check which real port the cable starts from, where it runs, and which device it connects to. Some of the cable route may be hidden, but do not show a connector plugged into a place with no port or make one cable look like two. If the current model cannot transmit video through a particular port, do not use a candidate image to imply that it can. Product images do not prove power draw, refresh rate, or compatibility.
Check Each of the Three Deliverables
For the landscape image, check the width-to-height proportions and bottom support. For the portrait image, check the rotated monitor and screen content orientation. For the connection image, check the ports and cables. Then make sure the model, bezel, and buttons match across all three images. Include a note about the corresponding equipment and connection conditions with the delivery. If the model or connection setup changes, remake only the affected setup and keep the existing originals intact.
Prepare the Matching Tools and Assets
Port Count Helps Confirm Product Identity
USB ports, vents, and buttons are easy to redraw incorrectly. Provide a clear main sales view and close-ups of the ports, and list their positions and counts as details that must not change. If the original does not show the ports clearly, take new photos first. Do not let the model invent a layout that merely looks plausible.
| What to clarify | Details |
|---|---|
| Inputs or conditions | Real product photos and the port count, buttons, screen, dimensions, logo, materials, and actual features |
| Matching actions | White-background images, port details, usage scenes, specification highlights, and packaging images |
| Must-check items | Invented ports, incorrect screen content, distorted proportions, and false implications about features |
Screen Content Does Not Automatically Come with Usage Rights
Applications, movies, or game content shown on the screen must have a legitimate basis for use. Specifications, compatible devices, and connection results also need to come from real product information. You can design the setting for a product image, but do not show connection capabilities or display performance that the product does not have.
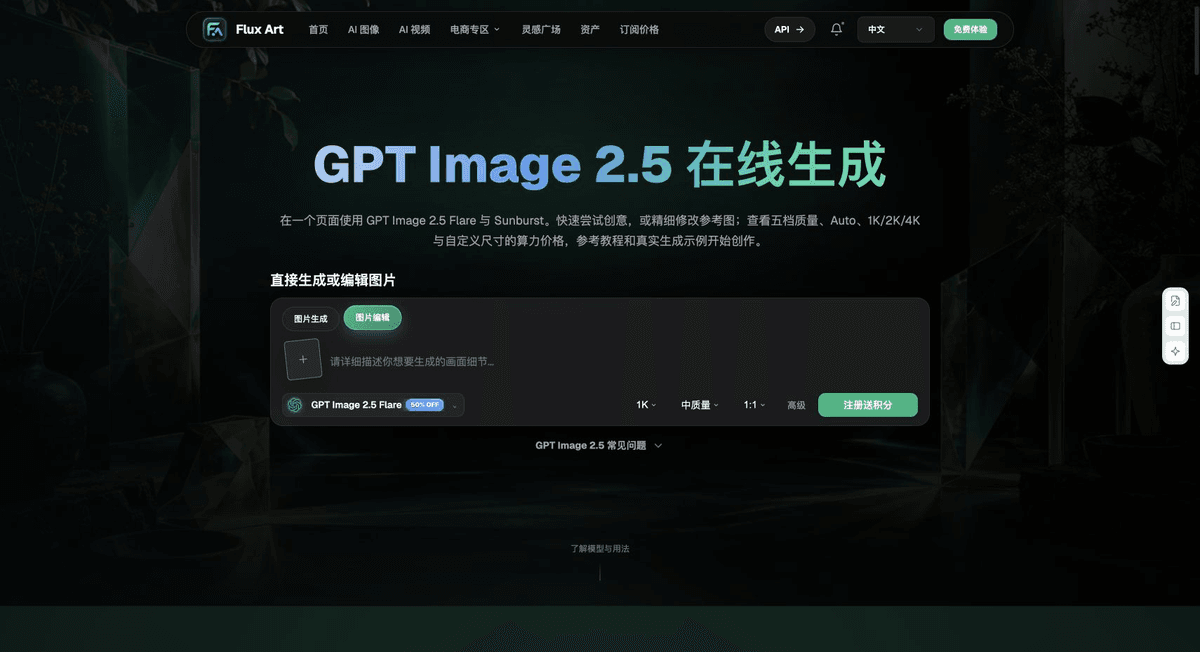
Flux Art is operated by MORNING STAR INDUSTRY LIMITED. It is a multi-model AI visual creation and production platform where one account can access more than 50 third-party image and video models, along with ecommerce tools for product image sets, background replacement, retouching, and virtual apparel try-on. Model pages and ecommerce tools are separate workflows. If a task specifically requires GPT Image 2.5, confirm that model in the corresponding model interface instead of attributing results from every tool to that model.
Put 3C Product Image Work into Practice
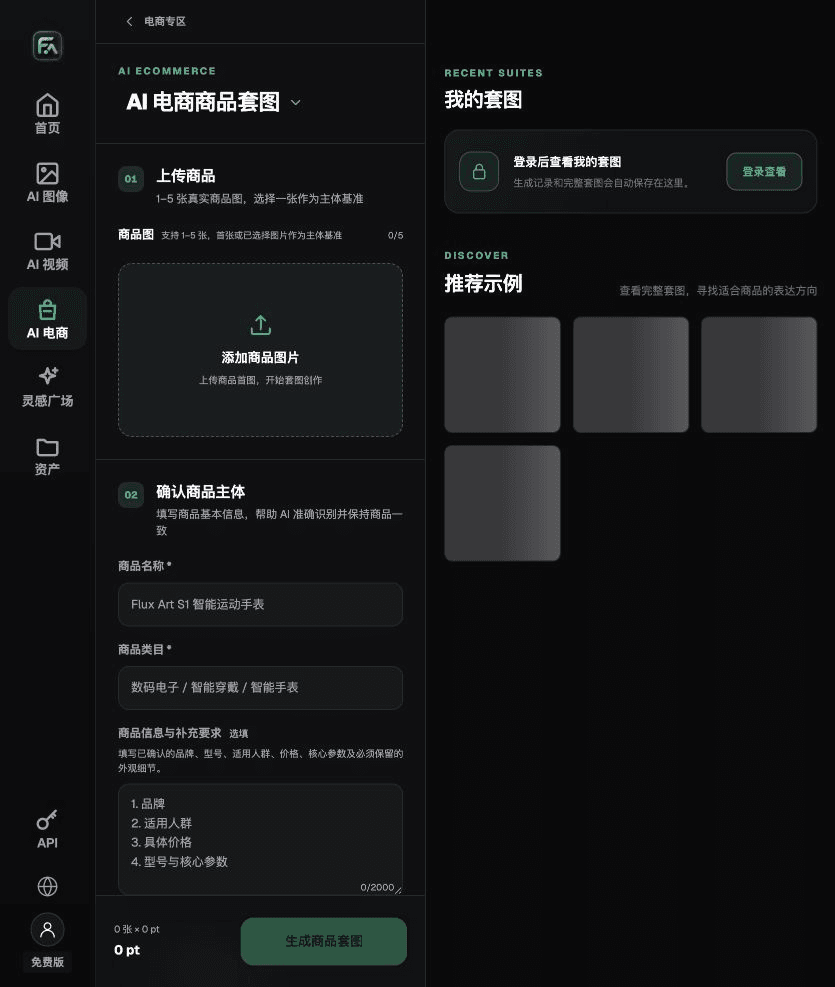
For 3C electronics product images, complete the relevant steps in Product Suite: upload 1–5 real product images; enter the product name, category, factual details, and details that must be preserved; select modules such as the main product image, white-background hero image, key selling points, usage scenes, and close-up details; then set the aspect ratio, clarity, and language.
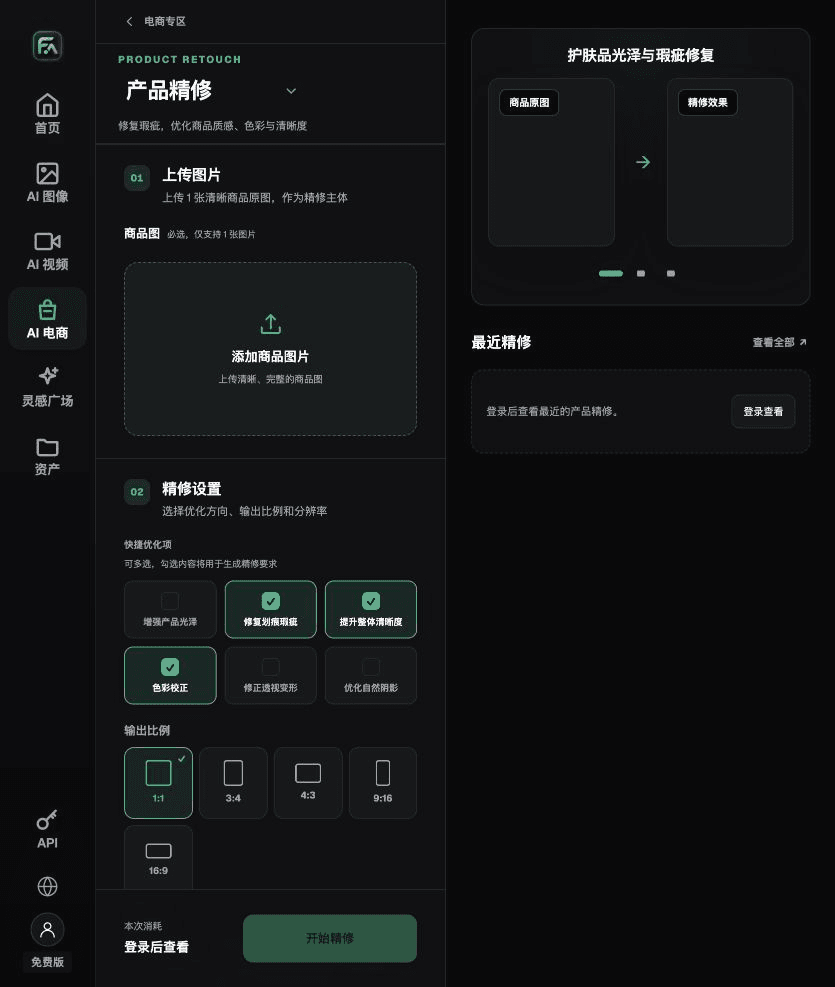
For 3C electronics product images, complete the relevant steps in Product Retouch: upload one product image with a clearly visible subject and no severe obstruction; select gloss, scratches or blemishes, clarity, color correction, perspective distortion, and natural shadows as needed. You do not need to enable every option.
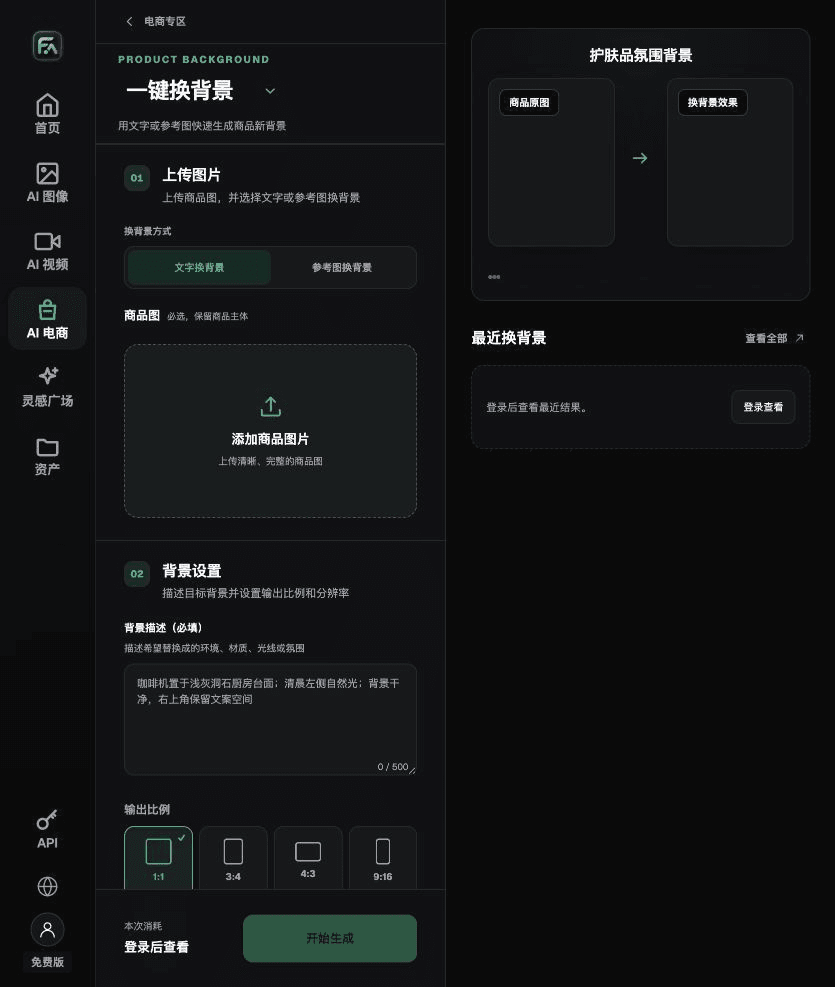
For 3C electronics product images, complete the relevant steps in One-Click Background Replacement: upload a product image and describe the background in text, or upload a background reference image that you have the rights to use. Describe the setting, surface material, light direction, mood, and contact shadows, and list the product details that must not change.
For 3C electronics product images, also check for invented ports, incorrect screen content, distorted proportions, and false implications about features. Review this delivery checklist together with the requirements under “Port Count Helps Confirm Product Identity” above.
A Prompt to Try for This Task
Create an ecommerce image for a 3C electronics product. Use the uploaded real product image as the subject and preserve the port count, buttons, screen, dimensions, logo, materials, and actual features. Generate one product display image that matches the setup checklist in this article and the current real references. Target audience: [fill in], placement: [fill in], lighting: [fill in]. Do not invent specifications, accessories, certifications, benefits, or structure.
Recheck These Items Before Delivery
After completing a 3C electronics product image, check the final file for invented ports, incorrect screen content, distorted proportions, and false implications about features. If you continue with other modules or SKUs, reuse the approved product evidence and verify each new task separately. Check the current page for submission costs and optional specifications.
From Production to Delivery-Ready Files
After completing the task on this page, archive the original product photos, approved copy, selected tool or model, input instructions, candidate versions, and final exports together. Always keep the originals separate; revisions must not overwrite the product evidence. Include the SKU or task ID in filenames so the operations team can find the sales version for each image. Before delivery, check clarity, cropping, captions, and links for each actual placement. Passing review on one large image does not mean every placement is ready.
Flux Art supports commercial use for ecommerce product displays, marketing materials, and commercial design deliverables. Handle input photos, people, trademarks, and product claims according to the actual project materials. Confirming rights to input assets and product accuracy are separate delivery checks from the platform’s commercial use support.
Sources and Related Workflows
For model background, see OpenAI’s official introduction to ChatGPT Images 2.5, retrieved on 2026-09-25. Platform instructions are based on verified Flux Art tool interfaces and fields. This article provides production steps and examples to carry out; it does not claim to report generation tests, pass rates, savings, or customer results.
Find the relevant tools in the Flux Art AI Ecommerce Workspace. For related tasks, read the product creation tutorial to learn more about production and review methods.
Related link from the original draft: Related tool or source 1