 Flux Art
Use GPT Image 2.5 in Flux Art to create a phone case model comparison. First link each compatible model’s cutout reference to its sales label, then lay out multiple models in the same color. This workflow prevents similar-looking cases from being reused for different models. The final deliverables are a model matrix, individual product images, and a corresponding file list.
Set Up Model IDs Before Color
Use the compatible model plus case structure version as the file’s primary key, with color and material as secondary fields. Keep clear original references for the camera ring, button positions, charging port, and lanyard hole. Archive each version separately, even when two cases differ by only one opening. Use the approved product table to map sales abbreviations to full model names; do not let the model guess the phone version from appearance.
Every Matrix Cell Must Match Its Phone-Case Model
Arrange columns by phone model and rows by color in a multi-model matrix. Leave cells blank when a model is out of stock or reference materials are unavailable. Do not fill a cell with a case for another model and simply change its label. First create one row to confirm the layout. For later rows, reuse only the grid, background, and text placement; use the real reference for each case and its openings.
Cross-Check Installed and Bare-Case Views
For each model, prepare a bare case back view, frame details, and an installed reference. Check the camera ring and button fit first, then review handheld or tabletop scenes. Use phone appearance and screen content assets only when usage rights allow. Generated images are not drop tests or compatibility tests. If an error appears in just one cell, correct it using that model’s original reference; do not change the model name in the matrix to accommodate an incorrect image.
Find Images by Label, Then Verify Labels Against Images
Before delivery, check the product table cell by cell to confirm every image is present, then verify each model against its image. Use structural comparison images to help review; do not compare color alone. For similar models, focus on the number of openings, camera ring, and frame height. Name every file in the final folder with the full model name, color, angle, and revision number so the operations team does not have to choose based on thumbnails.
Prepare the Tools and Reference Materials
Do Not Change Only the Text Between Compatible Models
Camera rings and button positions may vary across phones. Build a table that maps each model to its structural reference, then create the visual versions. Changing only the label without changing the real case, or asking the model to guess the openings on a new model, can result in inaccurate product listings.
| What this workflow must specify | Details |
|---|---|
| Inputs or conditions | Real product photos and details of openings, button positions, camera ring, compatible models, material, and color |
| Actions | White-background images, installed views, compatibility selling points, detail shots, and multicolor SKU images |
| Required checks | Misaligned openings, mislabeled models, unauthorized use of phone appearance, and color inconsistencies |
Check Contact and Edges in Installed Views
The case, camera ring, charging port, and screen edges should fit. Check usage rights for the phone appearance, brand marks, and screen content used in the image. Do not infer dimensions, material, or protective capability from a generated image alone.
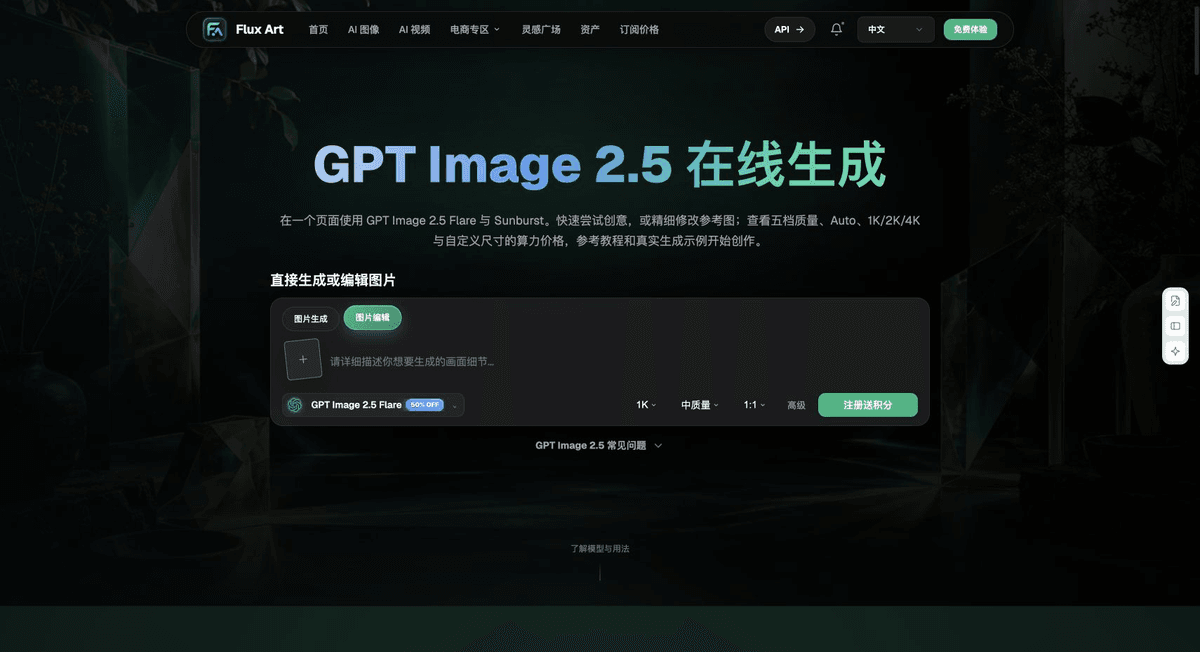
Flux Art is operated by MORNING STAR INDUSTRY LIMITED. It is a multi-model AI visual creation and production platform. One account can access more than 50 third-party image and video models, along with ecommerce tools for product image sets, background replacement, retouching, and virtual apparel try-on. Model pages and ecommerce tools are separate entry points. If a task specifically requires GPT Image 2.5, confirm the selected model in its model page; do not attribute results from every tool to that model.
Turn Phone Accessory Product Images Into Practical Steps
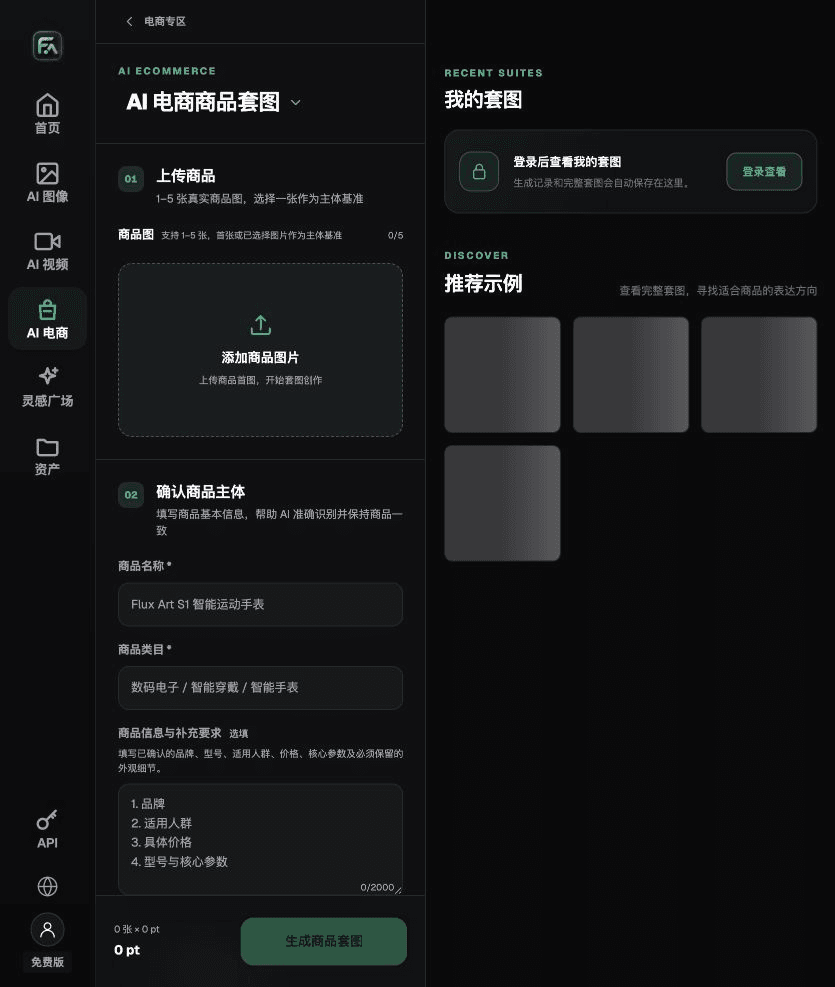
For phone accessory product images, complete the relevant steps in Product Suite: upload 1–5 real product images; enter the product name, category, factual details, and features that must be preserved; choose modules such as hero image, white-background main image, key selling points, usage scenario, and close-up details; then set the aspect ratio, resolution, and language.
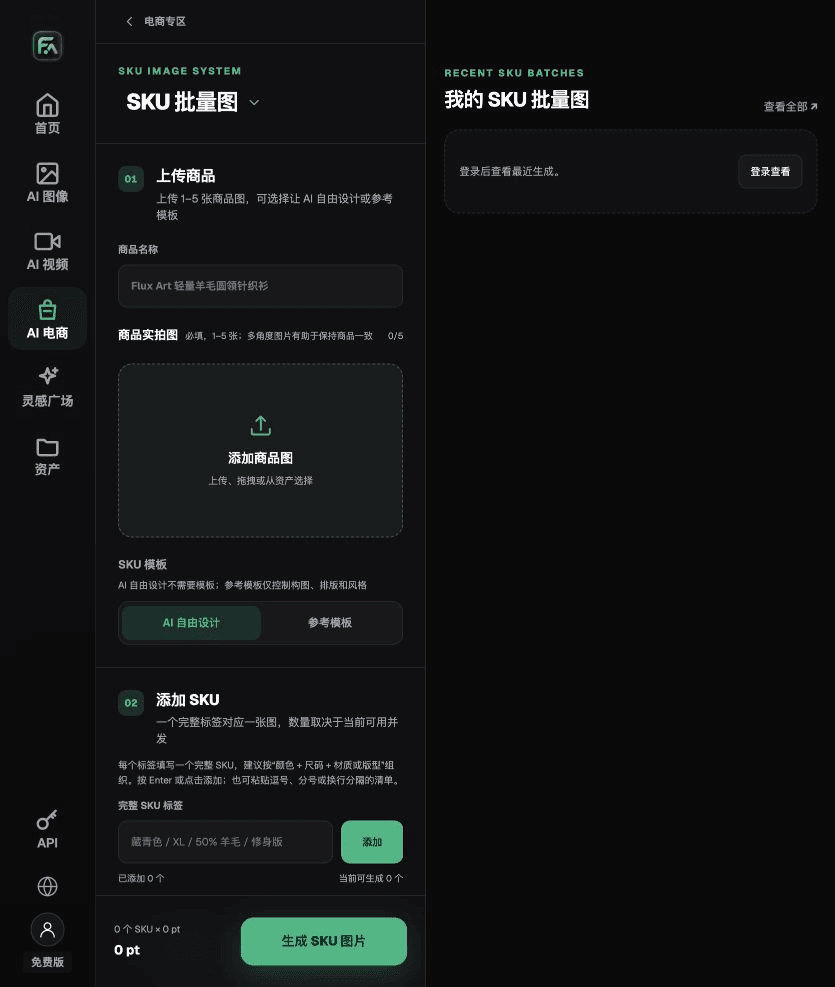
For phone accessory product images, complete the relevant steps in SKU Batch Images: upload 1–5 product images and add every SKU with a complete label such as “color + size + material/style.” Choose AI design or a reference template. Templates can constrain composition, layout, and style. Then split the work into batches based on current concurrency limits.
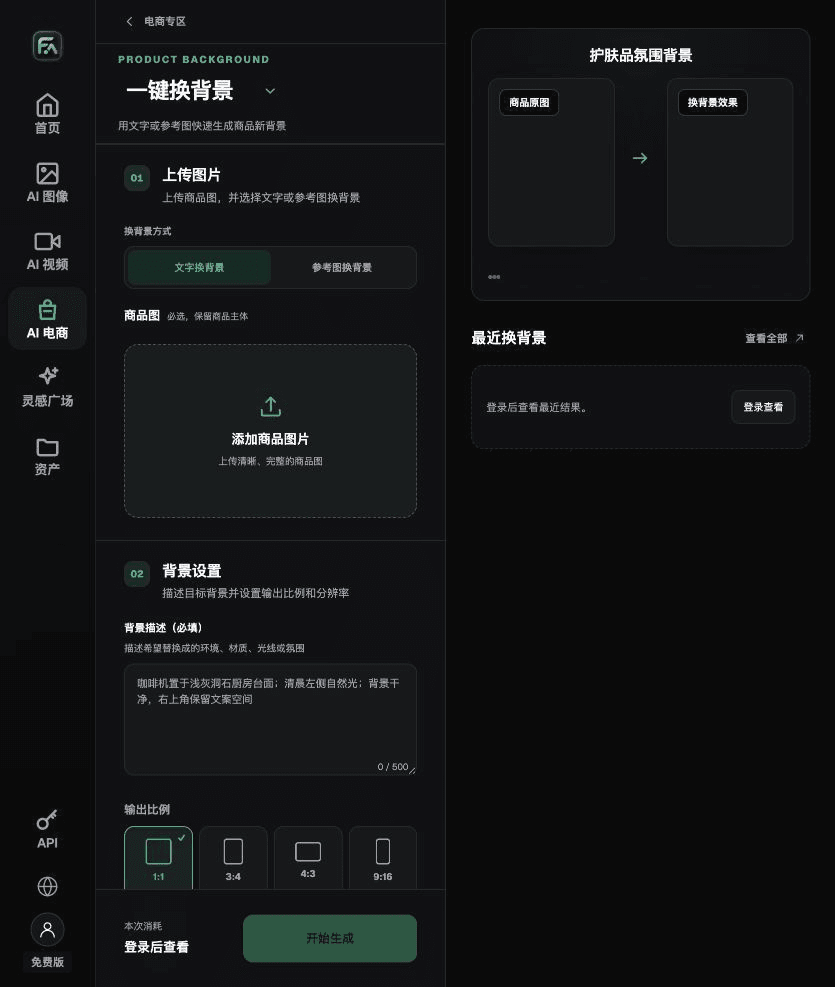
For phone accessory product images, complete the relevant steps in One-Click Background Replacement: upload a product image and describe the background in text, or upload a background reference image you have the right to use. Specify the setting, tabletop material, light direction, mood, and contact shadow, and list the product features that must not be changed.
For phone accessory product images, also check for misaligned openings, mislabeled models, unauthorized use of phone appearance, and color inconsistencies. Review this delivery checklist alongside the requirements in “Do Not Change Only the Text Between Compatible Models.”
A Prompt to Try for This Workflow
Create an ecommerce image for a phone accessory. Use the uploaded real product image as the subject, preserving the openings, button positions, camera ring, compatible model, material, and color. Generate only one product display image that matches the status checklist in this article and the current real reference. Target audience [fill in], placement [fill in], lighting [fill in]. Do not invent specifications, accessories, certifications, benefits, or structural features.
Check These Items Before Delivery
After creating the phone accessory product images, check the final files for misaligned openings, mislabeled models, unauthorized use of phone appearance, and color inconsistencies. If you continue with other modules or SKUs, reuse the approved subject evidence and validate each new task separately. Check the current page for submission consumption and available specifications.
From Production to Deliverable Files
After completing this workflow, archive the original product images, approved copy, selected tool or model, input instructions, candidate versions, and final exports together. Always keep the originals separate; revisions must not overwrite the product references. Link filenames to the style number or task ID so the operations team can find the corresponding sales version for each image. Before delivery, check resolution, cropping, captions, and links for each actual placement. Passing review for one large image does not mean all placements have passed.
Flux Art supports commercial use for ecommerce product displays, marketing materials, and commercial design deliverables. Handle input photos, people, trademarks, and product claims using the actual project materials. Verifying rights to input assets and product accuracy are delivery checks separate from the platform’s commercial use support.
Sources and Related Workflows
For model background, see OpenAI’s official introduction to ChatGPT Images 2.5, checked on 2026-09-25. Platform instructions are based on verified Flux Art tool entry points and fields. This article provides production steps and examples to carry out; it does not claim generation test results, pass rates, savings, or customer outcomes.
Find the relevant tools in the Flux Art AI Ecommerce workspace. For related tasks, read the product creation tutorial to learn more about production and review methods.
Related link in the original: related tool or source 1