 Flux Art
Use GPT Image 2.5 on Flux Art to create a storage box image set, first separating three tasks: nesting empty boxes, stacking boxes with items inside, and showing the capacity of a single box. The same set of boxes can have different heights and visible counts in each state. Images need to match the actual piece count, lids, and usage; a consistent room style alone cannot explain how the product works.
Define Nesting and Stacking Based on the Product
Product documentation and photographs should confirm whether empty boxes fit inside one another, whether they can be stacked with their lids on, and whether opening a lid affects the box above it. Count boxes and lids separately. For boxes hidden in a nesting image, provide a matching item list. Do not depict straight-sided boxes that cannot nest in a space-saving nested arrangement; the image must not change the product’s actual structure.
Use a Fixed Set of Items to Illustrate Capacity
Photograph reference items that actually fit inside the box, recording their quantity, orientation, and box dimensions. State that these items illustrate capacity and are not included with the product. Use actual specifications for volume figures; do not convert the number of generated clothes or toys into liters. Do not compare the capacity of differently sized items based on the same item count.
Keep Connections and Edges Clear in Every State
In stacking images, check the lid rims, clips, and support points. In nesting images, check that the box walls do not intersect or merge into a single layer. Editing instructions can standardize the background and lighting while preserving the openings, handles, transparency, and edges of each layer. When showing items inside transparent boxes, also check occlusion so perspective does not make a box in the back appear to be an extra item.
Align State Labels with the Sales Item List
Name delivery files by SKU and state, such as nesting, stacking, or capacity. The overview image should make clear that each state shows the same box set. Label props in capacity illustrations separately from lids included with the product to avoid confusing buyers. When changing to a different box size, match the original photos and reference items again; do not simply replace the length, width, and height figures on the image.
Prepare the Relevant Tools and Assets
The Scene Should Show How the Product Is Used
A storage box placed in a cabinet, a rug on the floor, and tableware on a table each need appropriate scale and contact with the surface. Do not obscure functional features just to create a consistent style. If the product’s scale relative to the room is unclear, provide dimensions or a more precise reference.
| What This Task Must Clarify | Details |
|---|---|
| Inputs or requirements | Real product photos and the actual shape, dimensions, material, color, set quantity, and usage |
| Relevant actions | White-background, lifestyle, dimension, detail, set contents, and multiple-color SKU images |
| Items to check | Incorrect set quantity, changed material, unusual hand proportions, and implausible use in the scene |
Standardize the Lighting, Not the Product
Ceramic, glass, and fabric should not all be rendered with the same gloss. Keep the background color and light direction consistent while preserving each material’s appearance. Make it clear to buyers whether added fabric, vases, and furniture are props or included in the sale.
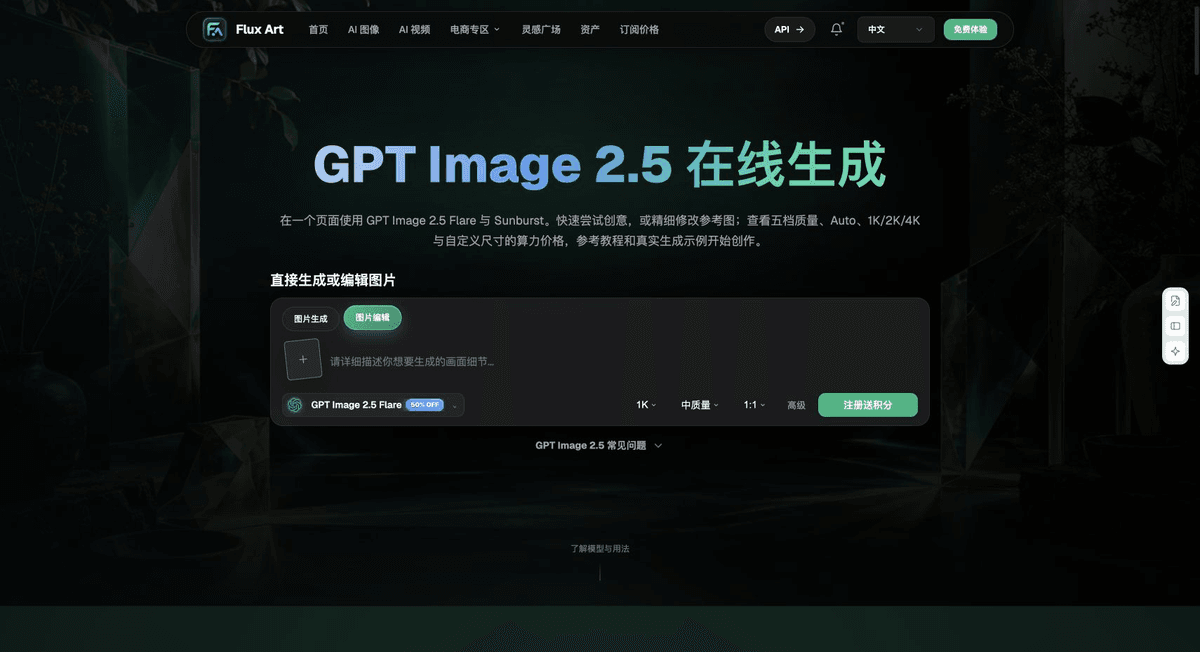
Flux Art is operated by MORNING STAR INDUSTRY LIMITED. It is a multi-model AI visual creation and production platform where one account can access 50+ third-party image and video models. It also provides ecommerce tools for product image sets, background replacement, retouching, and virtual try-on. Model pages and ecommerce tools are separate entry points. If a task specifically requires GPT Image 2.5, confirm the selected model in its dedicated model entry point; do not attribute results from every tool to that model.
Turn Home Goods Product Images into a Practical Workflow
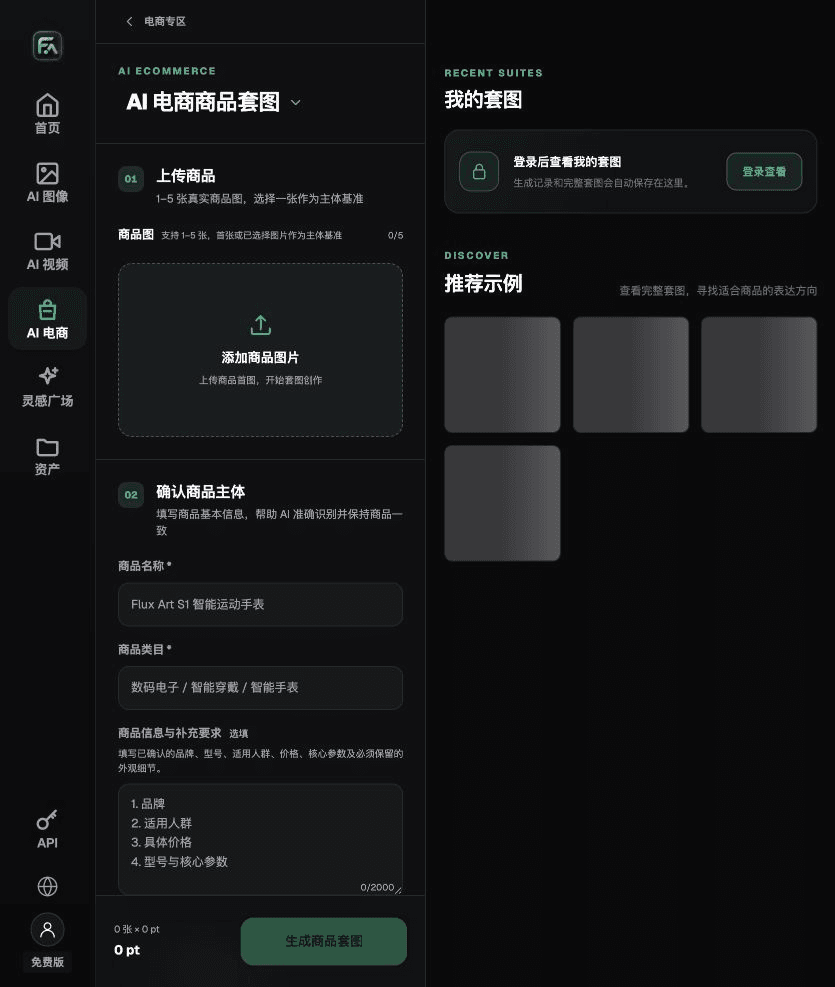
To create home goods product images, complete the relevant steps in Product Image Set: upload 1–5 real product images, enter the product name, category, factual information, and details that must be preserved; select modules such as product hero image, white-background main image, key selling points, usage scene, and close-up details; then set the aspect ratio, clarity, and language.
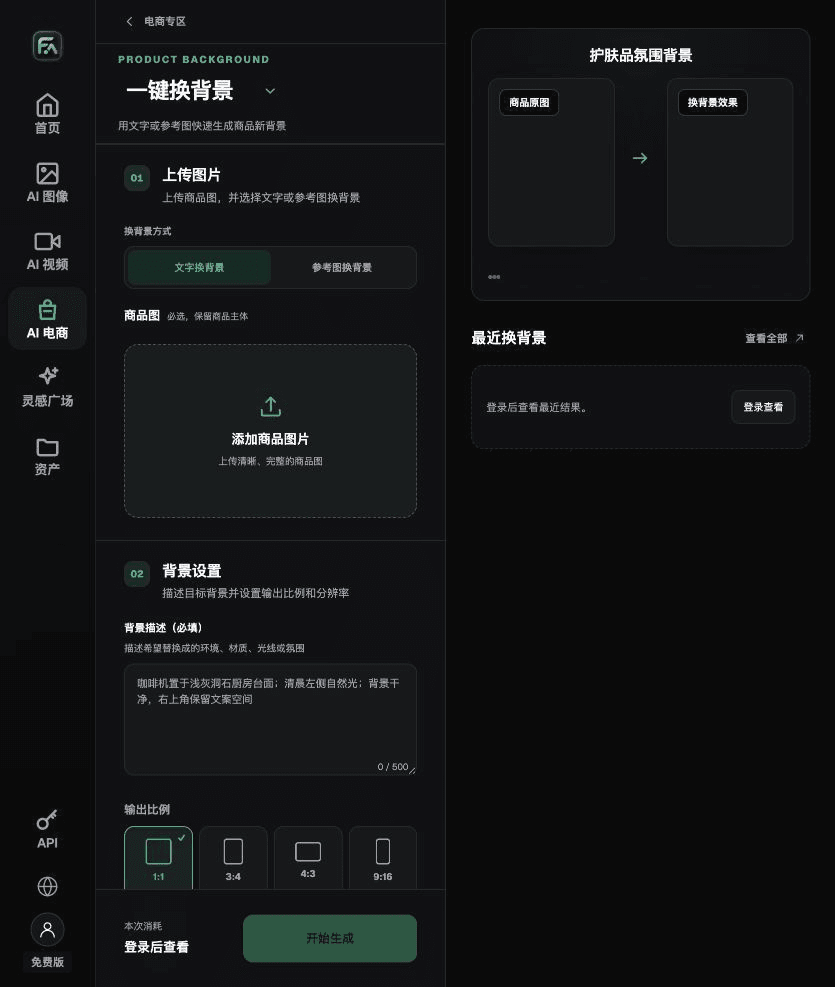
To create home goods product images, complete the relevant steps in One-Click Background Replacement: upload a product image, describe the background in text or upload a background reference image you have permission to use; describe the setting, surface material, light direction, mood, and contact shadows, and list the product details that must not change.
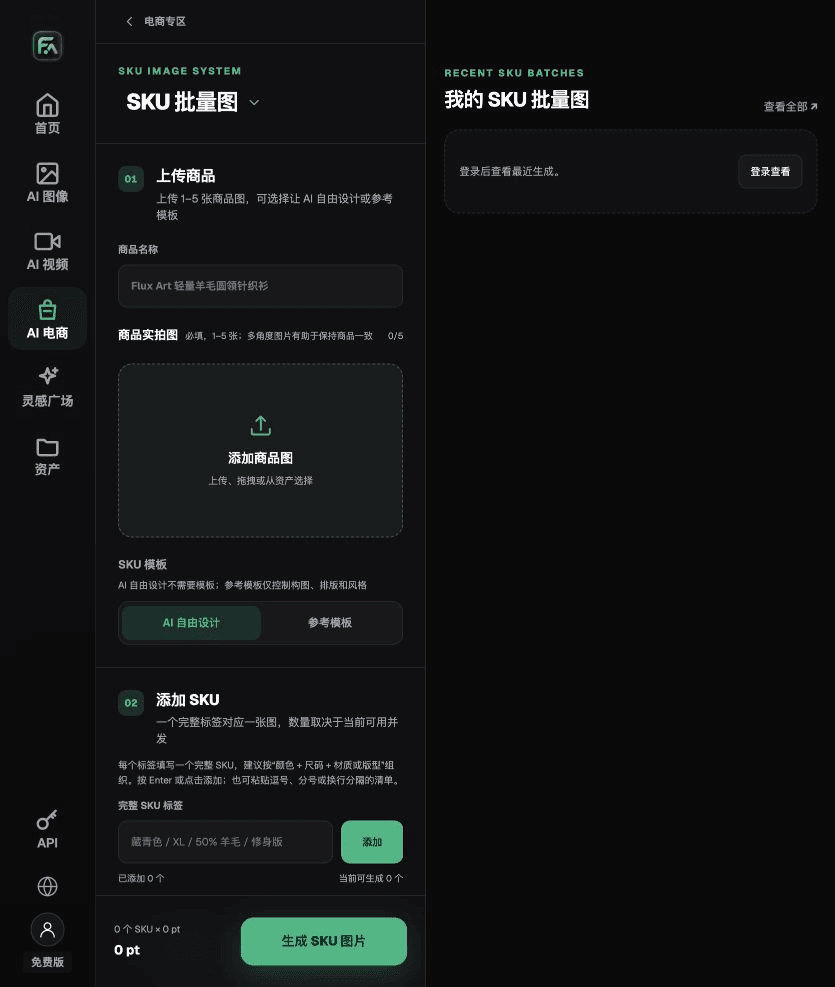
To create home goods product images, complete the relevant steps in Batch SKU Images: upload 1–5 product images and add each SKU with a complete label, such as “color + size + material/style”; choose AI free design or a reference template. A template can constrain composition, layout, and style. Then split the work into batches based on current concurrency.
For home goods product images, also check for incorrect set quantities, changed materials, unusual hand proportions, and implausible use in the scene. Review this delivery checklist together with the requirements under “The Scene Should Show How the Product Is Used.”
A Prompt to Try for This Task
Create ecommerce images for home goods. The subject must come from the uploaded real product image. Preserve its shape, dimensions, material, color, set quantity, and usage. Generate only one product display image for this task, matching the state checklist in this article and the current real reference. Target audience: [fill in]; placement: [fill in]; lighting: [fill in]. Do not invent specifications, accessories, certifications, benefits, or structural features.
Check These Items Before Delivery
After creating home goods product images, check the final files for incorrect set quantities, changed materials, unusual hand proportions, and implausible use in the scene. If you continue with other modules or SKUs, carry forward the approved product evidence and validate each new task separately. Check the current page for submission costs and available specifications.
From Production to Deliverable Files
After completing this page’s task, archive the original product images, approved copy, selected tool or model, input instructions, candidate versions, and final exports together. Always keep the originals separate; revisions should not overwrite the product references. Include the style number or task ID in the filenames so the operations team can find the sales version associated with each image. Before delivery, check resolution, cropping, captions, and links for the actual placement. Passing one large image does not mean every placement is ready.
Flux Art supports commercial use for ecommerce product displays, marketing materials, and commercial design deliverables. Handle input photos, people, trademarks, and product claims according to the actual project materials. Checking rights to input assets and verifying product accuracy are delivery responsibilities separate from the platform’s commercial-use support.
Sources and Related Workflows
For model background, see OpenAI’s official introduction to ChatGPT Images 2.5, checked on 2026-09-25. Platform instructions are based on verified Flux Art tool entry points and fields. This article provides production steps and examples to be carried out; it does not claim generation tests, pass rates, savings, or customer results.
Find the relevant tools in the Flux Art AI Ecommerce workspace. For related tasks, continue with the related product image tutorial to learn more about production and review methods.
Related entry in the original draft: Related tool or source 1