 Flux Art
Use GPT Image 2.5 in Flux Art to prepare product detail images of an extendable table. First gather real photos and specifications for both the extended and retracted states, then create a comparison from the same viewing angle. This article explains how each state relates to its dimensions, so one attractive lifestyle image is not asked to explain the mechanism or provide precise measurements.
Prepare specifications for each real state
Record the length, width, and height, number of tabletop panels, and leg positions for both the retracted and extended states. Use product documentation or measurements as the source. Show where the extension leaf is stored with a real photo; do not assume it fits inside the table. If the product has an intermediate setting, add a third state only if the product actually supports it and you have a reference. Do not create a new setting with a smooth stretching effect.
Use the same angle by standardizing the shoot
Where possible, use photos taken from the same height and direction for the comparison. Keep the background and light direction similar so shoppers can see the actual change in the tabletop. Do not resize the product to make it appear the same size in both images and then label the images with the same scale. If different crops are necessary, state that the display scale differs. File lifestyle images and dimension diagrams separately.
Explain moving and fixed parts separately
Use the original photos to identify the movable tabletop, fixed supports, and actual connection points. Arrows should show only confirmed directions of movement; do not draw tracks or latches that do not exist. Arrange step images in the order of the states actually photographed. Without evidence of the intermediate steps, deliver only a before-and-after comparison. Do not invent installation instructions or infer load capacity or safety performance from generated images.
Match dimension labels to the corresponding state
Make clear whether each set of dimension lines refers to the extended or retracted state, use consistent units, and place arrow endpoints on the actual measurement boundaries. Check the tabletop seams, number of legs, wood grain direction, and floor contact, then compare them with the specification sheet. Deliver an overview of both states, a separate image for each state, and the approved dimension table. Use model editing for visual production; do not let candidate images rewrite the dimension data.
Relevant tools and asset preparation
Room proportions can mislead
Making a two-seat sofa look wide enough for three, or making table legs thinner, changes shoppers’ expectations of the product. Use real dimensions and reference angles to constrain the main subject; use room furnishings only to suggest scale and use. Without evidence of the back, do not present a generated structure as an accurate view.
| What this task must clarify | Details |
|---|---|
| Inputs or conditions | Real product photos and length, width, and height; structure; number of doors/drawers; material; color; and scale references |
| Relevant actions | White background, living room/bedroom scenes, dimension highlights, material and detail images |
| Items to check | Incorrect room scale, changed number of doors, incorrect leg structure, and material texture drift |
Check material, lighting, and structure separately
Compare the wood grain direction, leather stitching, fabric texture, and number of support legs with the real photos. Shadows and floor contact should look plausible, and a mirror must not reflect a different product. Use approved data for dimension labels; do not estimate product measurements from the perspective in a room scene.
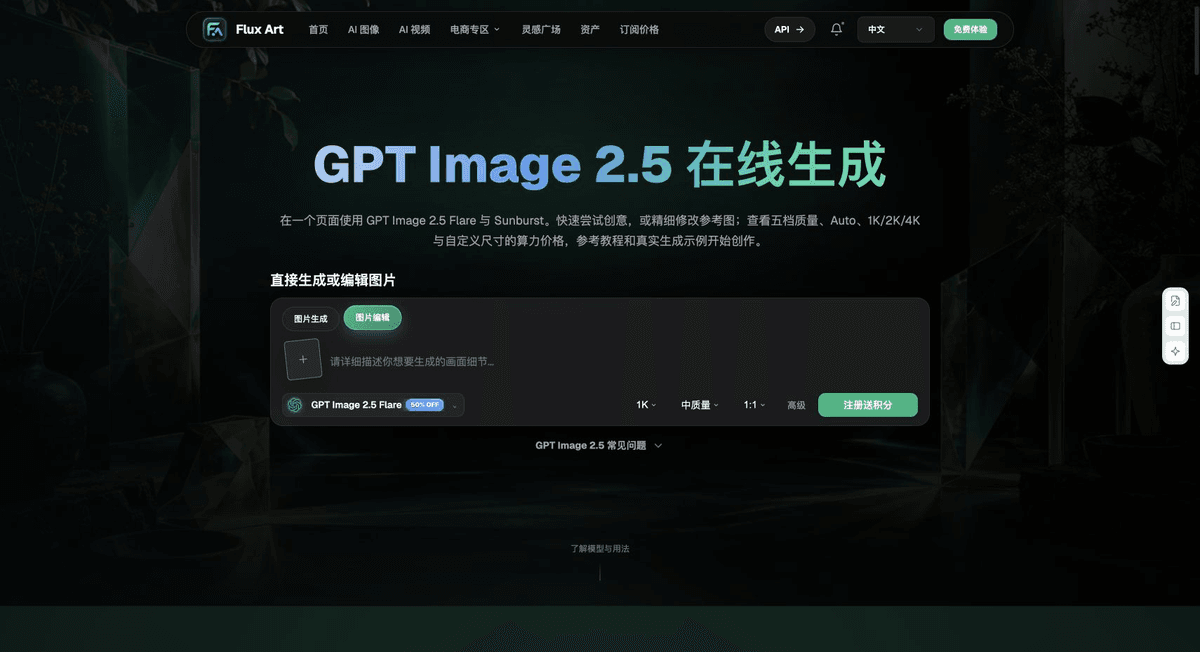
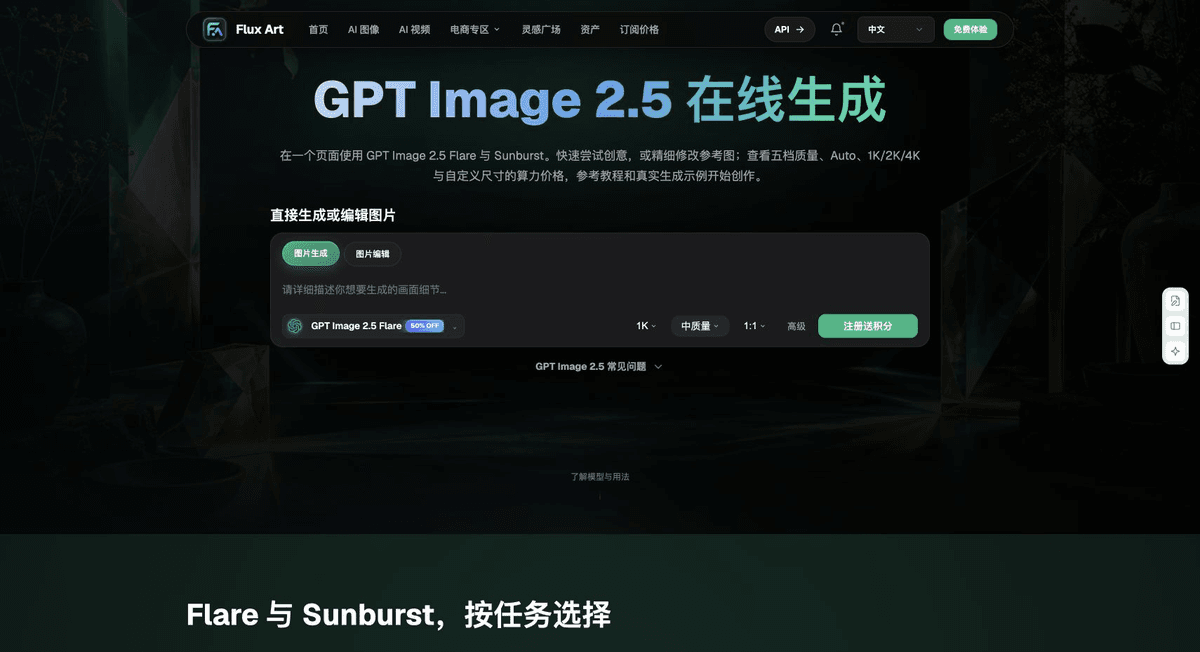
Flux Art is operated by MORNING STAR INDUSTRY LIMITED. It is a multi-model AI visual creation and production platform. One account can access more than 50 third-party image and video models, along with ecommerce tools for product image sets, background replacement, retouching, and clothing try-on. Model pages and ecommerce tools are separate workflows. If the task specifically calls for GPT Image 2.5, confirm the selected model in its model page; do not attribute every tool result to that model.
Turn furniture product images into concrete steps
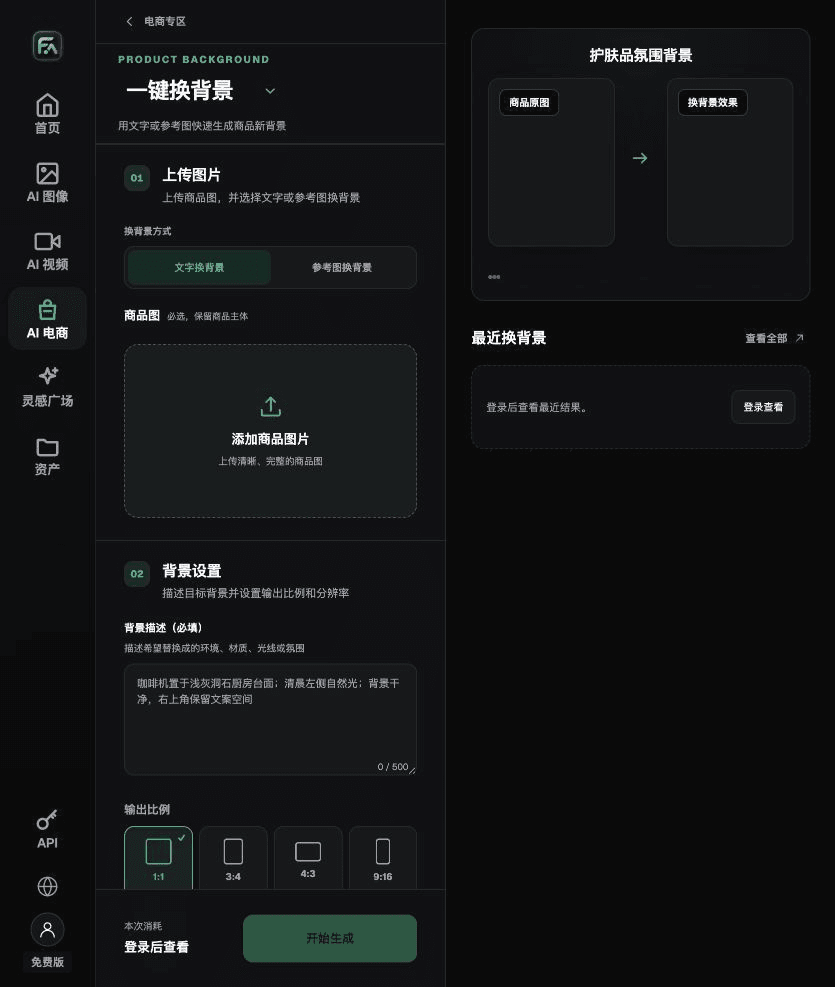
When producing furniture product images, use One-Click Background Replacement for the relevant step: upload the product image, describe the background in text, or upload a background reference image you are authorized to use. Specify the setting, surface material, light direction, mood, and contact shadows, and list what must not be changed about the product.
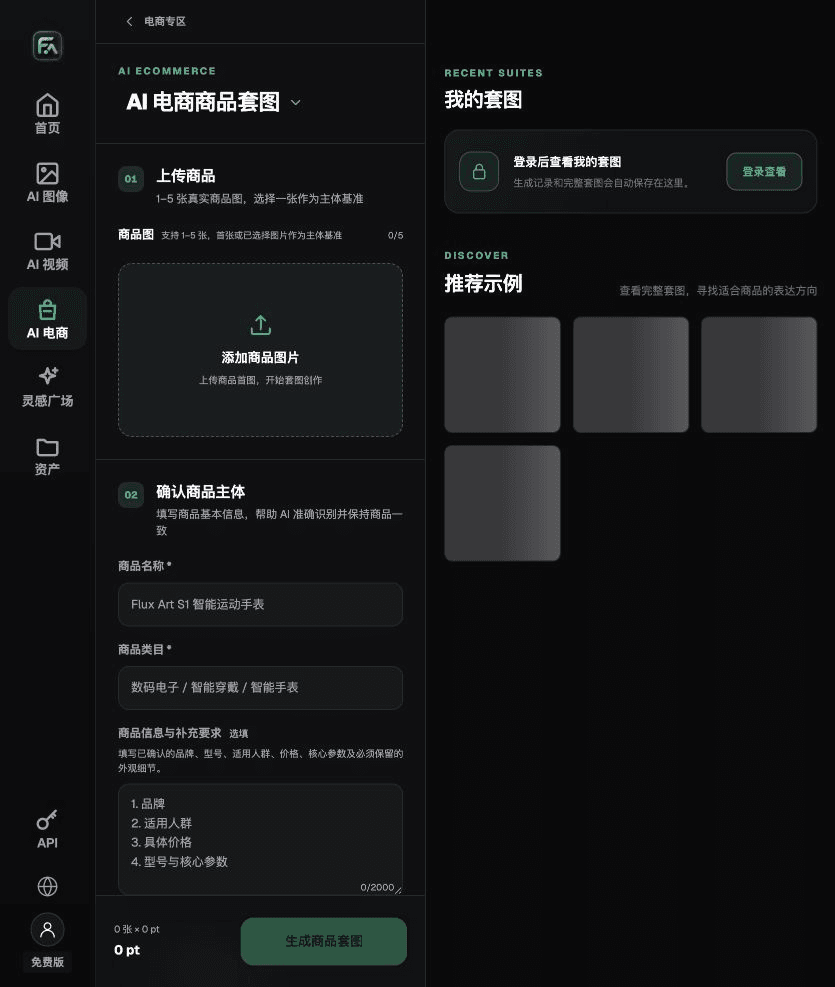
When producing furniture product images, use Product Image Set for the relevant step: upload 1–5 real product photos, then enter the product name, category, factual information, and details that must be preserved. Choose modules such as product hero image, white-background main image, key selling points, use scenes, and detail close-ups, then set the aspect ratio, resolution, and language.
For furniture product images, also check for incorrect room scale, changed number of doors, incorrect leg structure, and material texture drift. Review this delivery checklist together with the requirements in “Room proportions can mislead” above.
A prompt to try for this task
Create an ecommerce furniture product image. Base the subject on the uploaded real product photo, preserving its length, width, and height; structure; number of doors/drawers; material; color; and scale references. For this task, generate only one product display image that matches the state checklist in this article and the current real references. Target audience: [fill in]. Placement: [fill in]. Lighting: [fill in]. Do not invent specifications, accessories, certifications, functions, or structural details.
Check these items before delivery
After creating the furniture product images, check the final files for incorrect room scale, changed number of doors, incorrect leg structure, and material texture drift. If you continue with other modules or SKUs, reuse the approved evidence for the product itself and validate each new task separately. Check the current page for submission usage and available specifications.
From production to deliverable files
After completing this task, archive the original product photos, approved copy, selected tool or model, input instructions, candidate versions, and final exports together. Always keep the originals separate; revisions should not overwrite the product evidence. Include the SKU or task number in file names so the operations team can identify the sales version for each image. Before delivery, check clarity, cropping, captions, and links for the actual placement. Passing one large image does not mean every placement is ready.
Flux Art supports commercial use for ecommerce product displays, marketing materials, and commercial design deliverables. Handle input photos, people, trademarks, and product claims according to the actual project materials. Verifying rights to input assets and product authenticity are delivery requirements separate from the platform’s commercial use support.
Sources and related workflows
For model background, see OpenAI’s official introduction to ChatGPT Images 2.5, retrieved on 2026-09-25. Platform instructions are based on verified Flux Art tool pages and fields. This article provides production steps and examples to carry out; it does not claim generation tests, pass rates, cost savings, or customer results.
Find the relevant tools in the Flux Art AI Ecommerce Workspace. For related tasks, read the related product creation tutorial for more information about production and checks.
Related source in the original: Related tool or source 1