 Flux Art
When planning a set of dress detail images with GPT Image 2.5, first make a factual status sheet showing whether the belt is included, whether it can be removed, and how the straps adjust. Then use Flux Art to create separate wearing and detail views. The deliverable is a set of images explaining detachable components, not the same dress in a few arbitrary poses. Buckles, attachment points, and fabric contours must all match the original photos.
Start with a component and status sheet
Assign separate IDs to the dress, belt, straps, and fasteners. For each item, record whether it is included or sold separately, fixed or detachable, and which reference photos apply. If the belt is only a styling prop, label it separately in the image and leave it out of the package contents list. If the straps cannot be removed, show only their actual adjustment states; do not invent removal steps. The operations team creates this sheet. It is not a platform feature that automatically identifies product accessories.
Make each of the three images answer a buyer question
The wearing image answers what the full dress silhouette looks like; the component image shows what is included; and the close-up of the attachment point shows how the components connect. First confirm these three purposes using original photos of the same style, then keep the background and lighting consistent. In the wearing image, keep hair and arms from covering the straps. In detail images, do not let decorations obscure the belt buckle. Packing components, a model, and explanatory text into one image can make the actual connections harder to see.
Show only adjustment states supported by references
Side-by-side strap length comparisons should be based on photos of the actual adjustment range, and any labeled measurements must come from measured product data. An editing instruction could read: keep the dress and strap attachment points unchanged, clean up only the background, and show the two confirmed adjustment states separately according to the references. If there are no side or back photos, take them first; do not infer back fasteners from a front view. Check arrows and labels separately to make sure each arrow points to the right connection point.
Review deliverables by component state, not just the model
Use the status sheet to check each image for the presence of the belt, the number of buckles, strap attachment positions, and the waist silhouette. Then check that the images in the set do not contradict one another. Name the files style-number_wearing, style-number_components, and style-number_connection-detail, and give the operations team the included-items information as well. If an adjustment image fails review, revise only that state without replacing the approved dress reference.
Prepare the relevant tools and materials
A flowing look must not change the actual silhouette
Hemlines, pleats, and cuffs can be beautified during generation. Turning a straight-cut dress into a fitted-waist dress changes the product, even if the result looks better. First confirm the front silhouette and fabric, then use a simple model pose to check the waistline, shoulder line, and pattern placement.
| What to clarify for this task | Details |
|---|---|
| Inputs or requirements | Photos of the actual product and its neckline, sleeve length, waistline, hemline, pattern, and fabric drape |
| Relevant actions | White-background image sets, model wearing, pose variations, selling-point and detail images |
| Items to check | Broken patterns, narrowed silhouette, changes in button or pleat count |
Check details against the specific style
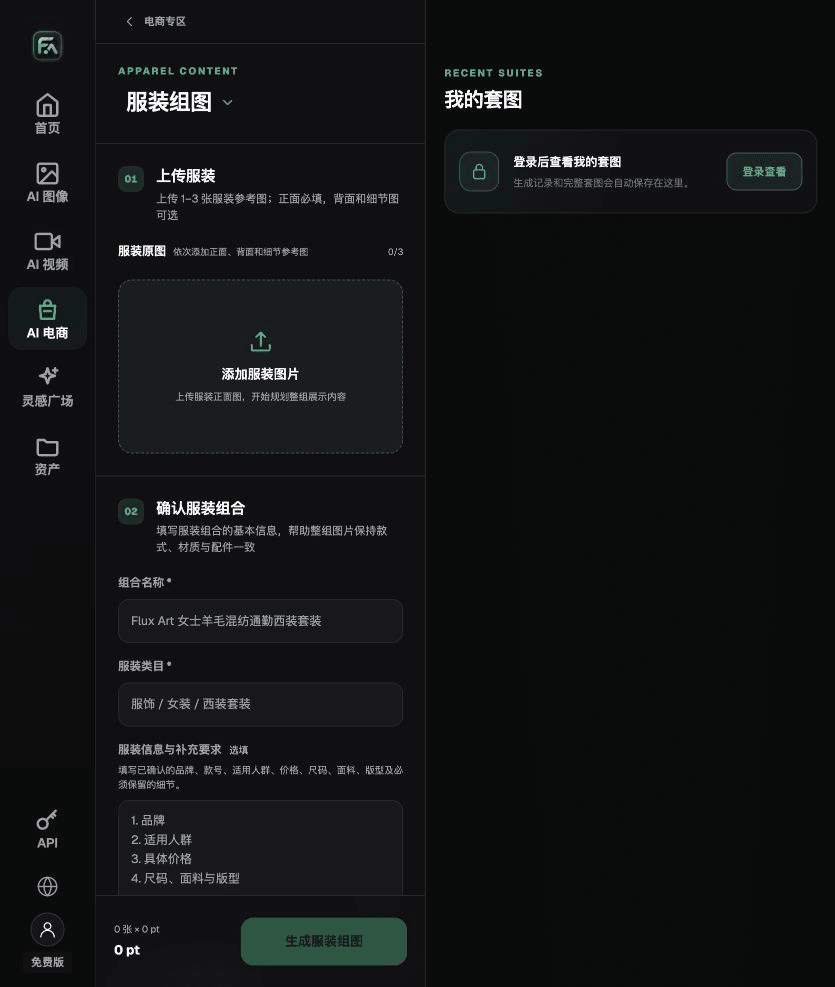
Use clear references for lace, prints, buttons, and zippers. When uploading a clothing image set, the current entry point requires a front view; back or detail views are optional supporting images. Do not present a generated back view as fact for an area that was not photographed. Continue to use measured data for sizing and fit.
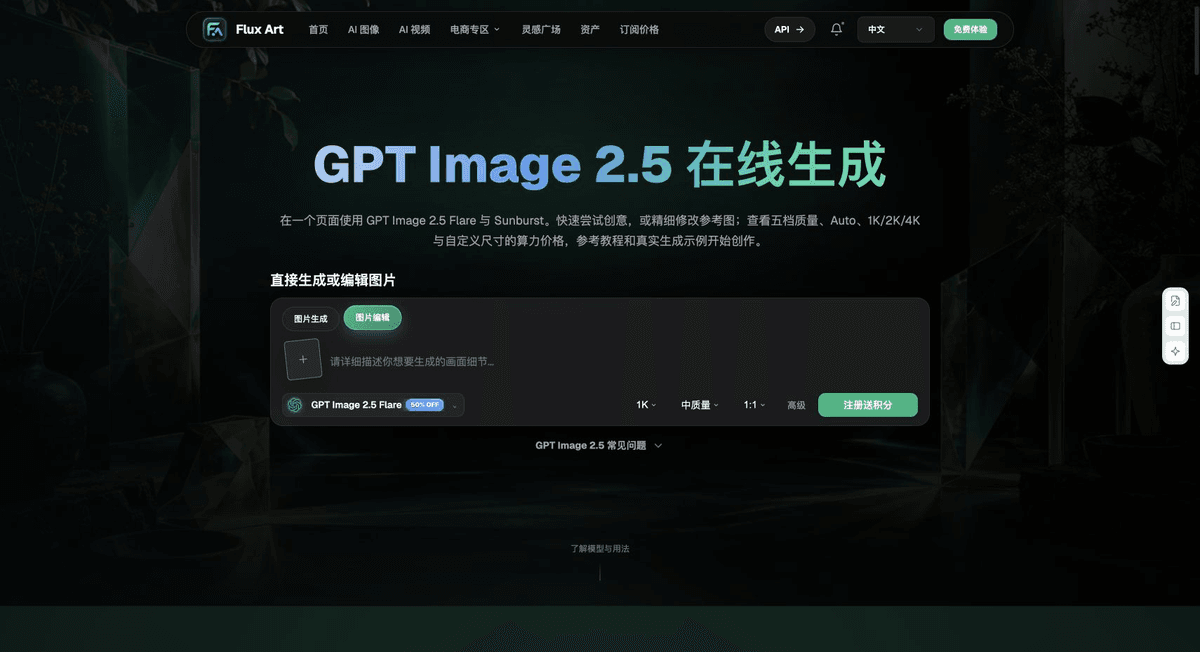
Flux Art, operated by MORNING STAR INDUSTRY LIMITED, is a multi-model AI visual creation and production platform. One account can access 50+ third-party image and video models, along with ecommerce tools for product image sets, background replacement, retouching, and virtual try-on. Model pages and ecommerce tools are separate entry points. If a task specifically requires GPT Image 2.5, confirm the selected model in its corresponding model entry point; do not attribute the results of every tool to that model.
Turn womenswear product images into a practical workflow
To make womenswear product images, complete the relevant steps in Clothing Image Set: upload 1–3 clothing images. A front view is required; back or detail views can be added as references. Enter details to preserve, such as brand, style number, fabric, cut, size, and pattern, then choose a white-background, 3D, mannequin, or marketing image direction.
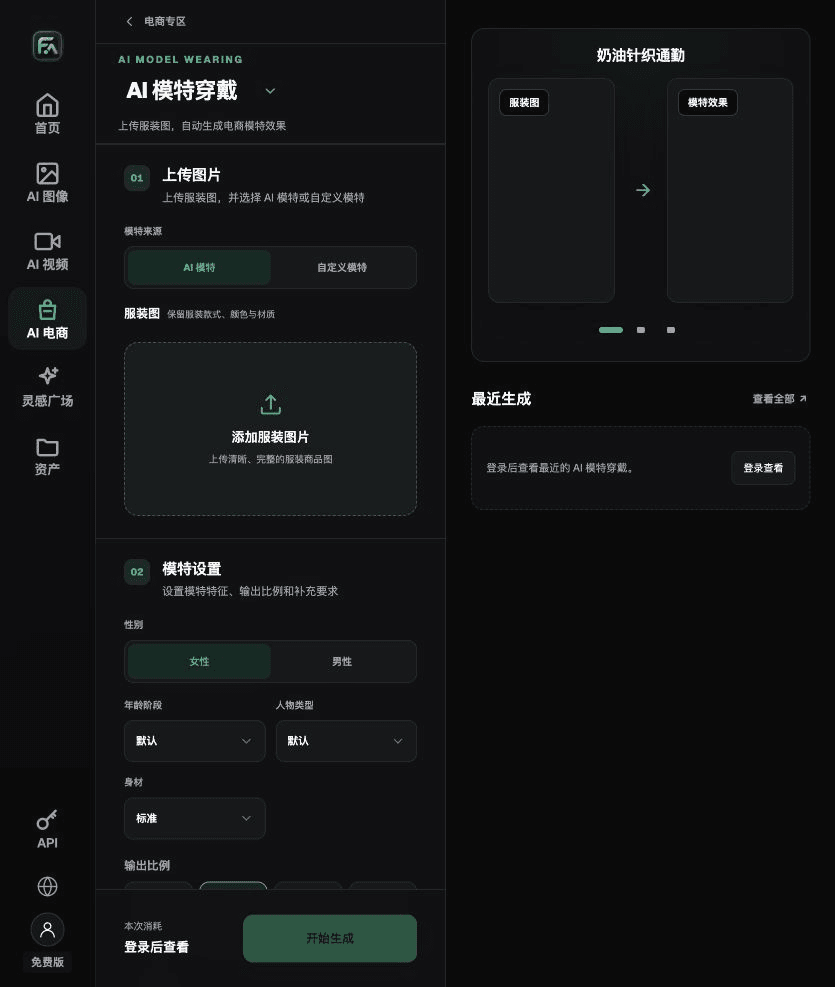
To make womenswear product images, complete the relevant steps in Model Try-On: upload a clothing image, choose an AI model or a custom model, and specify gender, age, appearance, and body type. Set the pose, scene, and lighting, and ask to preserve the garment style, color, fabric, and key patterns.
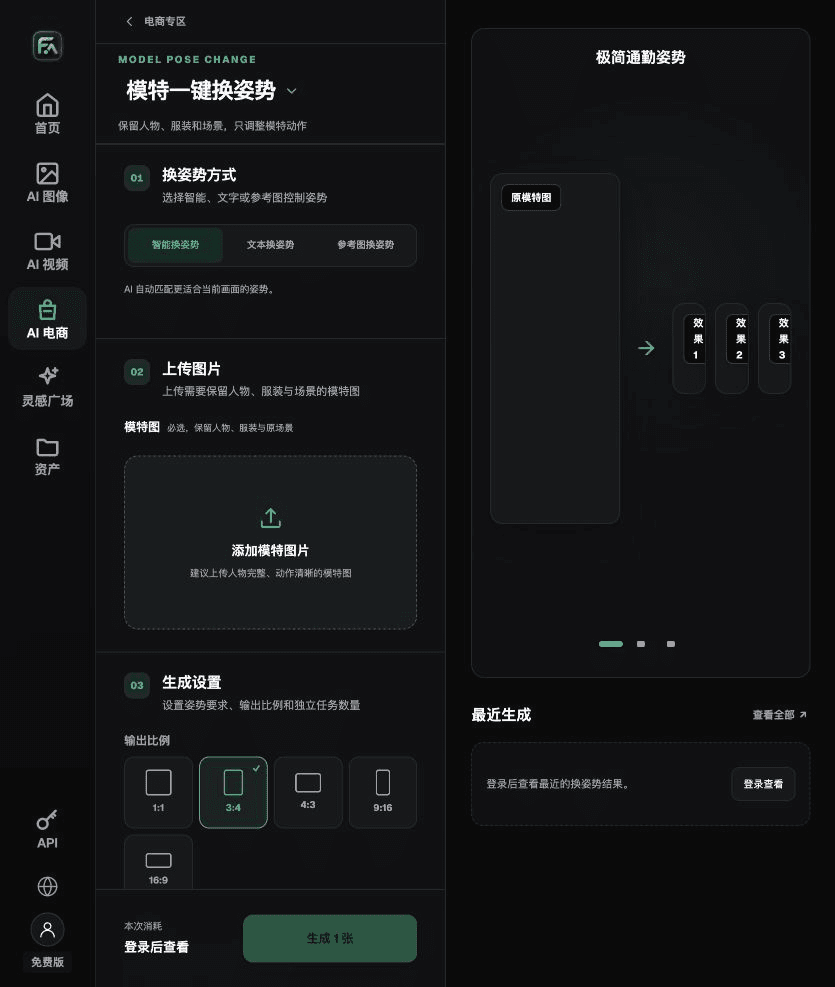
To make womenswear product images, complete the relevant steps in One-Click Model Pose Change: upload a full model image, then choose an intelligent, text-based, or reference-image pose. State what should be preserved about the person, clothing, and scene. You can generate 1–4 separate pose tasks.
For womenswear product images, also check for broken patterns, narrowed silhouettes, and changes in button or pleat count. Review these items together with the requirement above that a flowing look must not change the actual silhouette.
A prompt to try for this task
Create a womenswear ecommerce image. The subject must come from the actual product image I upload. Preserve the neckline, sleeve length, waistline, hemline, pattern, and fabric drape. Generate just one product display image that matches this article’s status checklist and the current true-to-product references. Target audience [fill in], placement [fill in], lighting [fill in]. Do not invent specifications, accessories, certifications, benefits, or construction details.
Check these items again before delivery
After creating womenswear product images, check the final files for broken patterns, narrowed silhouettes, and changes in button or pleat count. For other modules or SKUs, carry forward the approved product evidence, then validate each new task separately. Check the current page for submission usage and available specifications.
From production to delivery-ready files
After completing this page’s task, archive the original product images, approved text, selected tool or model, input instructions, candidate versions, and final exports together. Keep the originals separate at all times; revisions must not replace the product evidence. Include the style number or task ID in each filename so the operations team can find the sales version corresponding to each image. Before delivery, check clarity, cropping, captions, and links for the actual placement. Passing review on one large image does not mean every placement has passed.
Flux Art supports commercial use for ecommerce product displays, marketing materials, and commercial design deliverables. Handle input photos, people, trademarks, and product claims using the actual project materials. Verifying rights to the input materials and checking product authenticity are separate delivery tasks from the platform’s commercial-use support.
Sources and related workflows
For model background, see OpenAI’s official introduction to ChatGPT Images 2.5, retrieved on 2026-09-25. Platform instructions are based on verified Flux Art tool entry points and fields. This article provides production steps and examples to carry out; it does not claim generation tests, pass rates, savings, or customer results.
You can find the relevant tools in the Flux Art AI Ecommerce Workspace. For related tasks, read the related product creation tutorial for more on production and review methods.
Related entry in the original: related tool or source 1