 Flux Art
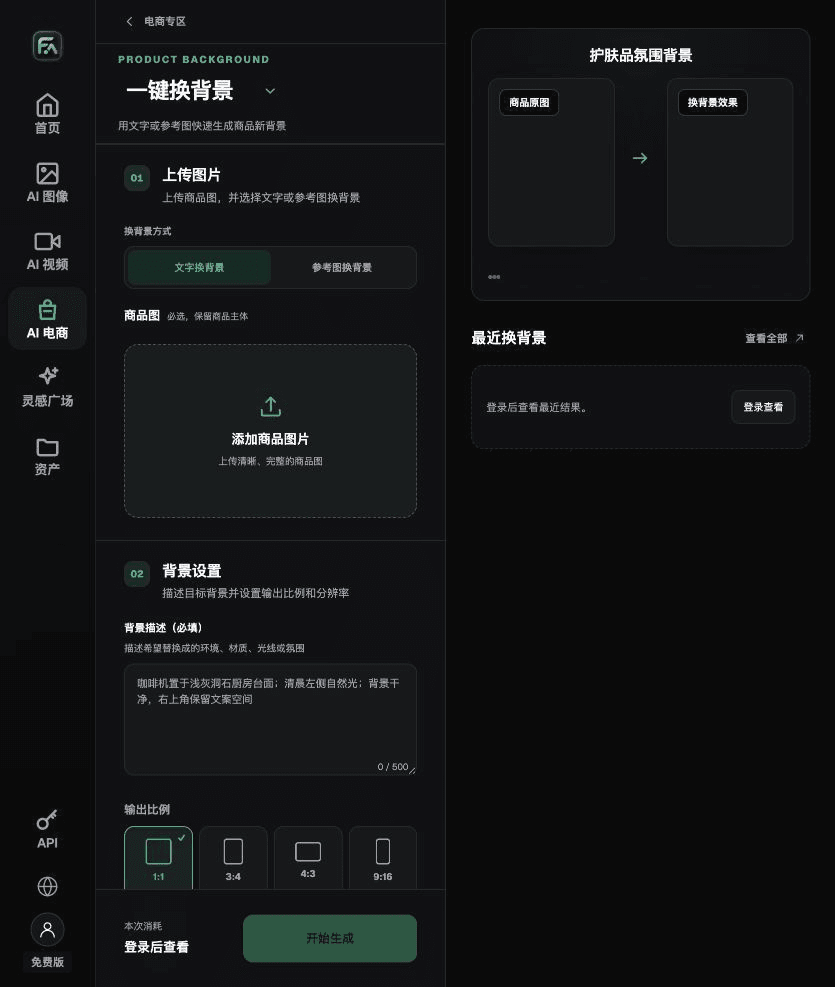
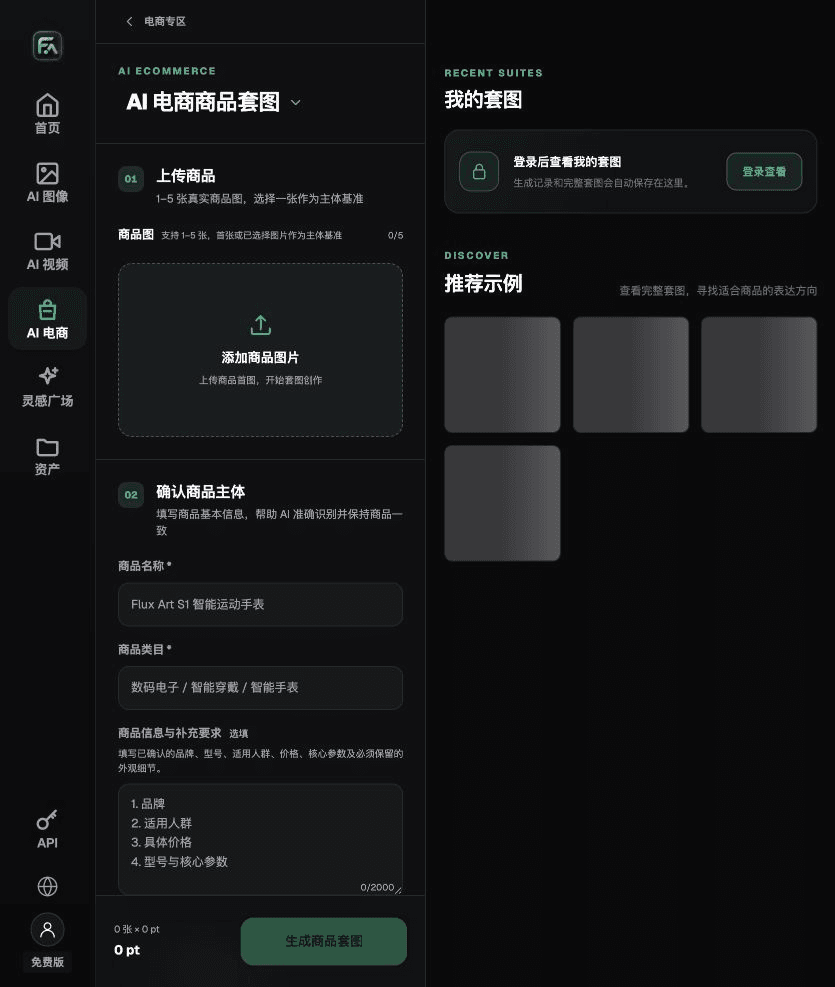
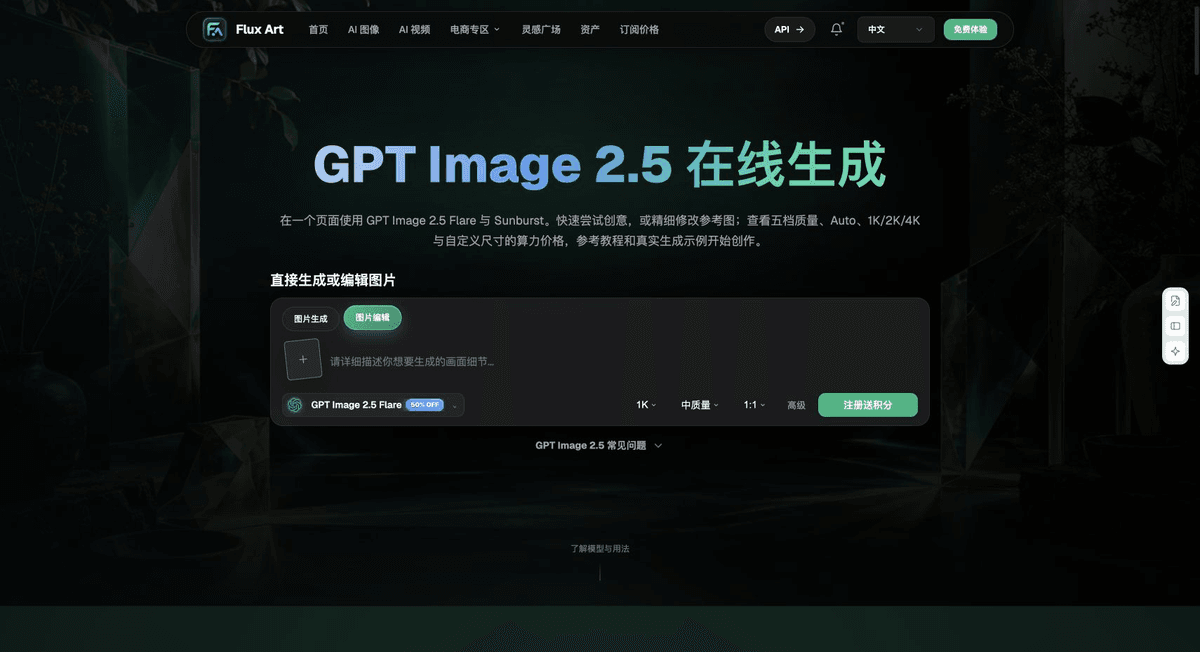
For restaurant combo images, first distinguish included items, choose-one options, and add-ons, then organize photos of the actual dishes. Flux Art’s product image suite can create combo displays, GPT Image 2.5 editing can help compare compositions, and one-click background replacement can give the tabletop a consistent look. Bowls, plates, drinks, and serving counts shown in a combo must match what is actually sold; do not display every optional item as included by default.
List the Combo Items Before Setting the Table
Use the current store menu to list the fixed main dish, fixed sides, optional drinks, and add-ons. For each item, record its quantity, serving unit, serving ware, and approved image ID. If the combo lets customers choose one of two items, record that choice relationship instead of simply listing two photos. Maintain this list in your team’s own spreadsheet; do not assume that selecting modules in the product image suite means it automatically understands every store sales rule.
Make the Fixed Combo the Main Image and Give Options Their Own Space
Use real serving photos to create the main image for the fixed combo, keeping the number and relative positions of the bowls and plates accurate. Show optional drinks in separate cards alongside it, with the selection terms clearly stated; keep add-ons visually distinct from the default combo. The product image suite creates candidate modules, while the operations team checks that they match the items for sale. Do not rely on one lavish table scene to communicate every rule.
Keep Serving Sizes and Containers True to Life
The same portion of fried rice can look larger when placed on a smaller plate. Adding pieces of meat or rearranging sides can also change what customers expect. Include the current serving container in the reference, and preserve the relationship between the food and container during editing. Use one-click background replacement only when you want to standardize the store tabletop. If the ingredients are unclear, take another photo instead of filling in an imagined recipe.
Review the Main Image, Option Images, and Detail Copy Separately
Review the fixed-combo main image, each choice card, and its accompanying copy side by side. Use approved text for menu prices, store details, service times, and dates; do not add discounts automatically. The choose-one and add-on terms must remain visible after mobile cropping. If a side dish is temporarily replaced, update its module and check every combo version. Do not just change the dish name while keeping an image of the old ingredient.
Tools and Reference Materials
Menu Images Must Match What Is Served
Do not automatically turn the meat portion, sides, or container in a rice bowl into a deluxe platter. Start with real serving photos and quantity notes, and change only the background or lighting. You can explore an atmosphere for an advertising concept, but do not present it as what customers actually receive.
| What This Task Must Clarify | Details |
|---|---|
| Inputs or conditions | Real product photos and accurate recipes, portions, serving ware, prices, store, and promotion details |
| Relevant actions | Menu hero image, combo scene, dish details, and promotion modules |
| Items to check | Differences between the image and actual dishes, overstated portions, incorrect prices or dates, and perceived hygiene |
Flux Art is operated by MORNING STAR INDUSTRY LIMITED. It is a multi-model AI visual creation and production platform. One account can access 50+ third-party image and video models, along with e-commerce tools for product image suites, background replacement, retouching, and virtual try-on. Model pages and e-commerce tools are separate workflows. If a task specifically requires GPT Image 2.5, confirm the selected model in its dedicated model interface; do not attribute results from every tool to that model.
Images Cannot Prove Hygiene, Price, or Origin
A clean table cannot prove food safety, and a farm background cannot prove where ingredients came from. Menu copy, promotional prices, and allergen information must come from store-approved materials. After generation, check the food structure and how chopsticks and serving ware meet the food; avoid impossible arrangements.
Turn Restaurant Product Images into a Practical Workflow
For restaurant product images, use One-Click Background Replacement for the relevant step: upload the product image, describe the background in text, or upload a background reference image you have permission to use. Specify the setting, tabletop material, lighting direction, mood, and contact shadows, and list the product details that must not change.
For restaurant product images, use the Product Image Suite for the relevant step: upload 1–5 real product photos, then enter the product name, category, factual details, and features that must be preserved. Select modules such as product hero image, white-background main image, key selling points, usage scene, and close-up details; then set the aspect ratio, resolution, and language.
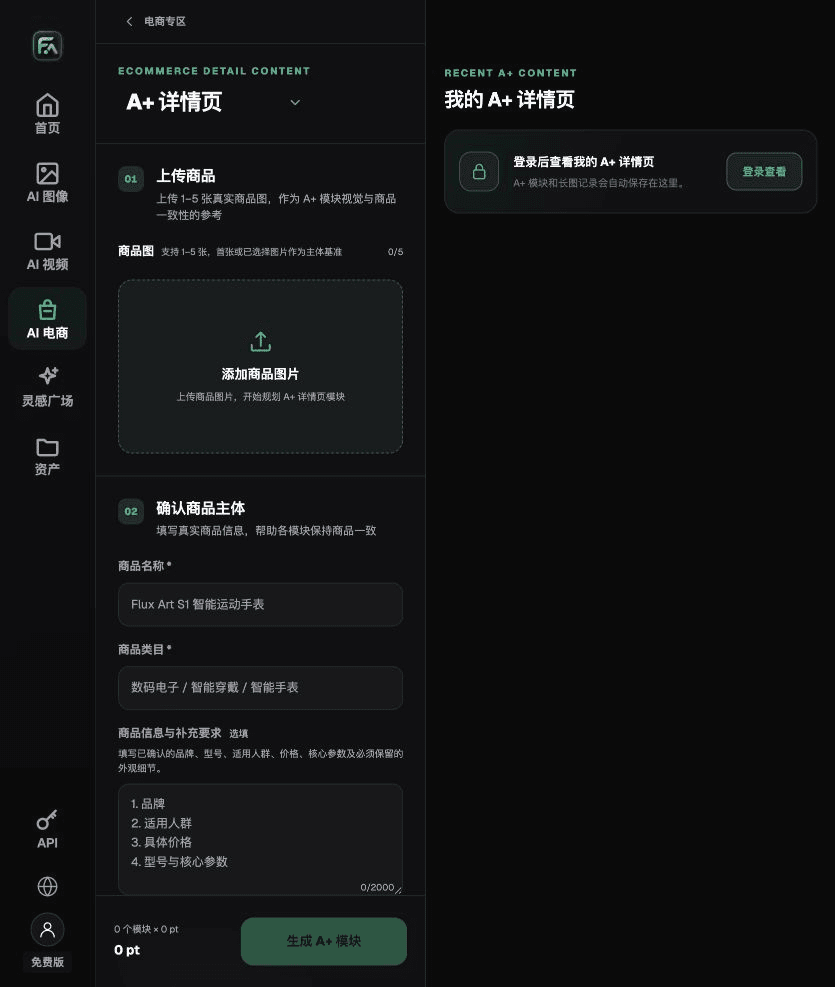
For restaurant product images, use A+ Content for the relevant step: upload 1–5 product photos or consistency reference images, then enter reviewed product facts and selling points. Select the A+ content modules and output specifications you need, then check each block’s heading, specifications, selling points, and images.
For restaurant product images, also check for differences between the dishes and what is served, overstated portions, incorrect prices or dates, and perceived hygiene. Review this delivery checklist together with the requirements in “Menu Images Must Match What Is Served” above.
A Prompt to Try for This Task
Create e-commerce images for restaurant dishes. The subject must come from the uploaded real product image. Preserve the actual recipe, portion, serving ware, price, store, and promotion details. Generate only this module: a fixed-combo main image or a separate optional-dish card. Target audience: [fill in]. Placement: [fill in]. Lighting: [fill in]. Do not invent specifications, accessories, certifications, effects, or structures.
Review These Items Before Delivery
After creating restaurant product images, check the final files for differences between the dishes and what is served, overstated portions, incorrect prices or dates, and perceived hygiene. If you create more modules or SKUs, carry forward the approved evidence for the subject and validate each new task separately. Check the current page for submission credit usage and available specifications.
From Production to Delivery-Ready Files
After completing this page’s task, archive the original product photos, approved copy, selected tool or model, input instructions, candidate versions, and final exports together. Keep the originals separate; revisions must not overwrite the evidence for the product. Include the SKU or task ID in the file names so the operations team can identify the sales version for each image. Before delivery, check resolution, cropping, captions, and links for the actual placement. Approval of one large image does not mean every placement is approved.
Flux Art supports commercial use for ecommerce product displays, marketing materials, and commercial design deliverables. Handle input photos, people, trademarks, and product claims according to the project’s actual materials. Checking input rights and product accuracy is a separate delivery task, not a qualification of the platform’s commercial-use support.
Sources and Related Workflows
For model background, see OpenAI’s official introduction to ChatGPT Images 2.5, retrieved on 2026-09-25. Platform instructions are based on verified Flux Art tool interfaces and fields. This article provides production steps and examples to execute; it does not claim generation tests, success rates, cost savings, or customer results.
Find the relevant tools in the Flux Art AI E-commerce Workspace. For a related task, read How Can AI Retouch Restaurant Menu Dish Photos to Look More Appetizing? for additional production guidance.
Explore more features on the Flux Art website.