 Flux Art
Flat-lay, mannequin, and on-model images of a men’s shirt can be produced as three separate tasks and linked by the same style number. Flux Art’s Clothing Suite handles white-background and mannequin views, while Model Wearing produces on-model candidates. When you need to specify GPT Image 2.5, open the model page to start the editing task. Each image serves a different purpose; don’t treat the flat-lay outline as the shirt’s actual fit when worn.
Give Each View a Job, Not a Similar Cover
The flat lay shows the shirt’s original collar, placket, and hem. The mannequin image presents the garment’s three-dimensional shape, while the on-model image shows styling and how it looks when worn. Prepare original front and back flat-lay photos, plus close-ups of the cuffs and buttons, and record the style and color numbers in the file notes. Use these real references for all three views; don’t rely on the first generated image as the sole product reference for later tasks.
After the Flat Lay Passes Review, Set Up the Mannequin Task Separately
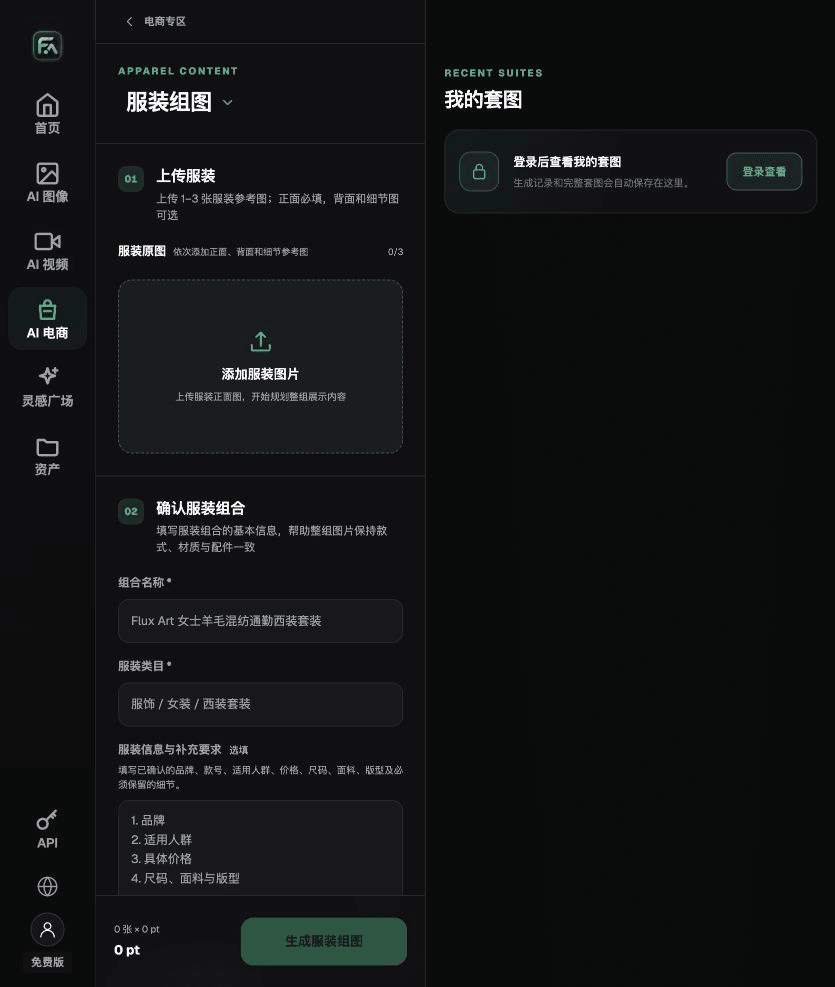
In Clothing Suite, enter the fabric, cut, and details to preserve. First create a clean white-background view, then select a mannequin or three-dimensional view as a separate task. For the mannequin image, check the collar opening, sleeves, shoulder line, and hem. The empty area where the body would be should not be filled with a new inner layer. Buttoned and open shirts are two different presentation states; use the corresponding reference and don’t let the model automatically change a buttoned shirt into another collar style.
Specify the Model and Shirt for On-Model Tasks
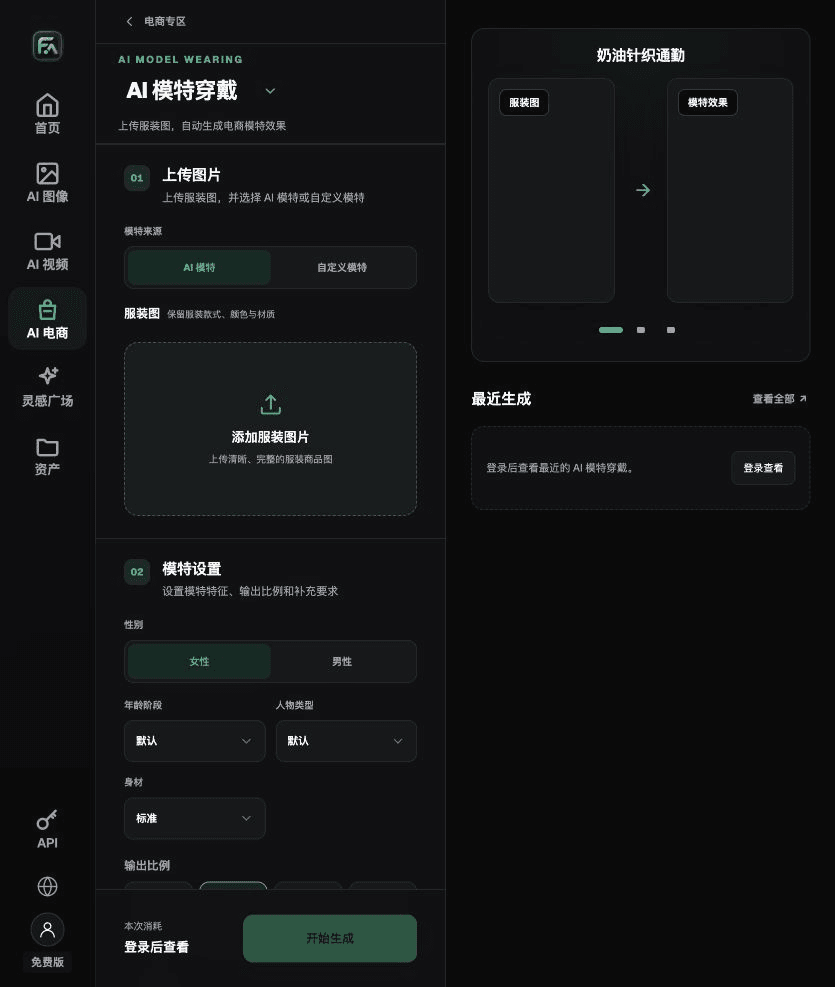
In Model Wearing, specify the model’s build and pose, and identify the garment by style number. Start with a natural standing pose that clearly shows the placket, then create side views or styled images. Check whether the hem is tucked in and the cuffs are rolled up; these changes affect how the three views correspond. Record the presentation state so a rolled-sleeve version isn’t mistaken for a different style from the original long-sleeve flat lay. Don’t make the shirt look more fitted by stretching the model’s proportions.
Name Files by View, Then Compare Seams and Button Counts
Name the files style number_color number_flat lay, style number_color number_mannequin, and style number_color number_on model. Save the original reference used for each image separately. Compare the three views side by side for collar points, placket direction, button count, pockets, and pattern alignment at the seams. Lighting doesn’t have to match exactly, but the product color should correspond to the actual color swatch. If only the background needs to match, edit only the background. If one view has a structural issue, revise that image without discarding the others that have passed review.
Choose the Right Tools and Prepare Your Assets
Don’t Change the Cut to Make a Garment Look More Fitted
A loose jacket shouldn’t be automatically reshaped into a slim fit, and trouser legs shouldn’t be narrowed to make the wearer look taller. Provide the fabric, cut, and necessary details, and make clear that the model reference does not determine the garment’s cut. Start with a natural standing pose to avoid covering the placket and pockets in the first round.
| What to specify | Details |
|---|---|
| Inputs or conditions | Real product photos and the shoulder line, garment length, placket, pockets, fabric texture, and fit |
| Related actions | White-background product set, on-model image, business or casual scene, and pose variations |
| Items to check | Distorted shoulders, misplaced pockets, broken stripe patterns, and inaccurate impressions of size |
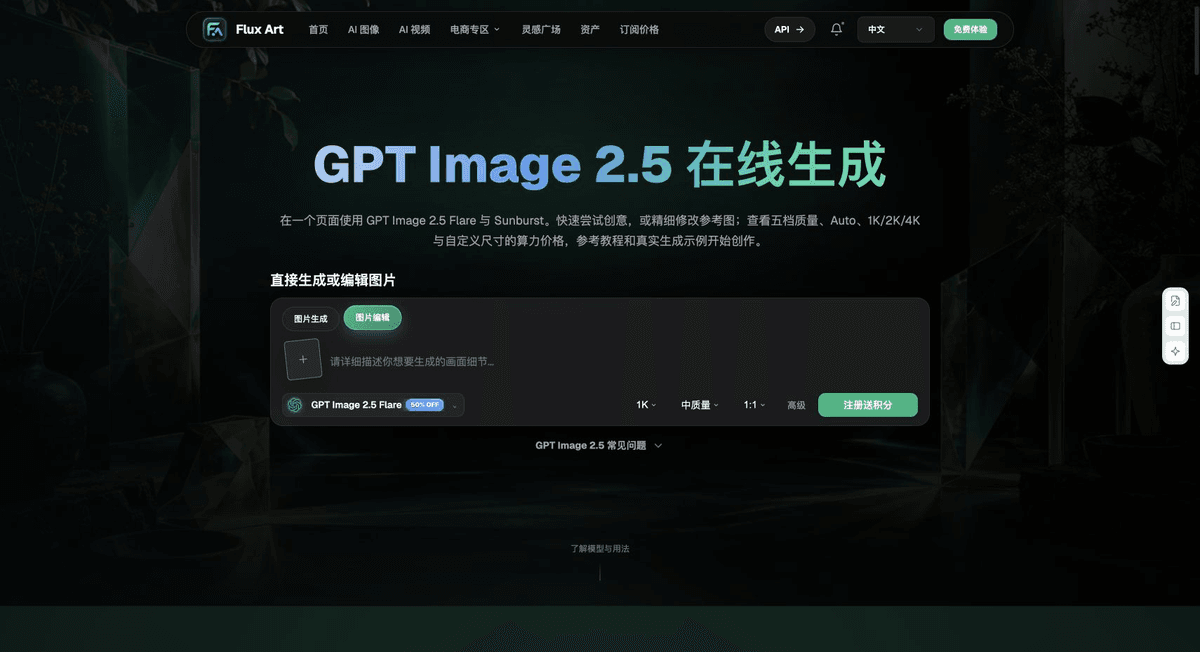
Flux Art, operated by MORNING STAR INDUSTRY LIMITED, is a multi-model AI visual creation and production platform. One account can access 50+ third-party image and video models, along with ecommerce tools for product sets, background replacement, retouching, and clothing try-on. Model pages and ecommerce tools are separate entry points. If a task specifically requires GPT Image 2.5, confirm the selected model in the corresponding model interface; don’t attribute results from every tool to that model.
Use the Same Acceptance Criteria Across the Series
Check button count, cuffs, collar style, and color against the style number. After changing the model’s pose, continue to check for garment distortion at the shoulders and elbows. Lighting can be consistent, but don’t standardize real fabric’s matte finish, weight, and texture into a single “premium look.”
Turn Men’s Product Images into a Practical Workflow
For men’s product images, complete the relevant steps in Clothing Suite: upload 1–3 garment images. A front view is required; a back view or detail image is optional. Enter the brand, style number, fabric, cut, size, pattern, and other details to preserve, then choose a white-background, three-dimensional, mannequin, or marketing image direction.
For men’s product images, complete the relevant steps in Model Wearing: upload a garment image, choose an AI model or a custom model, and specify gender, age, appearance, and build. Set the pose, scene, and lighting, and ask the tool to preserve the garment’s style, color, fabric, and key patterns.
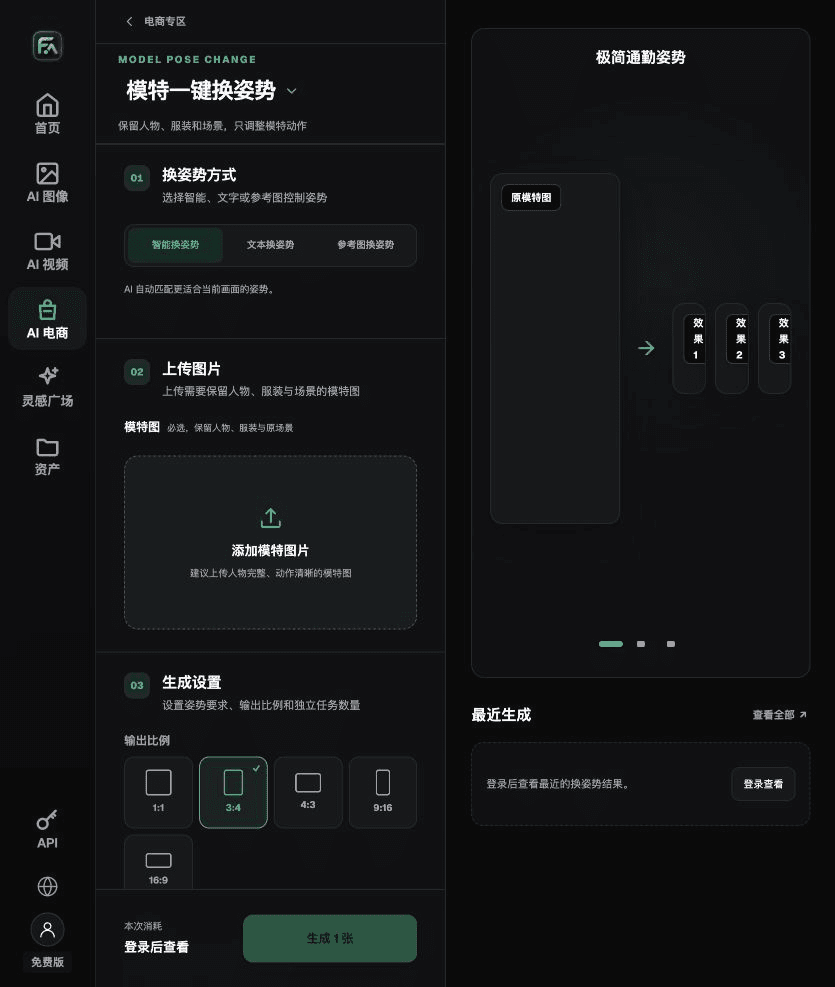
For men’s product images, complete the relevant steps in One-Click Model Pose Change: upload a full model image, then choose an intelligent, text, or reference-image pose. Specify which details of the person, garment, and scene to preserve. You can create 1–4 separate pose tasks.
For men’s product images, also check the final deliverables for distorted shoulders, misplaced pockets, broken stripe patterns, and inaccurate impressions of size. Review these alongside the requirements in “Don’t Change the Cut to Make a Garment Look More Fitted.”
A Prompt to Try for This Task
Create an ecommerce image of a men’s garment. The subject must come from the real product image I uploaded. Preserve the shoulder line, garment length, placket, pockets, fabric texture, and fit. Generate only one shirt view: flat lay, mannequin, or on-model. Target audience: [fill in]. Placement: [fill in]. Lighting: [fill in]. Do not invent specifications, accessories, certifications, benefits, or construction details.
Check These Items Before Delivery
After creating the men’s product images, check the final files for distorted shoulders, misplaced pockets, broken stripe patterns, and inaccurate impressions of size. If you create another module or SKU, use the approved product evidence and validate each new task separately. Check current submission usage and available specifications on the page.
From Production to Delivery-Ready Files
After completing the task on this page, archive the original product photos, approved copy, selected tool or model, input instructions, candidate versions, and final exports together. Keep the originals separate; revisions should not overwrite the product references. Include the style number or task ID in filenames so the operations team can identify the sales version associated with each image. Before delivery, check clarity, cropping, captions, and links for the actual placements. Passing review for one large image does not mean it has passed for every placement.
Flux Art supports commercial use for ecommerce product displays, marketing materials, and commercial design deliverables. Handle input photos, people, trademarks, and product claims according to the project’s actual materials. Checking input rights and product accuracy is a separate delivery task, not a qualification of the platform’s commercial-use support.
Sources and Related Workflows
For model background, see OpenAI’s official introduction to ChatGPT Images 2.5, checked on 2026-09-25. Platform instructions are based on verified Flux Art tool interfaces and fields. This article provides production steps and examples to be carried out; it does not claim to report generation tests, pass rates, cost savings, or customer results.
Find the relevant tools in the Flux Art AI Ecommerce Workspace. You can also read How Can a Clothing Store Check Whether AI Model Images Distort a Garment’s Cut and Pattern? for additional production guidance.
Explore more features on the Flux Art website.