 Flux Art
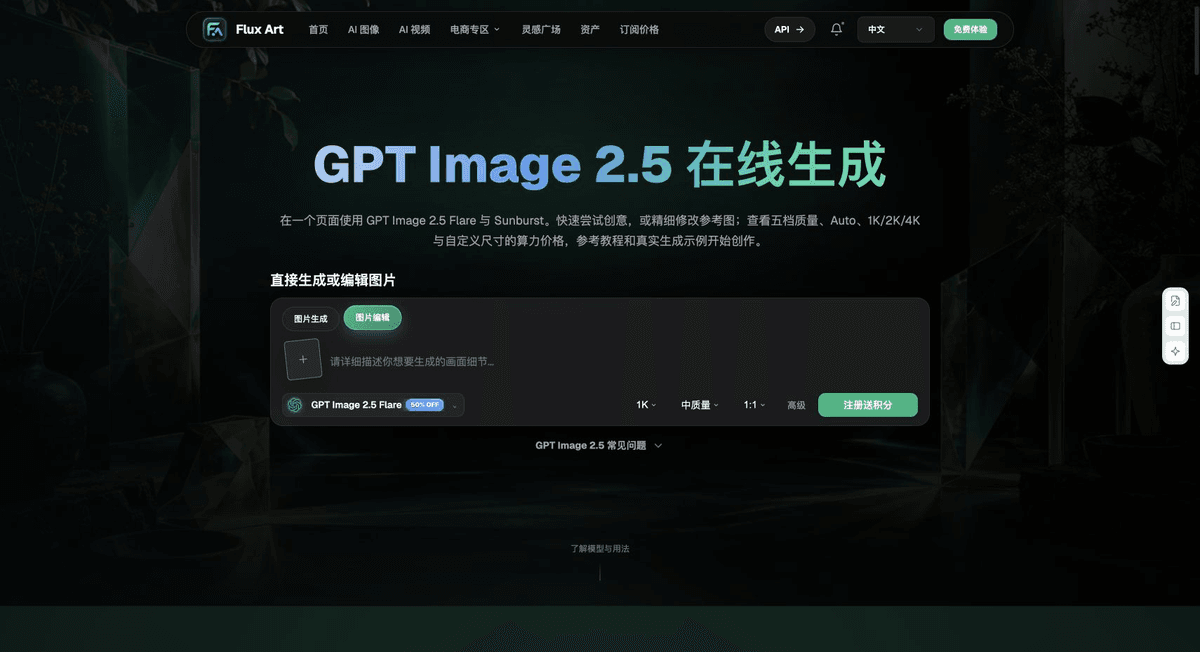
For lamp on/off comparison images, first photograph both real states from the same camera position, then organize the background and layout. Flux Art’s one-click background replacement, product image suite, and GPT Image 2.5 editing can help create candidates; keep the lamp position, shade material, and number of light sources consistent. Use the comparison to show the difference in state, and use verified product specifications for brightness and color temperature values.
Use the Same Camera Position and Setup for Both Source Photos
Keep the camera position, lamp installation position, and nearby reference objects fixed, and retain the original photos of both the off and on states. Record whether you changed camera settings, especially whether auto exposure made the overall lit image darker. This article does not provide a lighting measurement method; it only requires you to identify the state shown in each image. If the shooting conditions differ, do not explain the difference in image brightness as a simple difference in lamp performance.
Use the Product Subject as the Baseline When Editing Backgrounds
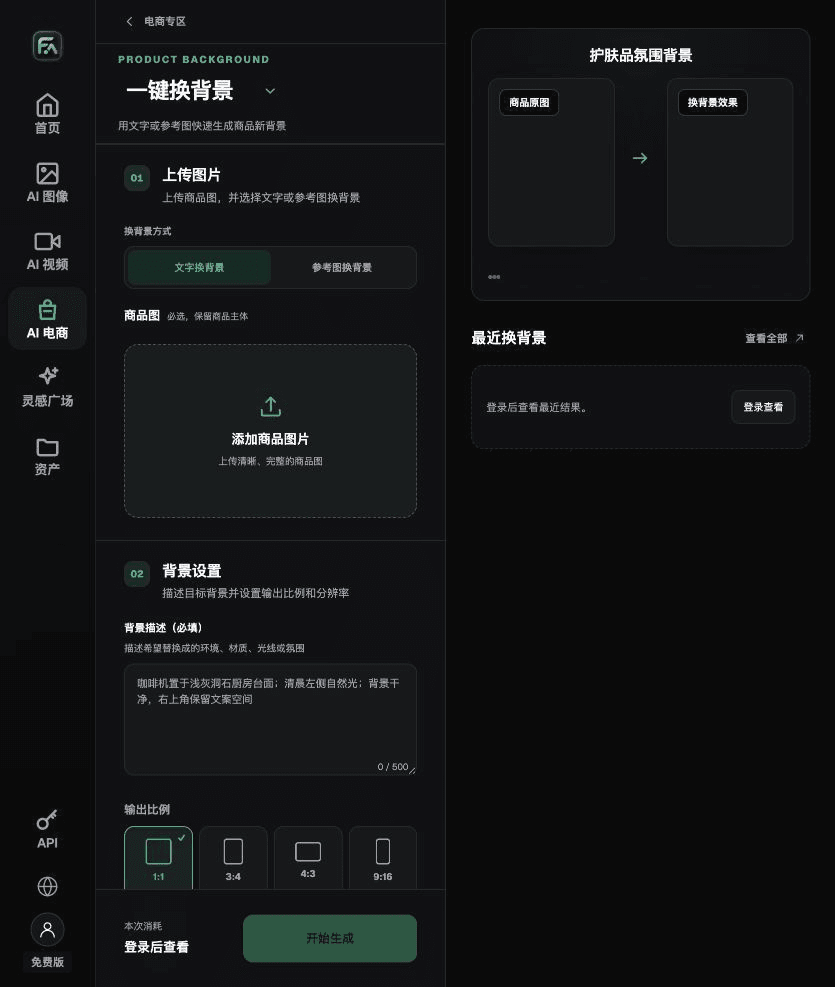
Upload the source photo for each state to one-click background replacement. Specify the positions of the shade, supports, cords, switch, and mounting points, and keep the background design consistent with the same room. Process the off image first, then edit the on image, using the actual lit photo as its reference rather than inventing light sources from the first candidate. White-background detail images can be added separately with the product image suite; do not mix them into the state comparison.
Compare the Lamp Itself, Not Just Its Glow
Compare the shade edges, support height, light source position, contact with the tabletop, and wall mounting points. Reflections may change when the lamp is on, but the lamp itself must not turn into a different model. If a glass shade becomes opaque or an existing cord disappears, return to the corresponding source photo and correct it. Glows, shadows, and reflections should have real sources; do not add nonexistent light sources for dramatic effect.
Label Each State and Present Specifications Separately
Label the two images clearly as “lamp off” and “lamp on,” with the same crop and display ratio. Specify the actual color temperature for each configuration using SKU information; do not infer a specific value from a warm yellow appearance. The final delivery should include both source photos, both edited images, the comparison layout, and the source for the specifications. When viewed on a phone, both images should show the entire lamp; do not enlarge one while shrinking the other.
Tools and Materials for This Workflow
Lighting Effects Can Easily Imply Product Capabilities
A model-generated soft halo may look more even and brighter than the actual lamp. Technical specifications in promotional materials must come from approved sources, and lit images should not exaggerate performance. Do not remove the shade, cords, or support structure just to make the image look cleaner.
| What to Specify | Details |
|---|---|
| Inputs or conditions | Real product photos and the lamp structure, shade material, light source position, color temperature, cords, and installation method |
| Actions | White-background images, lit scenes, dimensions, material details, and installation benefit images |
| Checks | Lamp distortion, incorrect number of light sources, misleading color temperature, and implausible shadows |
Flux Art is operated by MORNING STAR INDUSTRY LIMITED. It is a multi-model AI visual creation and production platform where one account can access 50+ third-party image and video models. It also offers e-commerce tools for product image suites, background replacement, retouching, and virtual apparel try-on. Model pages and e-commerce tools are separate workflow entry points: when a task specifically requires GPT Image 2.5, confirm that model in its model page instead of attributing every tool result to it.
Check That Shadows and Installation Make Sense
Check the hanging point for pendant lamps, tabletop contact for desk lamps, and mounting method for wall lamps. The number and position of light sources should match the real product, and shadows must not come from nonexistent lights. When showing different color temperatures, use actual configurations for sale and label them clearly.
Put the Lamp Image Workflow into Practice
To create a lamp product image, use one-click background replacement for the relevant step: upload the product image, describe the background in text, or upload a background reference image you have permission to use. Describe the setting, tabletop material, light direction, mood, and contact shadows, and list the product details that must not be changed.
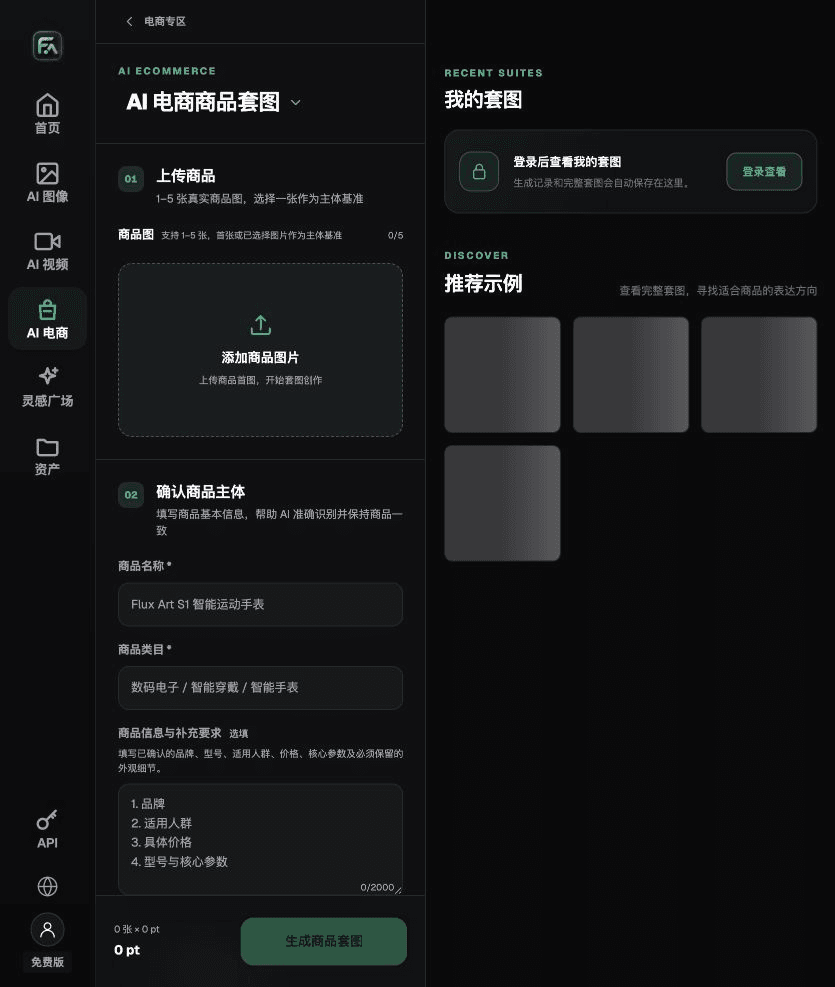
To create a lamp product image, use the product image suite for the relevant step: upload 1–5 real product photos, then enter the product name, category, factual information, and details that must be preserved. Choose modules such as the main product image, white-background hero image, key benefits, usage scenarios, and detail close-ups, then set the aspect ratio, resolution, and language.
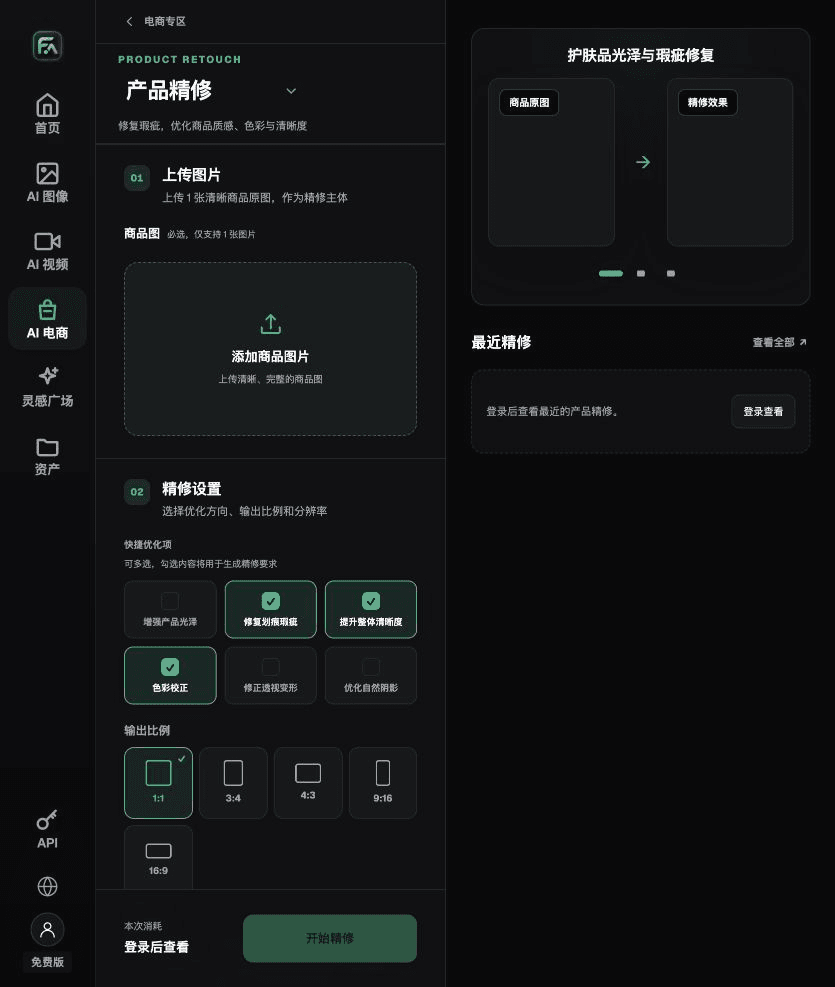
To create a lamp product image, use product retouching for the relevant step: upload a product photo with a clear subject and no severe obstruction. Select gloss, scratches or defects, sharpness, color correction, perspective distortion, and natural shadows as needed; you do not have to enable every option.
For lamp product images, also check for lamp distortion, an incorrect number of light sources, misleading color temperature, and implausible shadows. Review this delivery checklist together with the requirements in “Lighting Effects Can Easily Imply Product Capabilities.”
A Prompt to Try for This Task
Create an e-commerce image of a lamp. The subject must come from the uploaded real product photo. Preserve the lamp structure, shade material, light source position, color temperature, cords, and installation method; generate only this module: one on-state or off-state view matching its corresponding real reference. Target audience: [fill in]; placement: [fill in]; lighting: [fill in]. Do not invent specifications, accessories, certifications, effects, or structural details.
Check These Items Before Delivery
After creating the lamp product image, inspect the final file for lamp distortion, an incorrect number of light sources, misleading color temperature, and implausible shadows. If you continue with other modules or SKUs, reuse the verified evidence for the product subject, then validate each new task separately. Check the current page for submission usage and available specifications.
From Production to Delivery Files
After completing this page’s task, archive the original product photos, approved copy, selected tool or model, input instructions, candidate versions, and final exports together. Always keep the original photos separate; revisions must not replace the product evidence. Include the product style number or task ID in filenames so the operations team can find the sales version for each image. Before delivery, check sharpness, cropping, captions, and links for the actual placements. Passing review on one large image does not mean it is ready for every placement.
Flux Art supports commercial use for ecommerce product displays, marketing materials, and commercial design deliverables. Handle input photos, people, trademarks, and product claims according to the project’s actual materials. Checking input rights and product accuracy is a separate delivery task, not a qualification of the platform’s commercial-use support.
Sources and Related Workflows
Model background information is from OpenAI’s official introduction to ChatGPT Images 2.5, retrieved on 2026-09-25. Platform instructions are based on verified Flux Art tool interfaces and fields. This article provides production steps and examples to try; it does not claim to report generation tests, pass rates, savings, or customer results.
You can find the relevant tools in the Flux Art AI E-commerce workspace. For a related task, read Lighting and Nighttime Scene Guide: Light Effects and Texture for additional production guidance.
Explore more features on the Flux Art website.