 Flux Art
Before creating a building-ideas image set, confirm which real parts make up each design, then decide whether they can be shown together. Flux Art GPT Image 2.5 editing can help organize build ideas based on references, while A+ Content can structure the explanations. Show mutually exclusive builds as separate options; do not stage them as two finished models included in one box.
Build a Design List from Real Builds
Keep a finished-product photo, the parts used, and the corresponding instructions for every verified design. Note which designs can be built at the same time from one set of parts and which require disassembly and rebuilding. The same wheels or base appearing in different photos does not mean the package includes multiple copies. Designs without build references can be presented as concepts, but should not be included in descriptions of the product’s actual build options.
Show One Confirmed Configuration per Image
For a product image set or model editing task, use a real photo of the current build and clearly show its connections, supports, and colors. You can change the background to a tabletop or play scene, but keep the parts’ structure unchanged. Use a second set of real reference images for the second design; do not transform the first finished build directly into an unverified new structure. After each output, check the connectors, holes, and supports to confirm it matches a known design.
Use the Layout to Show Whether Builds Are Concurrent or Alternative
Place combinations that can be built at the same time in one scene. Separate designs that require taking the set apart and rebuilding into Option A and Option B, and use approved text to explain that they are alternatives. Example labels are just a layout method; they do not indicate modes included with the product. Keep the set name and corresponding parts version beside each build image to avoid mixing sets with different piece counts, expansion packs, and base sets.
Proof Packaging, Captions, and Cropped Versions
In each A+ Content module, check the design name, age guidance, and warning text against the actual product instructions. A mobile crop should not leave only two complete builds while cutting off the note that they are alternatives. If a promotion includes extra parts, create a separate promotional version and state the terms; switch back to the base set version after the promotion ends. Keep the real build photos and their corresponding candidates in the deliverables. Do not use an attractive finished image as proof that the set contains enough parts.
Relevant Tools and Reference Materials
Build Images Must Match the Real Structure
Adding an extra car to a building set or an extra accessory to a doll can change what the product appears to include. Check the quantity and arrangement of every part. When demonstrating how to play, use real product information to guide the actions shown. Scenes with people also require checks for permissions and safe poses.
| What to Clarify | Details |
|---|---|
| Inputs or requirements | Real product photos and part count, structure, dimensions, age guidance, warnings, and packaging |
| Relevant actions | White-background images, play scenes, parts lists, dimensions, and detail-page modules |
| Required checks | Added parts, incorrect age guidance or warnings, permissions for people, and misleading safety-related structures |
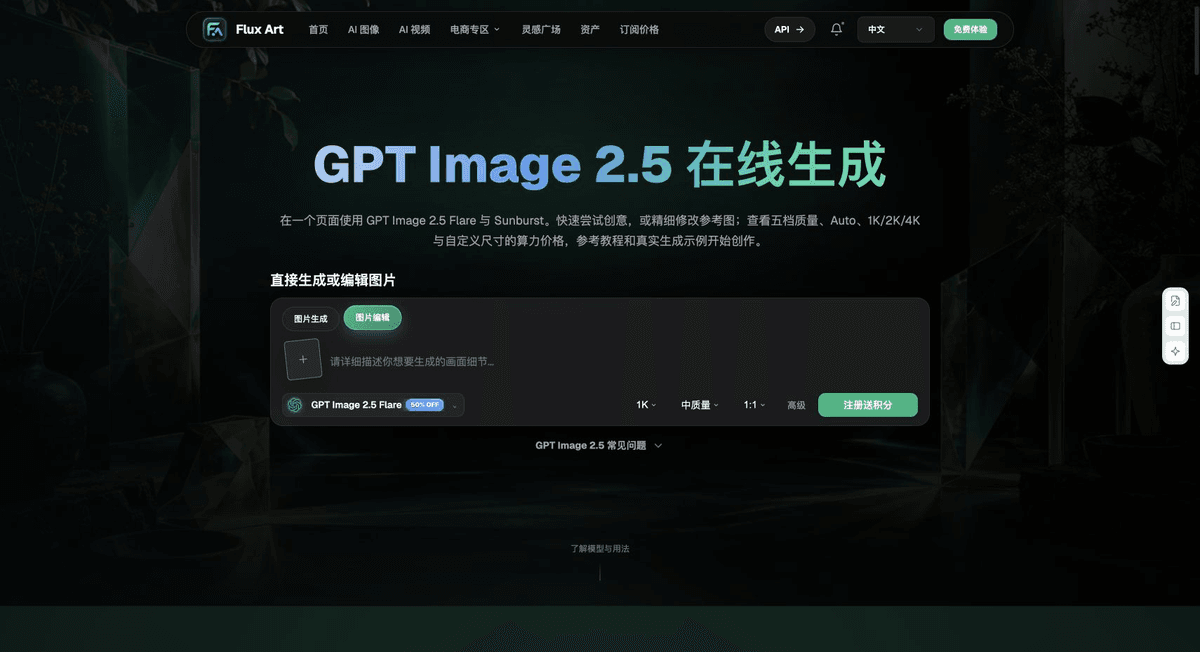
Flux Art is operated by MORNING STAR INDUSTRY LIMITED. It is a multi-model AI visual creation and production platform where one account can access 50+ third-party image and video models, along with ecommerce tools for product image sets, background replacement, retouching, and virtual try-on. Model pages and ecommerce tools are separate workflows. If a task specifically requires GPT Image 2.5, confirm the selected model in its model workflow; do not attribute every tool’s output to that model.
Keep Age Guidance and Warnings Accurate
Use approved materials for age guidance, warnings, and packaging text. Images can help explain the product, but they do not automatically prove it is safe. For complex small print, use post-production layout. Generated images should serve as clear visual explanations only.
Put the Toy Product Image Workflow into Practice
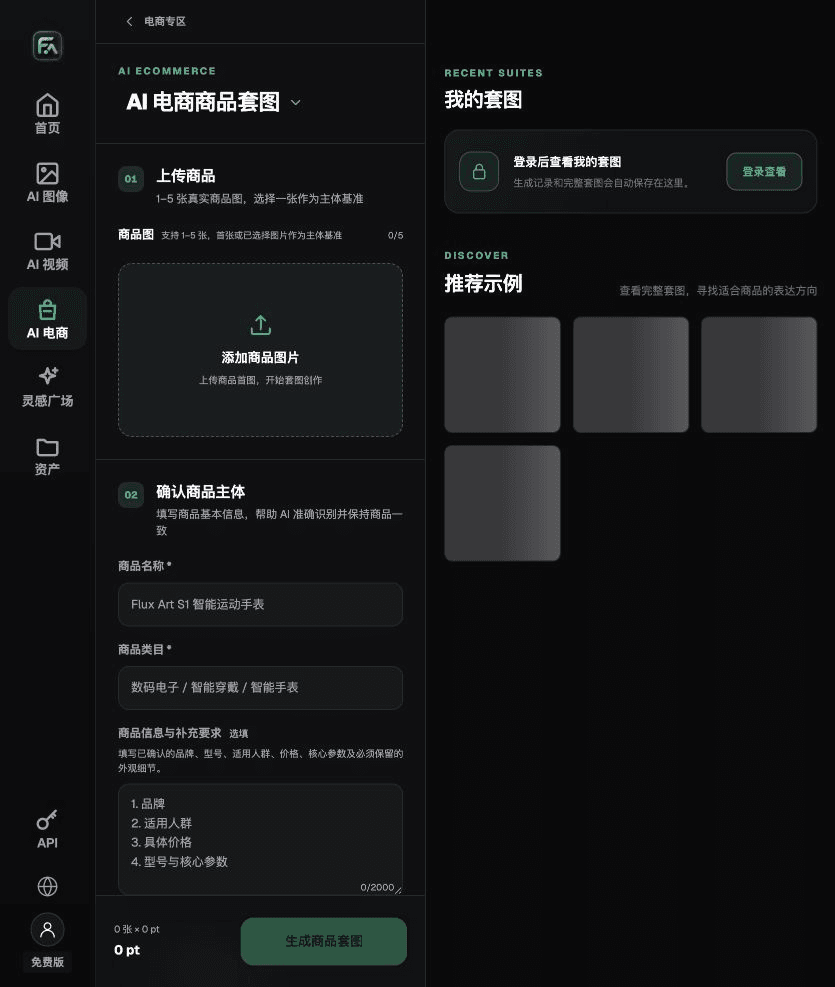
To create toy product images, complete the relevant steps in Product Suite: upload 1–5 real product images, enter the product name, category, factual information, and details that must be retained; select modules such as a hero image, white-background main image, key selling points, use scenes, and detail close-ups; then set the aspect ratio, resolution, and language.
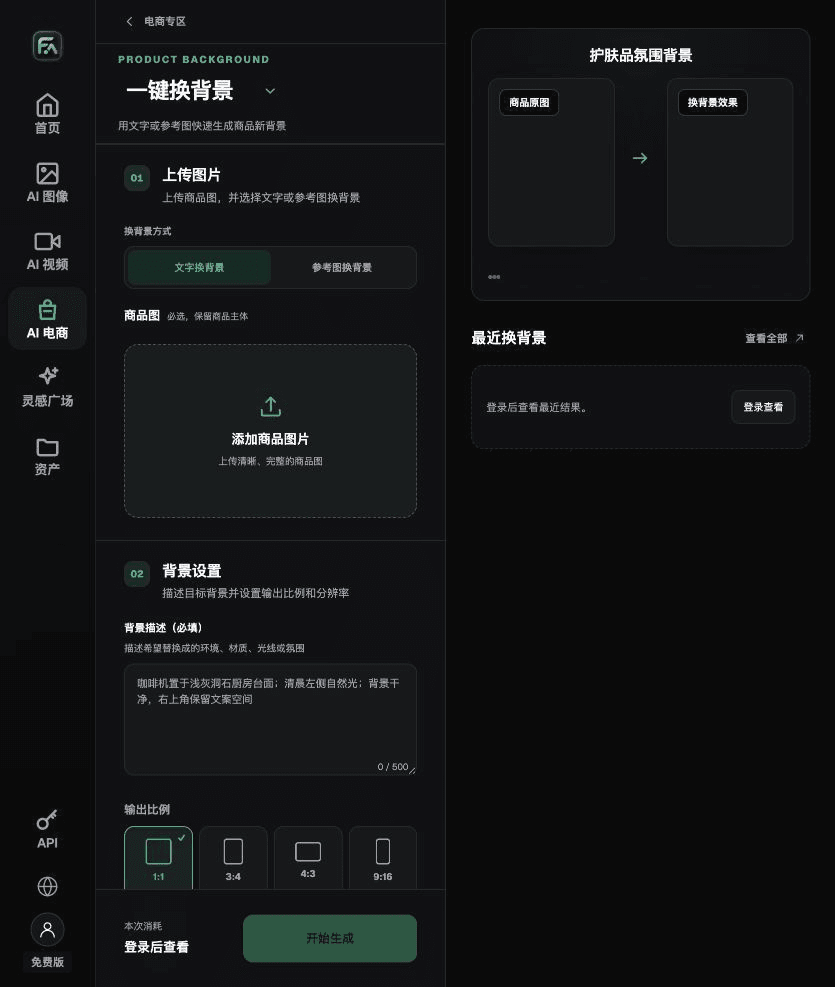
To create toy product images, complete the relevant steps in One-Click Background Replacement: upload a product image and describe the background in text, or upload a background reference image you are authorized to use. Describe the setting, surface material, light direction, mood, and contact shadows, and list the product details that must not be changed.
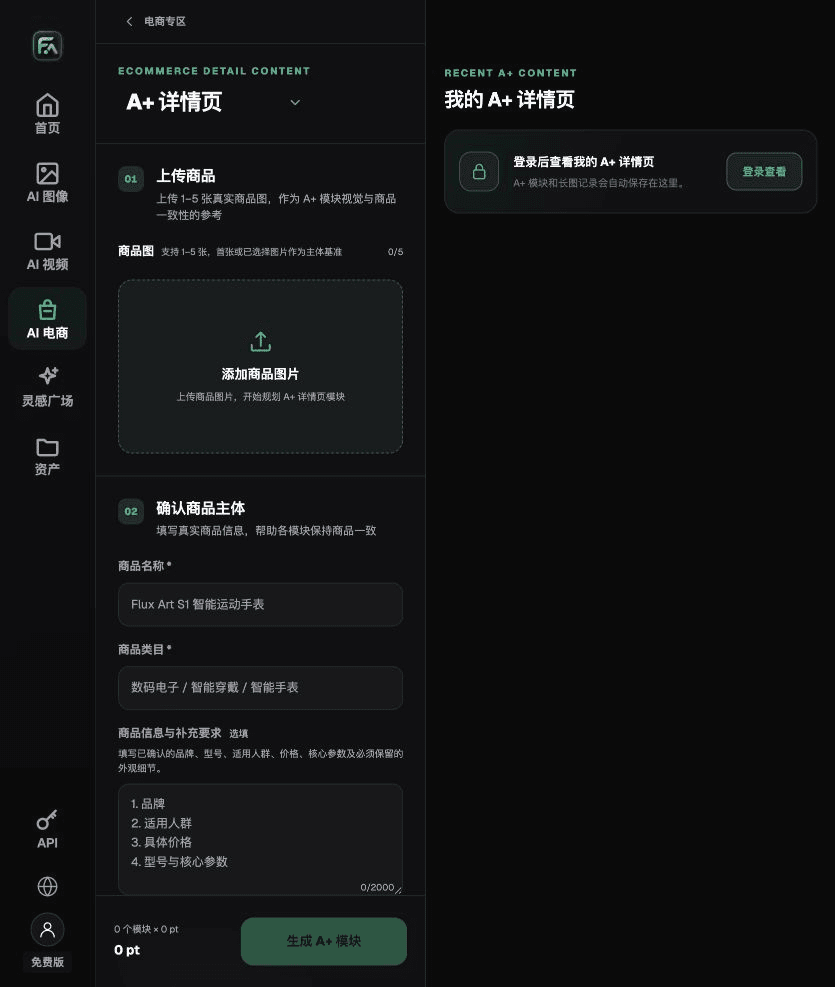
To create toy product images, complete the relevant steps in A+ Content: upload 1–5 product images or consistency references, enter reviewed product facts and selling points, select the required A+ content modules and output specifications, then proofread the titles, specifications, selling points, and images module by module.
For toy product images, also check for added parts, incorrect age guidance or warnings, missing permissions for people, and misleading safety-related structures. Review this delivery checklist together with the requirements under “Build Images Must Match the Real Structure” above.
A Prompt to Try for This Task
Create ecommerce images for a toy. The subject must come from the uploaded real product images. Retain the exact part count, structure, dimensions, age guidance, warnings, and packaging. Generate only one confirmed build made from the same set of pieces this time. Target audience: [fill in]; placement: [fill in]; lighting: [fill in]. Do not invent specifications, accessories, certifications, benefits, or structures.
Check These Items Before Delivery
After creating toy product images, inspect the final files for added parts, incorrect age guidance or warnings, missing permissions for people, and misleading safety-related structures. For additional modules or SKUs, carry forward the approved product evidence and validate each new task separately. Submission usage and available specifications are subject to the current page.
From Production to Deliverable Files
After completing this task, archive the original product images, approved text, selected tool or model, input instructions, candidate versions, and final exports together. Always keep the originals separately; revisions must not overwrite the product evidence. Include the SKU or task ID in filenames so the operations team can identify the sales version associated with each image. Before delivery, check resolution, cropping, captions, and links for each actual placement. Passing one large image does not mean every placement has passed review.
Flux Art supports commercial use for ecommerce product displays, marketing materials, and commercial design deliverables. Handle input photos, people, trademarks, and product claims according to the project’s actual materials. Checking input rights and product accuracy is a separate delivery task, not a qualification of the platform’s commercial-use support.
Sources and Related Workflows
Model background information is from OpenAI’s official introduction to ChatGPT Images 2.5, retrieved on 2026-09-25. Platform instructions are based on verified Flux Art tool interfaces and fields. This article provides production steps and examples to carry out; it does not claim generation tests, pass rates, cost savings, or customer outcomes.
Find the relevant tools in the Flux Art AI Ecommerce Workspace. For a related task, see the 2026 AI Image Guide for Toys and Educational Products: Balancing Fun and a Sense of Safety for additional production guidance.
Explore more features on the Flux Art website.