 Flux Art
When creating a perfume gift set image with GPT Image 2.5 in Flux Art, first check the included-items list for the bottle, cap, outer box, and gifts, then decide how to arrange the open box. This article treats the closed-box, open-box, and component flat-lay images as separate deliverables. It focuses on making the contents of a gift set clear, rather than repeating a tutorial on changing the background of a transparent bottle.
List contents by actual packaging layer
List the outer carton, inner box, insert, perfume bottle, cap, and gifts separately. A cap on the bottle and the same cap placed beside it after removal are one component, not two. If a fragrance sample is included only during a promotion, identify the promotional version it belongs to. Use the approved list for the gift set capacity and bottle count; the image layout must not determine what is sold.
Use the right photo for each packaging state
The closed-box image should preserve the packaging text and seal; the open-box image should show the insert; the flat-lay image should make it easy to count the components. Prepare source photos for all three states instead of asking a model to guess the interior structure from a closed box. Model editing or background replacement tools can adjust the setting, while the insert openings, bottle proportions, and labels should still be checked against real photos of that state.
Give decorations and gifts different visual hierarchies
Petals, ribbons, and tabletop props can support the composition, but should not use the same numbered labels as gifts. Label gifts with their names and quantities; identify decorations that are not included when needed. Keep changing details such as a promotion end date in a separate text layer that can be updated independently. Design fragrance-note visuals from approved information; do not present petal colors as proof of formula ingredients.
Check the component count before delivery
Follow the sequence from the closed-box image to the open-box image and then to the flat lay. Confirm that the bottle count, cap count, outer box, and gifts match throughout. Check especially whether a second cap remains on the bottle after the cap has been removed, and whether a mirror reflection has been laid out as if it were a second bottle. Archive the current promotion list with the image-caption version, and update only the assets affected by a promotion change.
Prepare the right tools and assets
Examples explain the workflow, not your success rate
Official examples can show how to place a bottle on a new tabletop, but they cannot replace testing with transparent, reflective, or different bottle types. For your own task, check light transmission through the bottle, the label, and contact shadows. Pay particular attention to remnants of the old setting inside the glass.
| What this task must clarify | Details |
|---|---|
| Inputs or conditions | Real product photos and bottle proportions, glass thickness, liquid color, sprayer, label, and refraction |
| Actions | White-background image, luxury setting, fragrance-note highlights, bottle details, and gift set image |
| Must-check items | Incorrect glass edges, changes in liquid level, distorted labels, and misleading fragrance-note imagery |
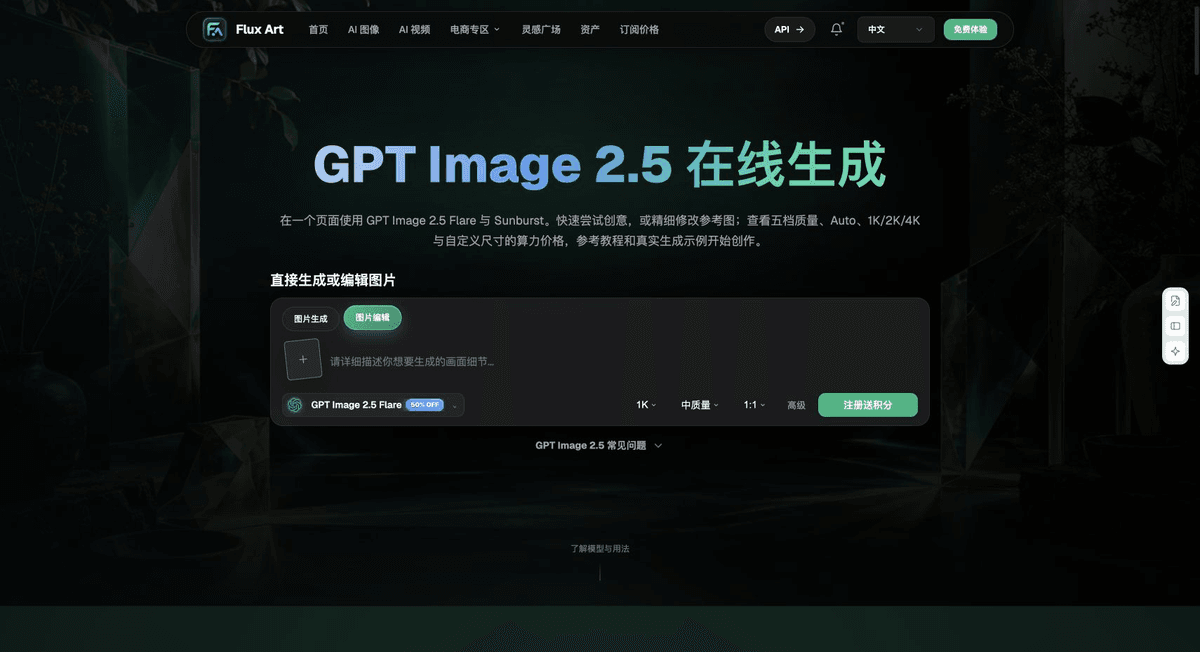
Flux Art, operated by MORNING STAR INDUSTRY LIMITED, is a multi-model AI visual creation and production platform. One account can access more than 50 third-party image and video models, along with e-commerce tools for product image sets, background replacement, retouching, and virtual try-on. Model pages and e-commerce tools are separate entry points. If the task specifically requires GPT Image 2.5, confirm the selected model in its dedicated model entry point; do not attribute results from every tool to that model.
Do not turn fragrance-note imagery into proof of ingredients
A woody or floral background can express a design direction, but must not invent ingredients, wear time, or the origin of materials. Check the package volume, liquid color, and brand text against approved materials. For a short video, choose a video model separately and inspect the label frame by frame while it is in motion.
Put the perfume image workflow into practice
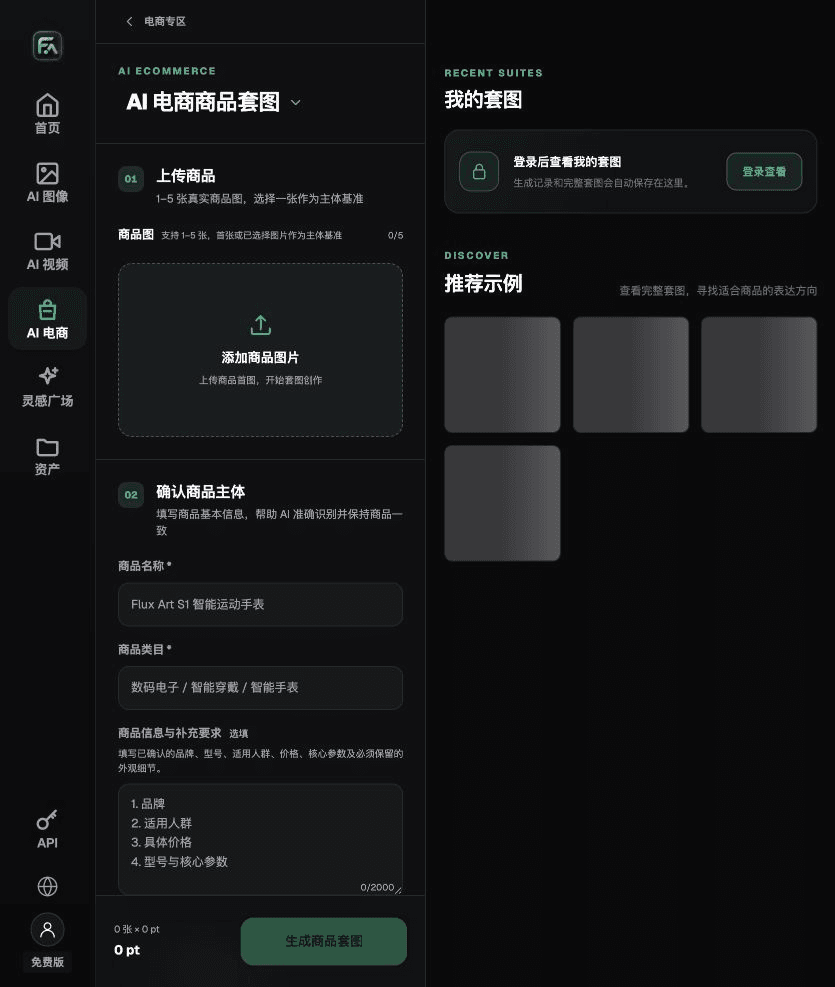
To create perfume product images, complete the relevant steps in Product Suite: upload 1–5 real product photos and enter the product name, category, factual information, and details that must be preserved. Choose modules such as hero image, white-background main image, key selling points, use scenarios, and close-up details; then set the aspect ratio, clarity, and language.
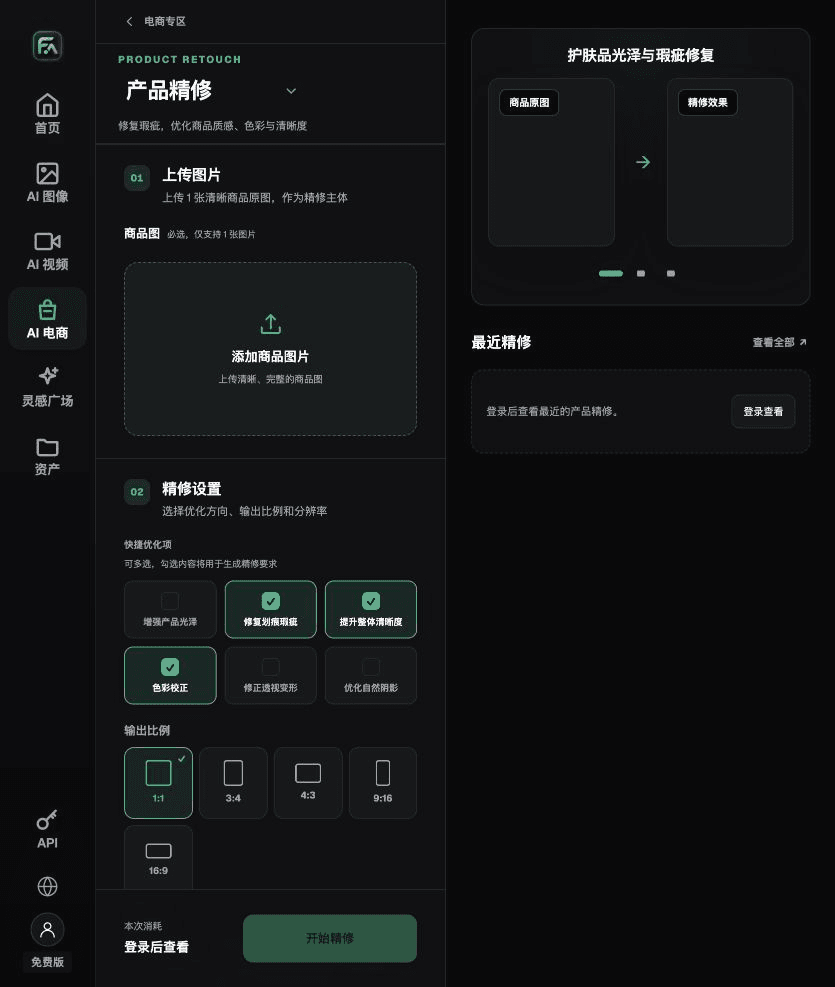
To create perfume product images, complete the relevant steps in Product Retouch: upload one product image with a clear subject and no major obstructions. Select gloss, scratches or blemishes, clarity, color correction, perspective distortion, and natural shadows as needed; you do not need to enable every option.
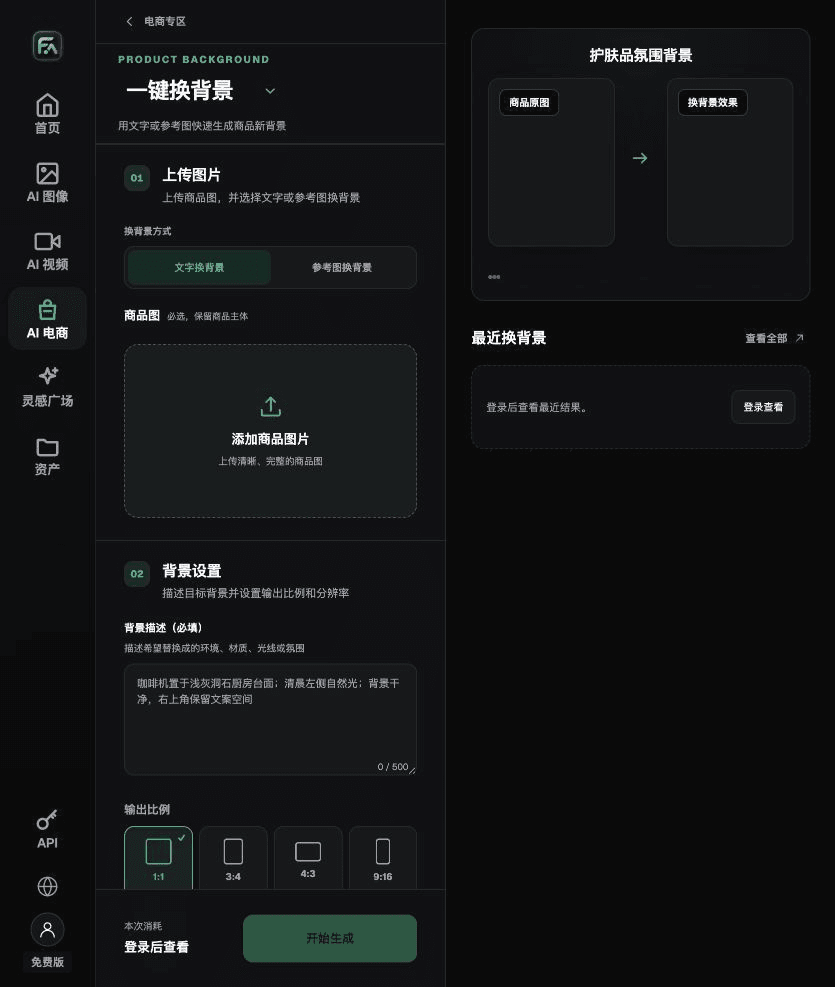
To create perfume product images, complete the relevant steps in One-Click Background Replacement: upload the product image, describe the background in text, or upload a background reference image you are authorized to use. Describe the setting, tabletop material, light direction, mood, and contact shadows, and list the product details that must not be changed.
For perfume product images, also check for incorrect glass edges, changes in liquid level, distorted labels, and misleading fragrance-note imagery. Review this delivery checklist together with the requirement above: “Examples explain the workflow, not your success rate.”
A prompt to try for this task
Create an e-commerce image of perfume. The subject must come from the uploaded real product photo. Preserve the bottle proportions, glass thickness, liquid color, sprayer, label, and refraction. Generate just one product display image for this task, consistent with the state list in this article and the current real reference. Target audience: [fill in]; placement: [fill in]; lighting: [fill in]. Do not invent specifications, accessories, certifications, effects, or structures.
Check these items before delivery
After creating the perfume product image, check the final file for incorrect glass edges, changes in liquid level, distorted labels, and misleading fragrance-note imagery. If you continue with other modules or SKUs, carry forward the verified product evidence and validate each new task separately. Check current submission usage and available specifications on the current page.
From production to deliverable files
After completing the task on this page, archive the original product photos, approved text, selected tool or model, input instructions, candidate versions, and final exports together. Always keep the originals separate; revisions must not overwrite the product evidence. Include the item number or task ID in each filename so the operations team can find the sales version associated with each image. Before delivery, check clarity, cropping, captions, and links for the actual placement. Do not treat approval of one large image as approval for every placement.
Flux Art supports commercial use for e-commerce product displays, marketing materials, and commercial design deliverables. Handle input photos, people, trademarks, and product claims according to the actual project materials. Checking rights to input assets and verifying product authenticity are separate delivery tasks from the platform's commercial-use support.
Sources and related workflows
For background on the model, see OpenAI's official introduction to ChatGPT Images 2.5, retrieved on 2026-09-25. Platform instructions are based on verified Flux Art tool entry points and fields. This article provides production steps and examples to carry out; it does not claim generation tests, success rates, cost savings, or customer results.
Find the relevant tools in the Flux Art AI E-commerce Workspace. For related tasks, read the related product production tutorial to learn more about production and review methods.
Related link in the original: related tool or source 1