 Flux Art
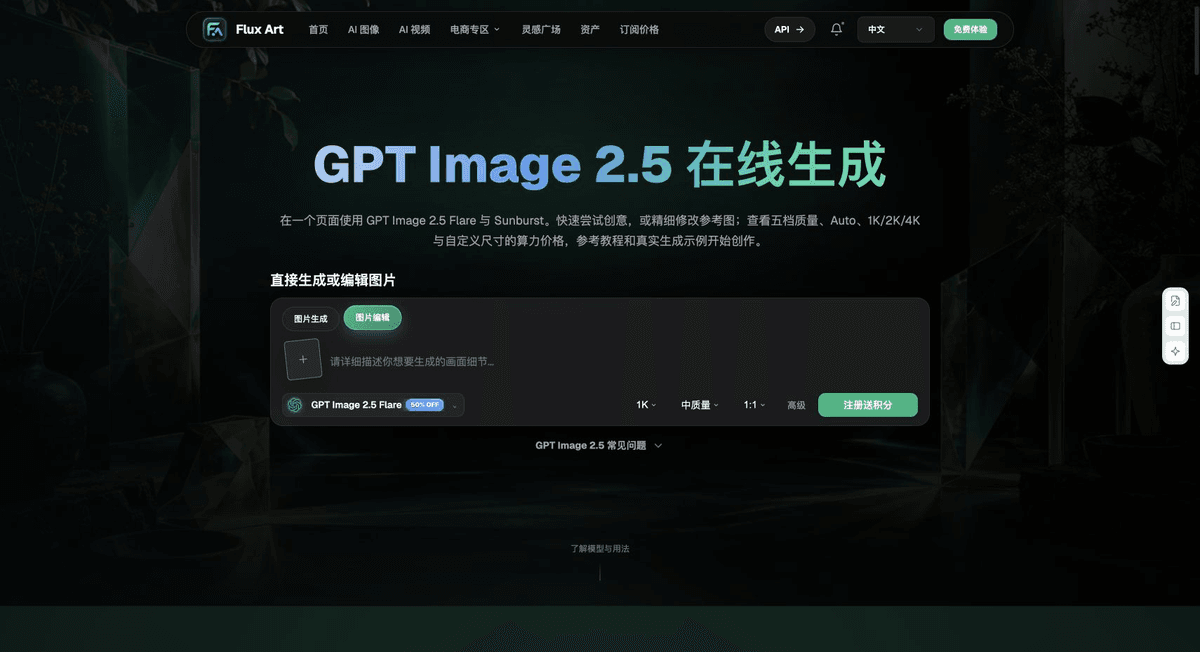
Use GPT Image 2.5 in Flux Art to prepare shoe comparison images. First label the left shoe, right shoe, and the inner and outer sides of each, then arrange them as a set. The goal is to show buyers the actual differences between the shoes, not to mirror one shoe to create the other. Logos, zippers, buckles, and sole orientation should each match the real photos.
Label the Left and Right Shoes and Viewing Direction
Name the photo files by the wearer's left or right foot, then mark each as the inner or outer side. Do not use the left side of the image to mean the left shoe. Take close-ups of the outer-side logo, inner-side zipper, heel pull tab, and sole tread. Note which way the toe points when each photo is taken. That way, even after a shoe is rotated, the team can identify which foot it belongs to instead of guessing from visual symmetry.
Draft a Four-Panel Layout, Then Produce Each View
A suggested four-panel order is left outer, left inner, right inner, right outer, with the reference file named in each panel. First confirm that all four photos show the current style, color, and size, then standardize the background and margins. GPT Image 2.5 can be used for reference-guided editing tasks; the editor arranges the panels and checks them one by one. Do not claim that the model automatically identifies left and right shoes. If the shoe photos are already clear enough, you can also lay out the original images directly.
Mirroring Can Change Composition, but Cannot Replace the Other Shoe
Mirroring reverses logo text, zippers, and asymmetrical panels, and the sole's wear patterns may differ too. Use an original photo of the right shoe when producing a view of it; do not flip the left shoe horizontally and treat it as a product reference. Even for a symmetrical marketing layout, place images of both real shoes separately. If the camera angles differ, take more photos or adjust the layout instead of redrawing the shoe to force a match.
Cross-Check On-Foot Images Against the Four-Panel Guide
First confirm that the shoe side shown in each on-foot image matches the corresponding panel, then check the sock opening, trouser hem, and contact with the ground. Deliver the four-panel guide, full-size individual images, and a left/right labeling table together. If both shoes show the outer-side logo or the toe points opposite to the foot, record the specific panel number and return to the reference for that shoe. Do not replace the entire set with the same shoe upper.
Relevant Tools and Asset Preparation
A Good-Looking Upper Does Not Mean an Accurate Sole
Eyelets, sole tread, toe width, and heel height all affect whether the style is represented accurately. Photograph these details clearly before choosing the main sales angle. If an on-foot image shows the same shoe on both feet or a thinner sole, record it as a structural failure rather than a natural pose.
| What This Task Must Clarify | Specific Details |
|---|---|
| Inputs or conditions | Real product photos and shoe style, toe, sole tread, lacing, material, and left/right foot |
| Relevant actions | White-background hero image, detail close-ups, lifestyle images, and on-foot image candidates |
| Required checks | Distorted sole tread, left/right confusion, changes in lace count, and foot intersections |
Check On-Foot Contact Separately
The ankle, sock opening, and shoe opening should connect naturally, and the sole should make natural contact with the ground. A generated image cannot prove the shoe size or comfort. Before approving a dynamic pose, confirm the shoe shape in a simple standing pose, then move on to walking or side-view candidates.
Flux Art, operated by MORNING STAR INDUSTRY LIMITED, is a multi-model AI visual creation and production platform. One account can access more than 50 third-party image and video models. The platform also provides e-commerce tools for product image sets, background replacement, retouching, and virtual apparel try-on. Model pages and e-commerce tools are separate workflows: if a task specifically requires GPT Image 2.5, confirm the selected model in its model page rather than attributing every tool's output to that model.
Put Shoe Product Images Into Practice
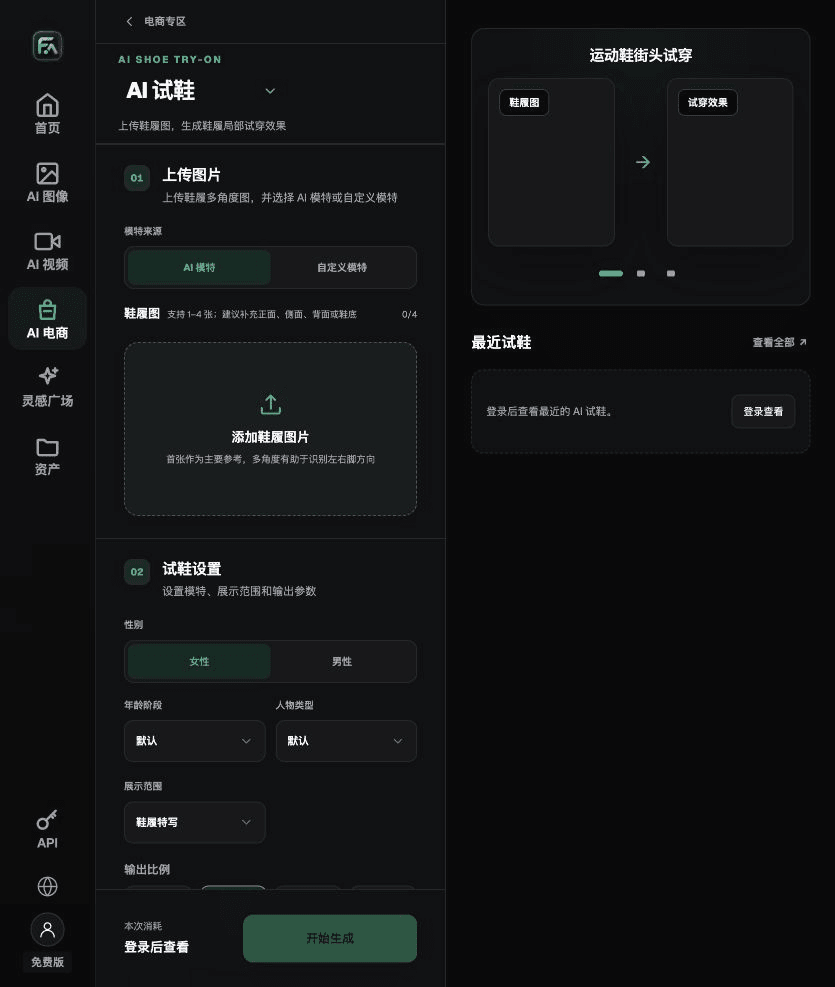
For shoe product images, complete the relevant steps in AI Shoe Try-On: upload 1–4 shoe images, set the first as the main image, and use the other angles to show the upper, heel, and sole. Choose an AI or custom model, then set the shoe close-up, pose, scene, socks, and bottoms.
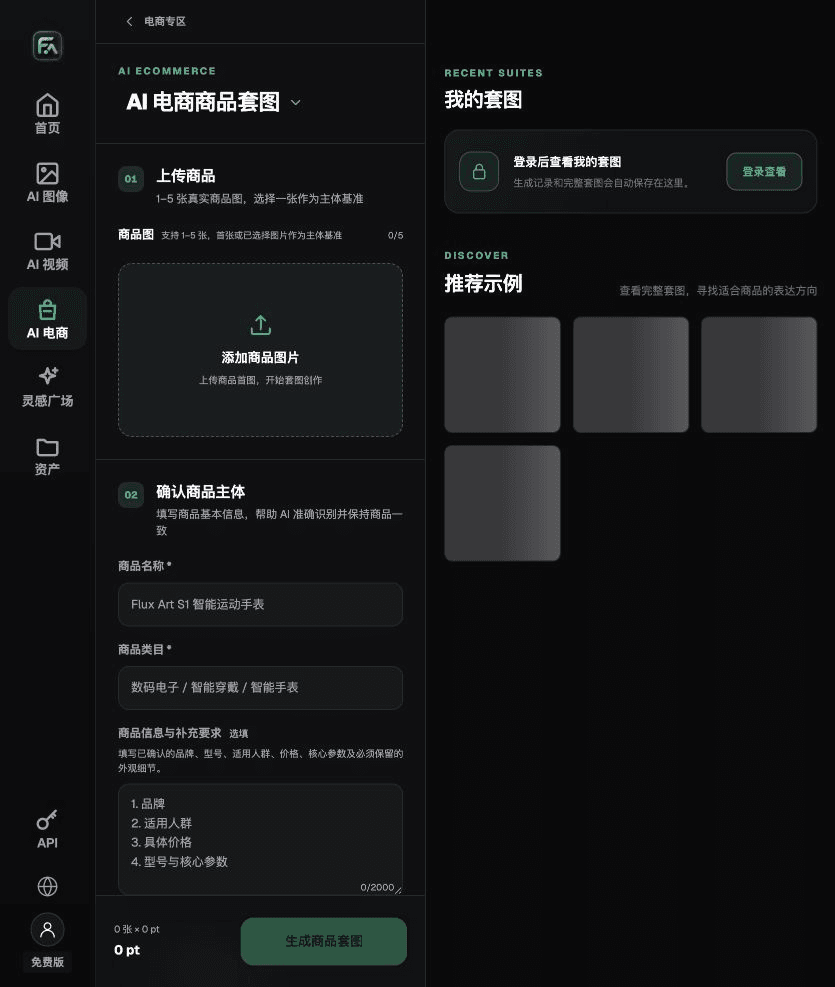
For shoe product images, complete the relevant steps in Product Image Set: upload 1–5 real product photos, enter the product name, category, factual details, and details that must be preserved. Choose modules such as product hero image, white-background hero image, key selling points, use scenarios, and detail close-ups, then set the aspect ratio, resolution, and language.
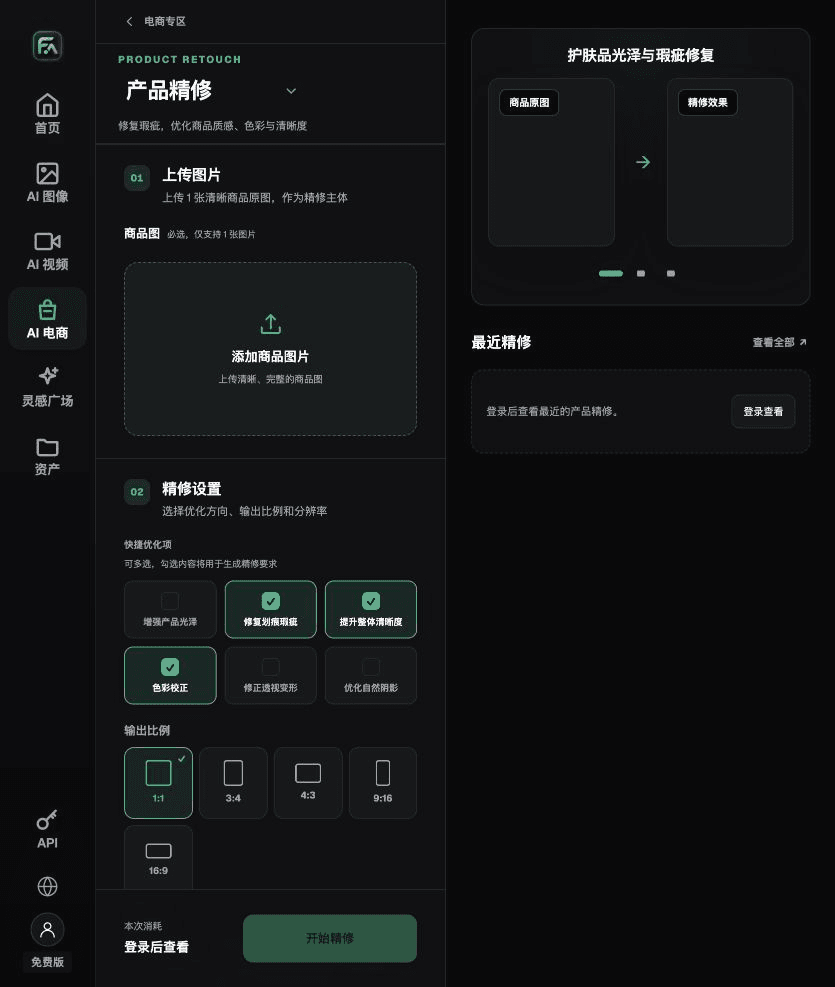
For shoe product images, complete the relevant steps in Product Retouching: upload one product image with a clear subject and no severe obstruction. Select gloss, scratches/defects, clarity, color correction, perspective distortion, and natural shadows as needed; you do not have to enable every option.
For shoe product images, also check for distorted sole tread, left/right confusion, changes in lace count, and foot intersections. Review this delivery checklist together with the requirements in “A Good-Looking Upper Does Not Mean an Accurate Sole” above.
A Prompt to Try for This Task
Create e-commerce images of shoes. The subject must come from the uploaded real product image. Preserve the shoe style, toe, sole tread, lacing, material, and left/right foot. Generate only one product display image that matches this article's status checklist and the current real reference. Target audience [fill in], placement [fill in], lighting [fill in]. Do not invent specifications, accessories, certifications, performance claims, or structural details.
Check These Items Again Before Delivery
After producing shoe product images, inspect the final files for distorted sole tread, left/right confusion, changes in lace count, and foot intersections. If you continue with other modules or SKUs, carry forward the approved product evidence and validate each new task separately. Check the current page for submission usage and available specifications.
From Production to Delivery-Ready Files
After completing this task, archive the original product photos, approved copy, selected tool or model, input instructions, candidate versions, and final exports together. Always keep the original photos separate; revisions must not overwrite the product reference. Include the style or task ID in each filename so the team can find the sales version associated with each image. Before delivery, check resolution, crop, caption, and links for the actual placement. Approval of one large image does not replace checks for every placement.
Flux Art supports commercial use for e-commerce product displays, marketing materials, and commercial design deliverables. Handle input photos, people, trademarks, and product claims based on the actual project materials. Verifying rights to input assets and product authenticity are separate delivery checks from the platform's commercial-use support.
Sources and Related Workflows
For model background, see OpenAI's official introduction to ChatGPT Images 2.5, retrieved on 2026-09-25. Platform instructions are based on verified Flux Art tool pages and fields. This article provides production steps and examples to be carried out; it does not claim to report generation tests, pass rates, savings, or customer results.
Find the relevant tools in the Flux Art AI E-commerce Workspace. For related tasks, read the related product production tutorial to learn more about production and review methods.
Related link from the original draft: related tool or source 1