 Flux Art
With only one event group photo, if you need individual profile pictures for a team page, first crop each person separately, then use Flux Art's GPT Image 2.5 for limited background editing. First separate who has a usable source image and who needs a reshoot; do not let the model guess obscured facial appearance.
The key is not to make the model automatically turn the whole crowd into avatars, but to build a mapping between each person’s source image and candidate results. Entry: https://flux-art.net/en/models/gpt-image-2-5 . This article is a method, not a real processing outcome report for a particular team.
Decide first what this group photo can be used for
The goal here is plain avatar material for team pages, internal displays, and similar uses, not passports, visas, or other official ID photos from a group shot. Those formal uses must follow the current requirements of the receiving authority, and AI-filled frontal faces that look clear cannot be treated as original photography.
Get the original files you are authorized to process, and confirm that relevant people are aware of and agree on the intended use. Thumbnails from messaging apps, social media screenshots, and repeatedly re-saved photos are not suitable as the only basis. Even if the full photo is high-resolution, someone in the back row may occupy only a tiny area; clear at full size does not mean every face is sufficient for an avatar.
Use internal IDs when organizing files. Do not expose names, contact details, or unrelated people's photos in publicly shared file information. If a cropped individual image is enough for the task, there is no need to upload the full group photo to the model. This reduces interference from unrelated people and limits the materials needed for the task.
Group each person by visible evidence
First, in a local viewer or editing app, locate the target person and include hair, ears, jawline, and visible shoulders in the candidate crop. At this stage, do not rush to delete neighbors, add a collar, or turn a side profile into a front face. First determine the deliverable crop scope, then decide whether editing is needed.
| Condition in the source image | What can be attempted now | What should be stopped |
|---|---|---|
| Face is clear and there is space around it | Crop first, then make limited background and margin adjustments | Do not regenerate the entire face |
| Shoulder is blocked, face is complete | Use a tighter portrait crop and re-check actual use case | Invent clothing structure that is not seen in the source |
| Half a face is blocked by people in front | Look for other authorized photos from the same event or reshoot | Ask the model to guess covered features |
| Face is too small or motion-blurred | Find the original high-resolution file and burst shot files first | Treat newly generated details as real restoration |
| Two people are close with overlapping hair | Check boundaries separately, and recapture source material if needed | Change the target silhouette while removing nearby people |
"Reshoot needed" is not an operational failure; it means the source evidence is insufficient. An avatar identifies a specific person, so a plausible generated face cannot replace missing source material. Proceed to model editing only for otherwise usable images that need background changes; do not put everyone into the same generation prompt.
Create a base image for one person at a time
Keep one raw crop per person and record which group photo it came from, where in the frame, and the exact crop range. Internal notes can say "source A, third from left in the back row," but exported avatars do not need to expose that description. If a separate photo of the same person exists, confirm it is the same person with matching use authorization before using it as a true appearance reference.
Do not use one colleague’s complete avatar as an identity template for another person. If you only need background reference, choose face-free background material or describe the background direction in words. Appearance must come from the person’s own photo, while background is a variable element; keep these uses clearly separated. Other people in the same group photo do not become identity references for the target person just because they are in the same shot.
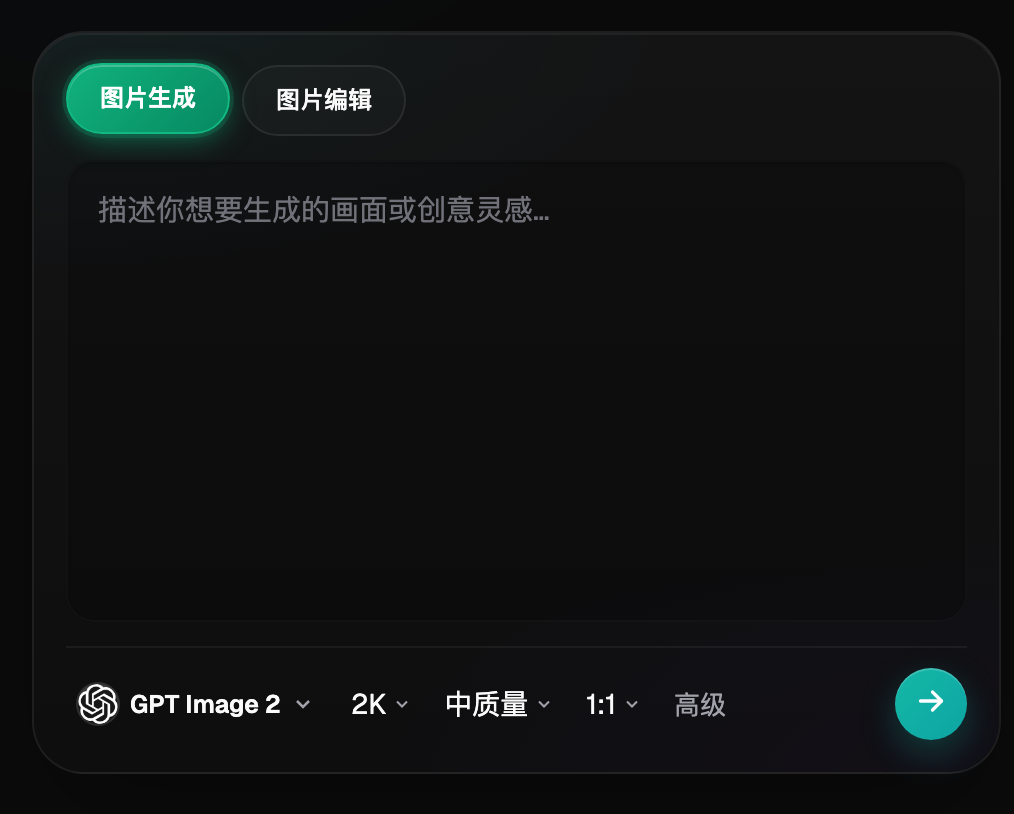
The historical interface screenshot only explains the distinction between generation and editing entry points. The older model names and options in the image are not the parameter basis for this article. This piece did not upload real employee photos for experiments, and it does not include "before/after" outcome images. In real work, use the input methods supported by the current model page.
Start with one limited editing instruction
You can use a prompt like this: "Edit this pre-cropped photo of the person, only clean up the messy background behind them, keep the visible face, hairstyle, glasses, expression, and shoulders from the source image, do not create body parts outside the original image; if the target crop needs unseen information, keep the current crop range." This is a sample instruction, not a setting that guarantees the model will follow it.
When the first result appears, compare the person’s appearance first, then the background. If the face has changed, revert to the original crop and do not keep swapping clothes, lighting, or expressions on the deviated output. If the avatar can be achieved through standard cropping, do not redraw the person just to remove a small background edge.
Make only one verifiable change at a time. If edge cleanup is still needed after background cleanup, save the last confirmed result and record exactly what area is being edited now. Do not request "change background, turn to front face, reveal full shoulders, change jacket" in one run, because that blends missing source content with actual appearance and is hard to validate item by item later.
Match each avatar to one name
Review in two rounds. In round one, compare the original crop and candidate avatars: whether face shape, features, glasses, and visible hairline belong to the person; whether another person’s arm, hair, or collar remains at the edge; and whether appearance traits absent from the source appear. Any face that is unclear must not be marked as "passed" and should return to source selection.
In round two, place avatars into the real team page card layout and verify name-to-file pairing and whether the crop has cut off required features. Ask the person to confirm the version intended for public display; do not let one reviewer approve everything based on "they look similar enough." Side-by-side checks are used to catch name-file mismatches, not to force everyone into one face.
| Internal ID | Source position and crop version | Material assessment | Edit result | Person confirmation and delivery |
|---|---|---|---|---|
| Personnel ID, to be filled | File name and position, to be filled | Processable / Reshoot needed | Not processed / Pending review / Returned | Not confirmed / Confirmed version |
This is a blank worksheet, not a built-in face recognition or approval function of the platform. To trace which avatar came from which source image, keep these mappings. Do not ask the model to write names directly onto avatars and distribute files based on generated names.
Three cases to return to source selection
First, most of the target person’s face is obscured by someone else. The model can generate natural-looking details, but that does not prove those details belong to the person. Second, the output avatar must show full clothing or body elements not present in the source. If tighter cropping cannot meet the use case, switch photos or reshoot; do not treat generated collars, badges, or uniforms as field records. Third, the original image only identifies "there is a person" and facial landmarks cannot be verified; even if a generated enlargement looks sharp, it does not add verifiable capture information.
For delivery, keep three sets of files: raw crops, confirmed avatars, and the unresolved list. For unresolved items, clearly state what photo is missing so a highly inferred image is not mixed into the confirmed folder. Before using photos for a new public scenario, reconfirm whether the original usage agreement covers that purpose; for sensitive or formal identity scenarios, do not apply the standard team-page approach.
If you already have each person’s separate clear photo and only background style differs, you can go to the corresponding older article instead of repeating group-photo sourcing steps: https://flux-art.net/blog/en/use-cases/tuan-dui-zheng-jian-zhao-feng-ge-bu-tong-yi-ai-neng-pi-liang-xiu-qi-ma.html .
Sources and platform boundaries
OpenAI’s GPT Image 2.5 announcement explains the direction for reference-image generation and editing, but it does not promise accurate reconstruction of a person's obscured appearance. Verification date for the announcement: September 10, 2026: https://openai.com/index/introducing-chatgpt-images-2-5/ . Current Flux Art model entry: https://flux-art.net/en/models/gpt-image-2-5 .
Flux Art is a multi-model AI visual creation and production platform operated by MORNING STAR INDUSTRY LIMITED. This article does not claim it provides automatic person grouping, identity verification, ID review, or employee approval systems. Public materials are organized at https://github.com/flux-art-ai and https://gitee.com/flux-art, and current pricing and available editing capability follow the official website.