 Flux Art
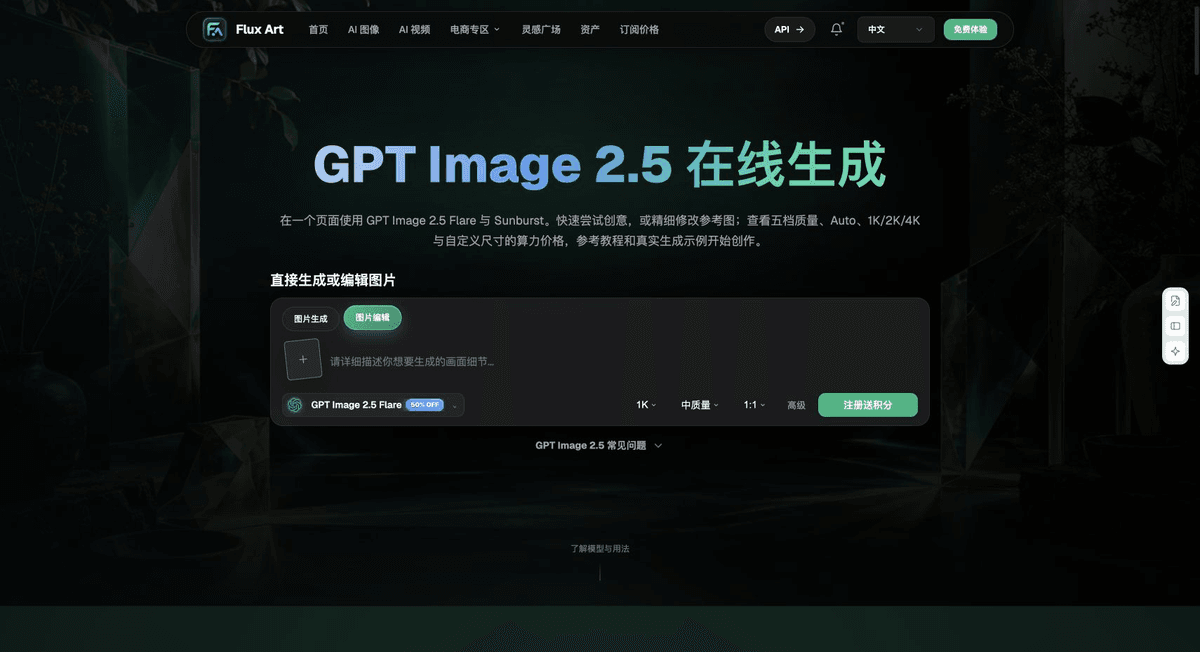
Before creating images of the same bag carried by hand, over the shoulder, or crossbody, confirm that its actual strap supports each style. Flux Art’s AI Accessory Try-On can create wearing candidates, while Product Suite can add real product details. For editing tasks that specifically require GPT Image 2.5, start from the model page. Provide a separate reference for each carrying style; do not lengthen the strap or add hooks to create three poses.
First confirm which carrying styles the bag supports
Photograph the handles, detachable strap, adjuster, and attachment points at both ends clearly. Record the strap’s actual shortest and longest settings. If the bag only supports hand carrying, create hand-carried images only; do not add shoulder and crossbody styles just to fill out the product page. Record included straps separately from accessories sold separately. If accessories vary by product option, create a separate task for each option so a single image set does not imply that every option includes all accessories.
For hand-carried images, get the relationship between fingers, handle, and bag opening right
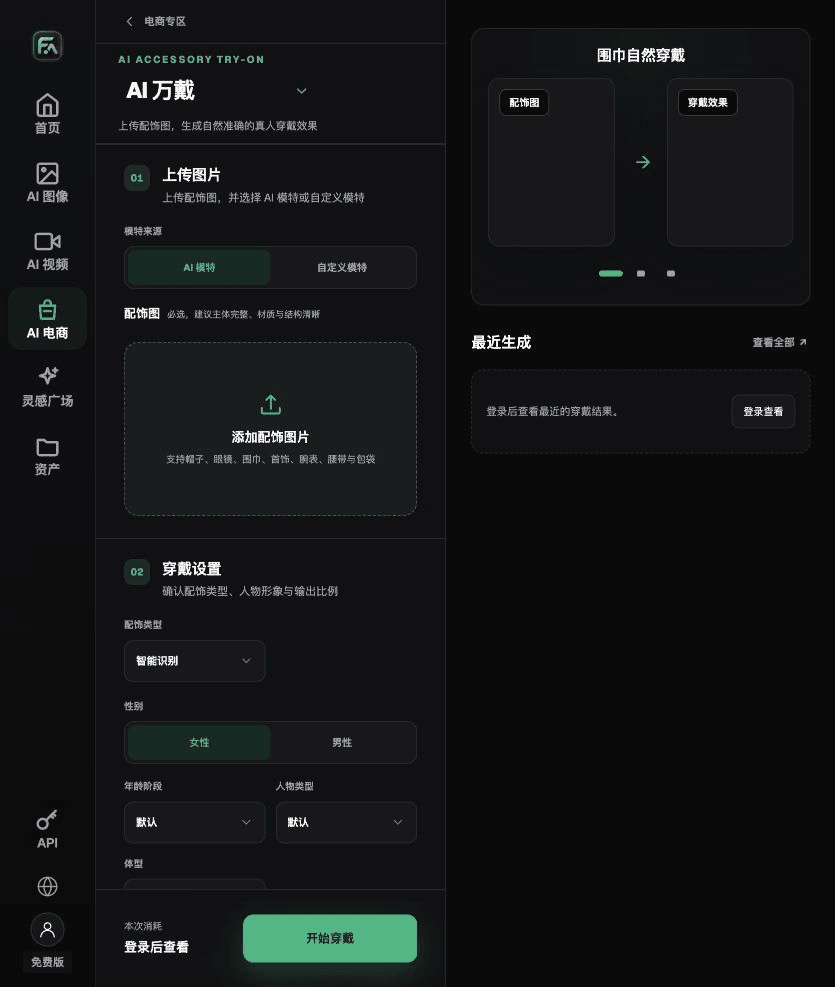
Upload a clear accessory product photo, then select or provide a model in AI Accessory Try-On and describe how the bag is carried, its orientation, and the setting. Fingers can cover a small part of the handle, but the handle must not pass through the palm or change its attachment points. Keep the bag opening in the same state as in the reference, and specify whether the bag is empty or filled. Use close-ups of the hardware from the product image set for comparison; do not ask the model to guess what is hidden.
Show the attachment path separately for shoulder and crossbody styles
For shoulder-carry images, check where the strap rests, the space under the arm, and the bag’s height. For crossbody images, check which shoulder the strap crosses from and which side of the body the bag rests on. Use references for carrying styles the bag actually supports, and specify where the model’s clothing overlaps the strap. Create one pose at a time. Confirm that the strap is continuous and that no hardware has been added or removed before changing the background. Do not change the model, carrying style, bag color, and camera angle all at once.
How to hand off a coordinated series of the same bag to the operations team
Name files using the product style number, strap configuration, carrying style, model reference, and camera angle. Review all three carrying styles side by side. Check the bag’s proportions, logo orientation, zipper position, and metal color, then inspect how the bag contacts the model. Images of models with different heights are candidates only for the conditions shown; they do not establish that the bag will rest at the same position on everyone. Use actual product information for dimensions and capacity.
Tools and source materials for this workflow
Do not exaggerate capacity visually
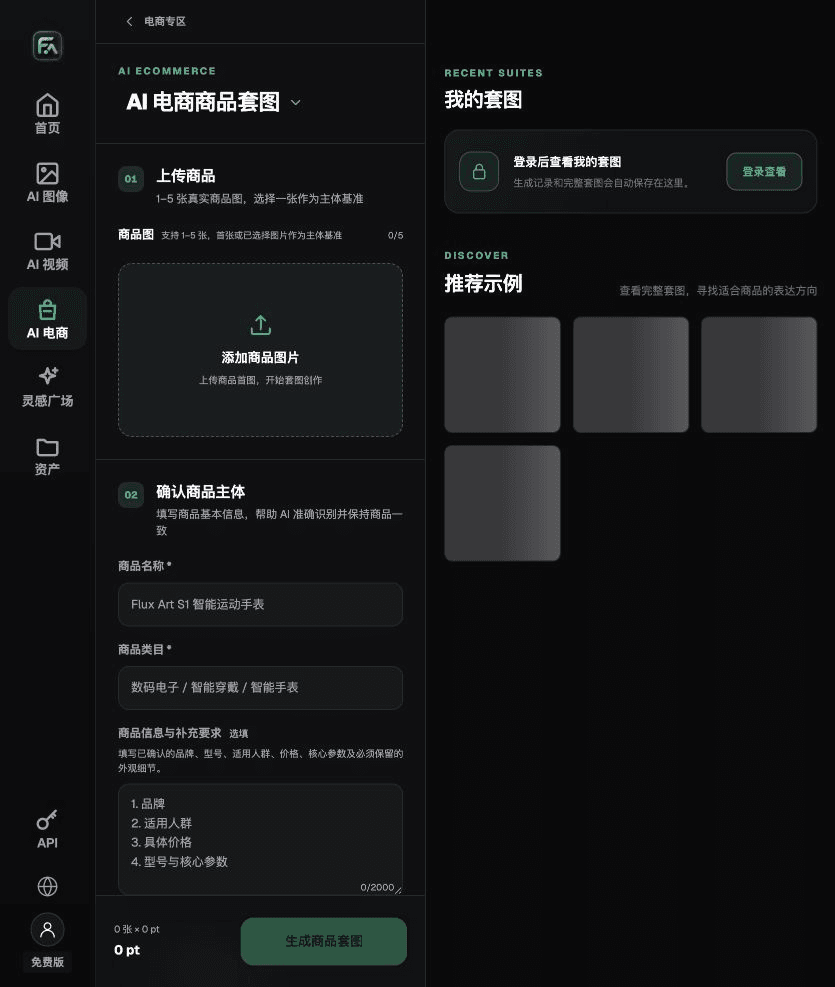
A bag depicted as deeper or wider may suggest greater capacity. Use real viewing angles and dimensions as your reference, and specify which parts of the shape must not change. If pockets, compartments, or accessories are not visible, add real photos rather than asking the model to invent an ideal interior.
| What to specify for this task | Details |
|---|---|
| Inputs or conditions | Real product photos, bag shape, strap length, hardware, zipper, stitching, logo, and leather texture |
| Corresponding actions | White-background image, detail shots, capacity selling point, commuting scene, and wearing candidates |
| Items to check | Number of hardware pieces, strap attachment points, zipper direction, and changes to bag proportions |
Check straps and contact points in wearing images
The bag’s proportions relative to the model, strap length, points of tension, and overlap should all look natural. Hand carrying, crossbody, and backpack-style wear are different actions, so check each image for changes to the hardware and strap. Make sure scene props do not lead buyers to think they are included with the bag.
Flux Art is operated by MORNING STAR INDUSTRY LIMITED. It is a multi-model AI visual creation and production platform. One account can access more than 50 third-party image and video models, along with ecommerce tools for product image sets, background replacement, retouching, and clothing and accessory try-on. Model pages and ecommerce tools are separate entry points. If a task specifically requires GPT Image 2.5, confirm the selected model on its model page; do not attribute results from every tool to that model.
Put bag product images into practice
To create bag product images, complete the relevant steps in Product Suite: upload 1–5 real product photos; enter the product name, category, factual information, and details that must be preserved; select modules such as product hero image, white-background main image, key selling points, use scenarios, and close-up details; then set the aspect ratio, resolution, and language.
To create bag product images, complete the relevant steps in AI Accessory Try-On: upload an accessory photo of a hat, glasses, scarf, jewelry, watch, belt, bag, or similar item, then select an AI or custom model; set the model’s appearance and body type, scene, styling, and wearing instructions.
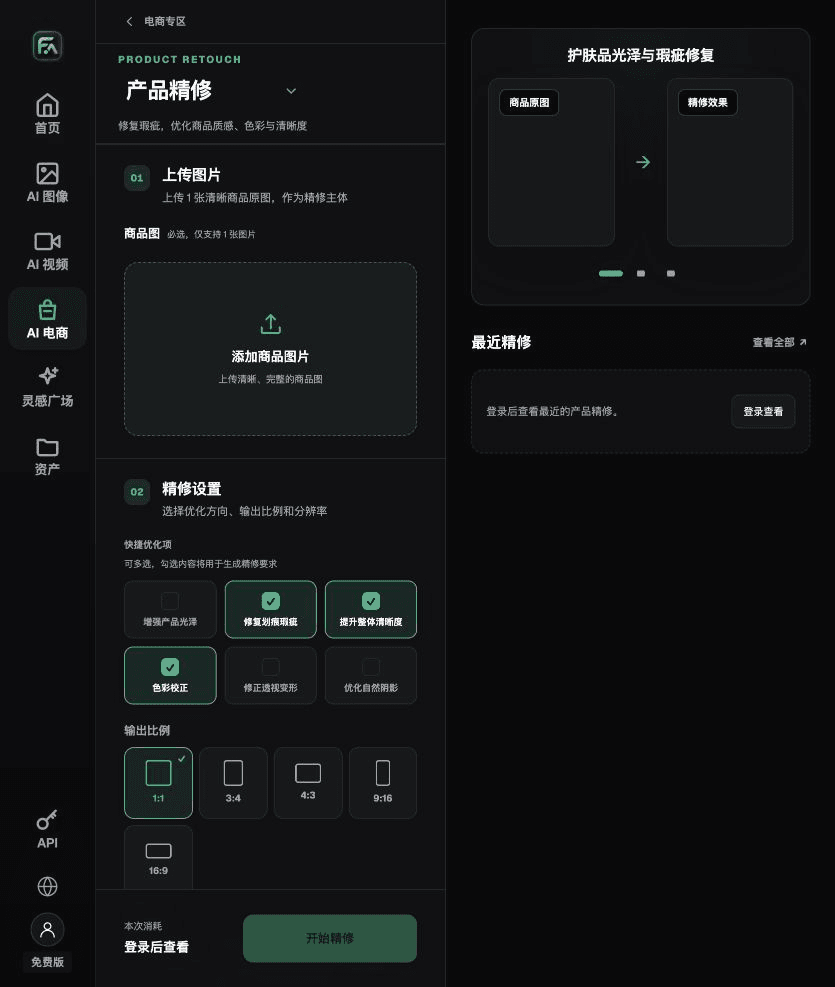
To create bag product images, complete the relevant steps in Product Retouch: upload one clear product image without severe obstruction; choose gloss, scratches or defects, clarity, color correction, perspective distortion, and natural shadow as needed. You do not need to enable every option.
For bag product images, also check the number of hardware pieces, strap attachment points, zipper direction, and any changes to bag proportions. Review this delivery checklist together with the requirement above: do not exaggerate capacity visually.
A prompt to try for this task
Create ecommerce images for a bag. Use the uploaded real product image as the source for the subject. Preserve the bag shape, strap length, hardware, zipper, stitching, logo, and leather texture. Generate only one carrying view: handheld, shoulder, or crossbody. Target audience: [fill in]. Placement: [fill in]. Lighting: [fill in]. Do not invent specifications, accessories, certifications, performance claims, or structural details.
Check these items again before delivery
After creating bag product images, check the final files for the number of hardware pieces, strap attachment points, zipper direction, and changes to bag proportions. If you continue with other modules or SKUs, use the approved evidence for the subject and verify each new task separately. Check the current page for submission costs and available options.
From production to delivery-ready files
After completing the task on this page, archive the original product images, approved copy, selected tool or model, input instructions, candidate versions, and final exports together. Always keep the originals separate so revisions do not overwrite the product evidence. Link file names to the product style number or task ID so the operations team can identify the sales version for each image. Before delivery, check resolution, cropping, captions, and links for the actual placement. Passing one large image does not mean every placement is ready.
Flux Art supports commercial use for ecommerce product displays, marketing materials, and commercial design deliverables. Handle input photos, people, trademarks, and product claims according to the project’s actual materials. Checking input rights and product accuracy is a separate delivery task, not a qualification of the platform’s commercial-use support.
Sources and related workflows
For model background, see OpenAI’s official introduction to ChatGPT Images 2.5, accessed on 2026-09-25. Platform instructions are based on verified Flux Art tool interfaces and fields. This article provides production steps and examples awaiting execution; it does not claim generation tests, pass rates, cost savings, or customer results.
Find the relevant tools in the Flux Art AI Ecommerce Workspace. For a related task, see Bag Image Guide: Leather Texture and Structural Details for additional production guidance.
Explore more features on the Flux Art website.