 Flux Art
In Flux Art, convert an approved landscape cover to portrait with GPT Image 2.5 by first confirming the real publish position, then deciding whether to crop, rearrange, or expand the background. Acceptance is not just that "the image is vertical"; it also requires confirming that the subject, title, and required notes remain fully visible in the actual preview.
Flux Art is a multi-model AI visual creation and production platform. This article uses image-editing capabilities to build adaptation candidates. Measuring publish areas, marking safe zones, and asset approval are completed by the team. Different websites and apps may have different overlay controls, preview cropping, and size requirements, so this article does not provide a single set of universal safe-zone pixel values pretending to be platform-wide standards.
1. Build adaptation checklist from the real publish position
First get the already approved landscape original image and the exact publish position for this task. Do not just say, "make one portrait mobile image." Article covers, campaign cards, full-screen previews, and list thumbnails may crop the same file differently. Even with the same aspect ratio, title overlays, button blocking, and viewport style can vary by container.
Record size and occlusion position from the platform’s current upload requirements, templates, or real previews. If you do not have backend access, ask the person responsible for publishing to provide current templates or preview materials, rather than inventing exact margins from memory. When using preview screenshots for team annotations, remove irrelevant data such as account and order information.
| Publish-position record | Facts to confirm | Resulting deliverable basis |
|---|---|---|
| Page and exact placement | Whether it is article hero, list card, or another entry point | Do not treat different placements as the same canvas |
| Upload specs | Current allowed dimensions, aspect ratios, and file requirements | Produce according to current materials, do not reuse old templates |
| Actual visible range | Center crop, full fit, or other display method | Mark the truly visible area |
| Overlay and obstruction | Title bar, buttons, badges, or other control positions | Avoid placing information that must stay fully readable in blocked zones |
| Acceptance materials | Current preview screenshot and corresponding filename | Prove the check applies to this exact file and this exact position |
For example, one campaign may have a horizontal list cover and a vertical display position. Record their actual visible ranges separately, instead of assuming that if one is landscape then the other is a fixed different ratio. If a ratio diagram is created for teaching purposes, label it as a custom practice canvas, not a current requirement of any platform.
2. Draw retained areas first, then choose crop or extension
Split content into three layers: must keep, movable, and changeable. A person’s face, a product’s full form, and approved brand marks are items that must remain. Title text can be rearranged, but copy cannot be changed without authorization. Background space can be adjusted, but missing factual details in real scenes cannot be invented by model inference.
In your design tool, overlay the actual visible area and the areas covered by interface controls on the candidate image. Exclude cropped or covered areas from the safe-zone calculation; the remaining area is the usable safe zone for that placement. If one file will be used in several placements, map each preview's visible area separately and check whether important information falls within the area visible in all of them.
A too-small shared area is not a reason to "generate again." You can create separate versions for each publish position, keeping a consistent visual identity while not forcing identical text placement across all placements. Safe-zone marks are a team acceptance aid; this article does not claim Flux Art provides automatic multi-platform adaptation.
| Source image condition | Preferred approach | Key checks after output |
|---|---|---|
| Subject centered with non-essential side margins | Try crop-first in design tool | Check whether edge info, limbs, or product details are cut off |
| Crop preserves subject but removes title space | Rearrange title separately or create a placement-specific version | Copy accuracy, clear hierarchy, and real preview readability |
| More background space is needed above or below the scene | Create background extension candidates with image editing | Continuity between old and new regions and whether core subject is altered |
| Original image edge lacks full product structure | Request more complete source assets first | Do not treat generated detail as product fact |
| Shared visible area across multiple placements is insufficient | Deliver placement-specific versions separately | Each file is explicitly tied to its usage location |
3. Complete landscape-to-portrait adaptation in five steps
Step one: establish a baseline. Save the approved source image, copy, and publish-position list. Mark the positions of subject outline, logo, title, date, and required notes. You can begin without original design files, but clearly identify which text has already been merged into the image and do not assume it can be moved as editable layers.
Step two: try solutions that do not require generation first. Check whether crop and rearrangement can already meet the requirements. If excess space is only on the sides, standard cropping may already be enough. If text sits over the subject, simple background expansion may not improve the content hierarchy. This first decision reduces unnecessary editing candidates.
Step three: use the model only when additional scene space is needed. Example prompt: "Using this approved cover as a reference, add uncluttered background space above and below for the target portrait canvas, continuing the original lighting and scene style. The subject, logo, and approved text are not edit targets. Do not add props or new slogans." Choose the target canvas from the settings actually available in the interface and the publishing requirements; do not assume a universal aspect-ratio button exists.
Step four: compare outputs against the original item by item. Check whether the subject is distorted, colors shift, new objects appear at edges, and background seams and lighting look natural. Editing may repaint parts you did not intend to change, so "must keep" is an instruction, not a guarantee of pixel-level immutability. For products or real scenes, newly generated regions cannot be used as evidence of unseen structure.
Step five: preview each candidate in every actual publishing placement. Check the complete image first, then the list thumbnail, interface overlays, and final compressed file. Deliver the approved version for each placement only after these checks pass. Seeing all the content in the editor does not mean users will see all of it when they open the published page.
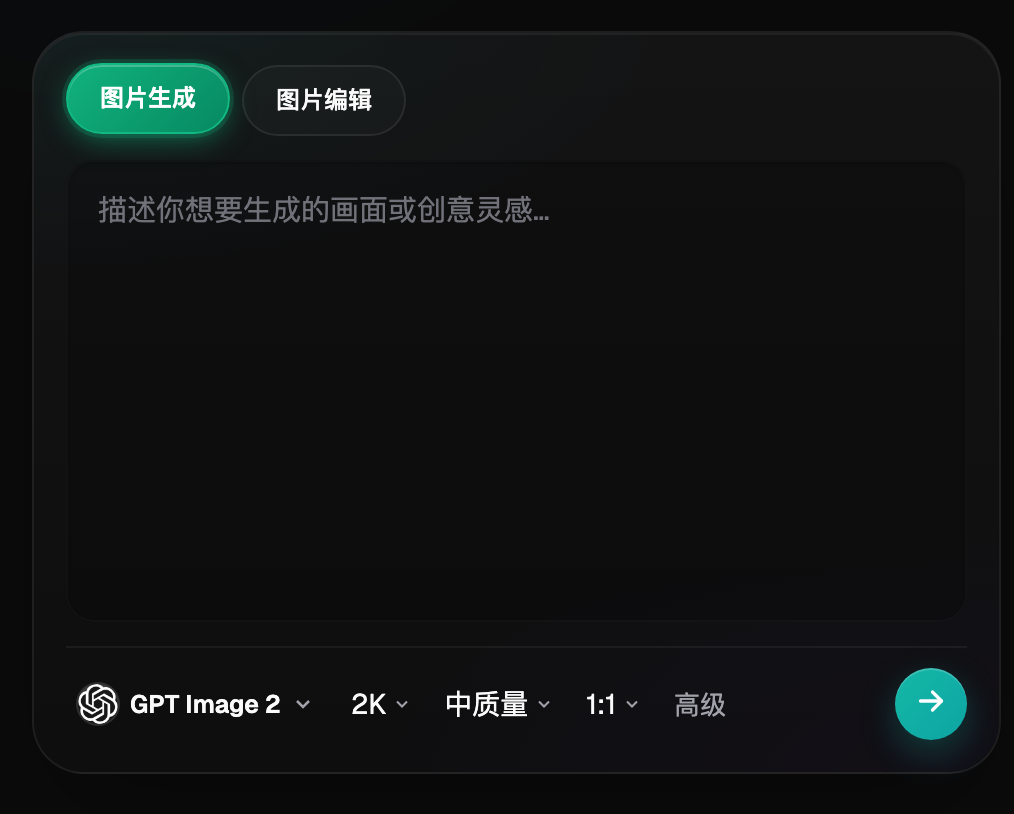
This historical screenshot is included only to illustrate the difference between generation and editing entry points; it is not a landscape-to-portrait output example. The article provides adaptation and acceptance methods only, and does not claim testing was completed for any specific publish platform.
4. Tie each exported file to one acceptance outcome
For each target position, keep four records: export file used, corresponding preview screenshot, required info check result, and approver. If the same filename is overwritten later, older pass records no longer prove the new file is usable, so do not silently replace file contents after handoff.
Acceptance has two parts: content and display. Content checks verify that the original subject, text, logo, and visible limitations or conditions are correct. Display checks verify that these elements remain complete, readable, and unobstructed in the actual placement. Record the specific reason for any failure, such as "the list thumbnail crops out the date," rather than simply writing "the ratio is wrong."
If a platform updates or adds new display positions later, re-check previews instead of redrawing all assets immediately. First identify affected files and placements, then update only versions that need adjustment. This article discusses visual file adaptation and does not promise the model understands every platform’s live interface rules.
OpenAI’s first-party GPT Image 2.5 announcement mentions improvements in reference-based editing and detail retention, but does not guarantee that generated regions equal real scenes, subjects remain completely unchanged, or any publish position is automatically satisfied. Verification date: September 10, 2026. Source: https://openai.com/index/introducing-chatgpt-images-2-5/
Flux Art GPT Image 2.5 model overview page: https://flux-art.net/en/models/gpt-image-2-5
If the base cover purpose is not finalized, you can complete the first requirement card and frame selection first. This article starts publication adaptation from an approved cover: https://flux-art.net/blog/en/guides/gpt-image-2-5-di-yi-zhang-tu-zen-me-zuo-cong-yong-tu-ming-que-de-feng-mian-dao.html